I have an invite for all my followers and readers of this site to join me on what could be called a learning journey as I introduce you to the concept of the Archers Triangle which is something I first started using when I started archery nearly 20 years ago.
I honestly believe it is as useful and applicable to an existing archer as it is to a newbie, as it allows you to work through your shooting and equipment.
In the next few episodes, I plan to expand on the 3 sides of the triangle but this is very much an overview. Some of you who have followed this site for a few years will know I have covered the archers triangle a few times, specifically concerning how it can help with target panic or shot anxiety
If you are a coach do you have something similar to help explain things to your students?
As always here are the links to amazon music and Spotify.
Most of all remember to enjoy your shooting and as always thanks for listening, watching and supporting.
Hi everyone, I hope you all had a great Easter break. In the latest episode of the podcast I highlight what I got up to over Easter holidays, with some really good friends down for a few days, so late nights and long chats over a few drinks. Then off to the Forest of Dean for a few days.
It was a great opportunity for us to get away into nature for a few days, seeing tons of wildlife, including a herd of fallow deer on a late evening walk. I’ve discovered my son enjoys Kayaking, though Sharon I think is a little less taken by it, due to a dunking in the rapids.
As always the episodes are hosted on Spotify and other site including Amazon music.
I’d like to take this opportunity to thank all the followers and subscribers on the different platforms, your support and messages mean a lot to me, especially after the last few months where things haven’t been easy. Thank you.
I take some time to talk about my thoughts on the future of the podcast and website, how I hope to create some more 3D target and equipment reviews. Along with my idea of revisiting some of my coaching tips via the Archers Triangle.
I’ve been asked recently about whether I had thought of going down a sponsorship or Patron’s route. I don’t think that is something I feel comfortable with.
For those interested in seeing what 3D shooting can be like here in the UK She Shoots Trad has a good video out also showing the Liberty Archers Turkey Shot (https://youtu.be/VzBDnMss4OU?si=RbXDouSg53At6cun)
If you have any questions or queries you can drop me an email on or via the website
If you enjoy this content I’m producing whether it be on my YouTube channel (https://www.youtube.com/@offthearrowshelf) ., here on the site or the podcasts, then drop us a review, hit the like button or consider following / subscribing.
Most of all remember to enjoy your shooting and as always thanks for listening, watching and supporting.
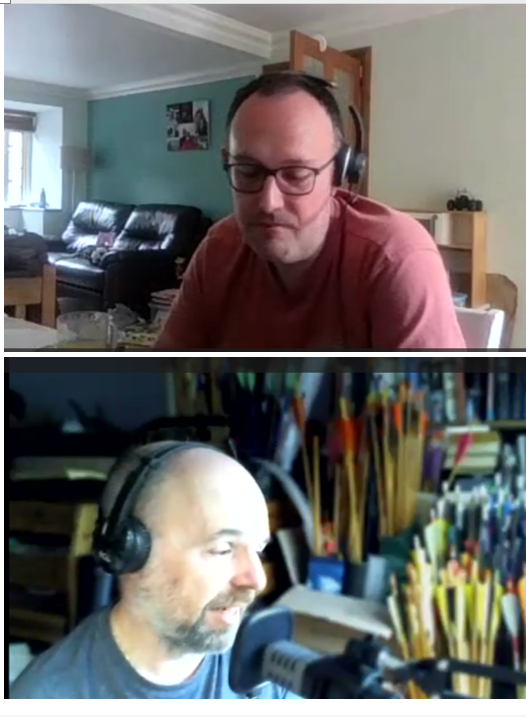
I’m delighted to be joined in the latest episode by Darren of Dal archery, based here in the UK. Be warned we completely nerd out on all things arrow building, including different wood options for traditional archers, along with everything archery, from how he first started in archery to coaching. but especially building wooden arrows.
We talk for over two and half hours on the podcast about his passion for archery, including what he shoots and the appeal of English longbow. Detailing how his passion for the hobby has developed over years to now encompass Dal Archery, his business which he has been running since 2019 supply quality arrow shafts to the community.
To be completely honest I think we could have probably carried on talking for a couple of more hours but Dal need to get back to spinning his latest batch of arrow shafts.
You can listen to the episode via Amazon music or on Spotify