First Aid Kit
Some of you may follow my Tumblr (http://offthearrowshelf.tumblr.com/) or instagram (https://instagram.com/offthearrowshelf/) sites. Those that do, will have seen my recent post about checking the contents of your first aid kit. For those that haven’t I’m going to expand on it a bit here.
Whether camping, skiing hiking or enjoying field archery I always carry a simple first aid kit, either in my backpac, day sack or on my quiver belt. It doesn’t take up much space and weighs nearly nothing. One tip I have found is to put everything contained within into waterproof zip bags. It keeps the kit together and more importantly dry.
Whether camping, skiing hiking or enjoying field archery I always carry a simple first aid kit, either in my backpac, day sack or on my quiver belt. It doesn’t take up much space and weighs nearly nothing. One tip I have found is to put everything contained within into waterproof zip bags. It keeps the kit together and more importantly dry.
It’s nothing fancy, just a simple kit you can pick up from most outdoor stores with a few extra items, I’ve added over the years like antiseptic wipes, spare micropore tape, antihistamine cream, dehydration sachets etc.
I’m no medic but I have patched a few people up over the years and found it amazing how few people carry such a kit. It’s one of those things you hope to never have to use but am glad to carry. As it has been said “you hope for the best but plan for the worst“.
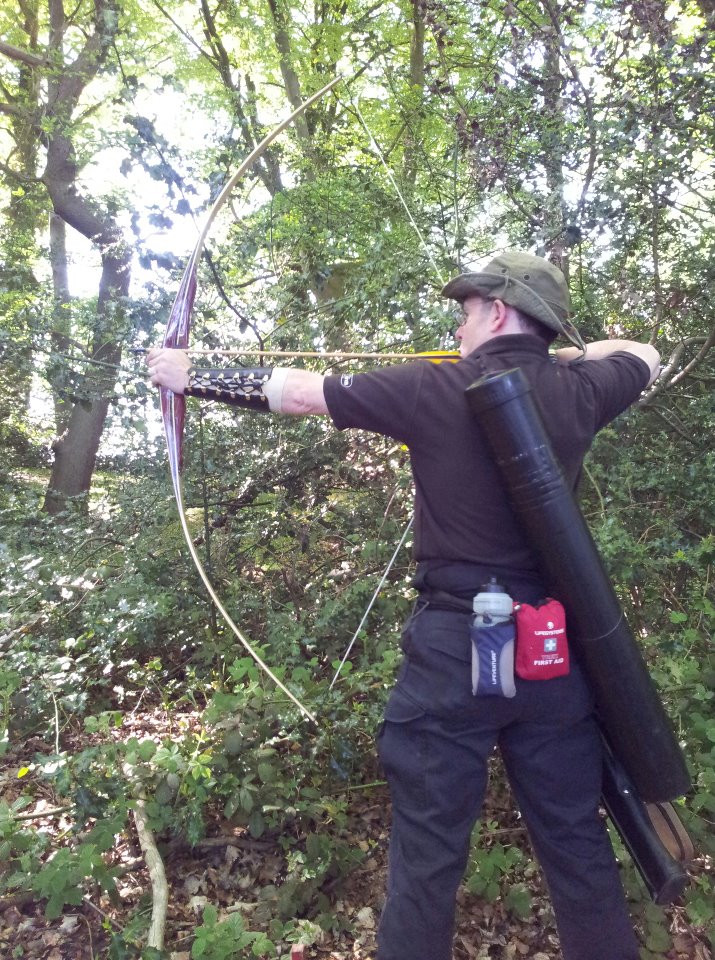
First aid kit and spare arrow tube
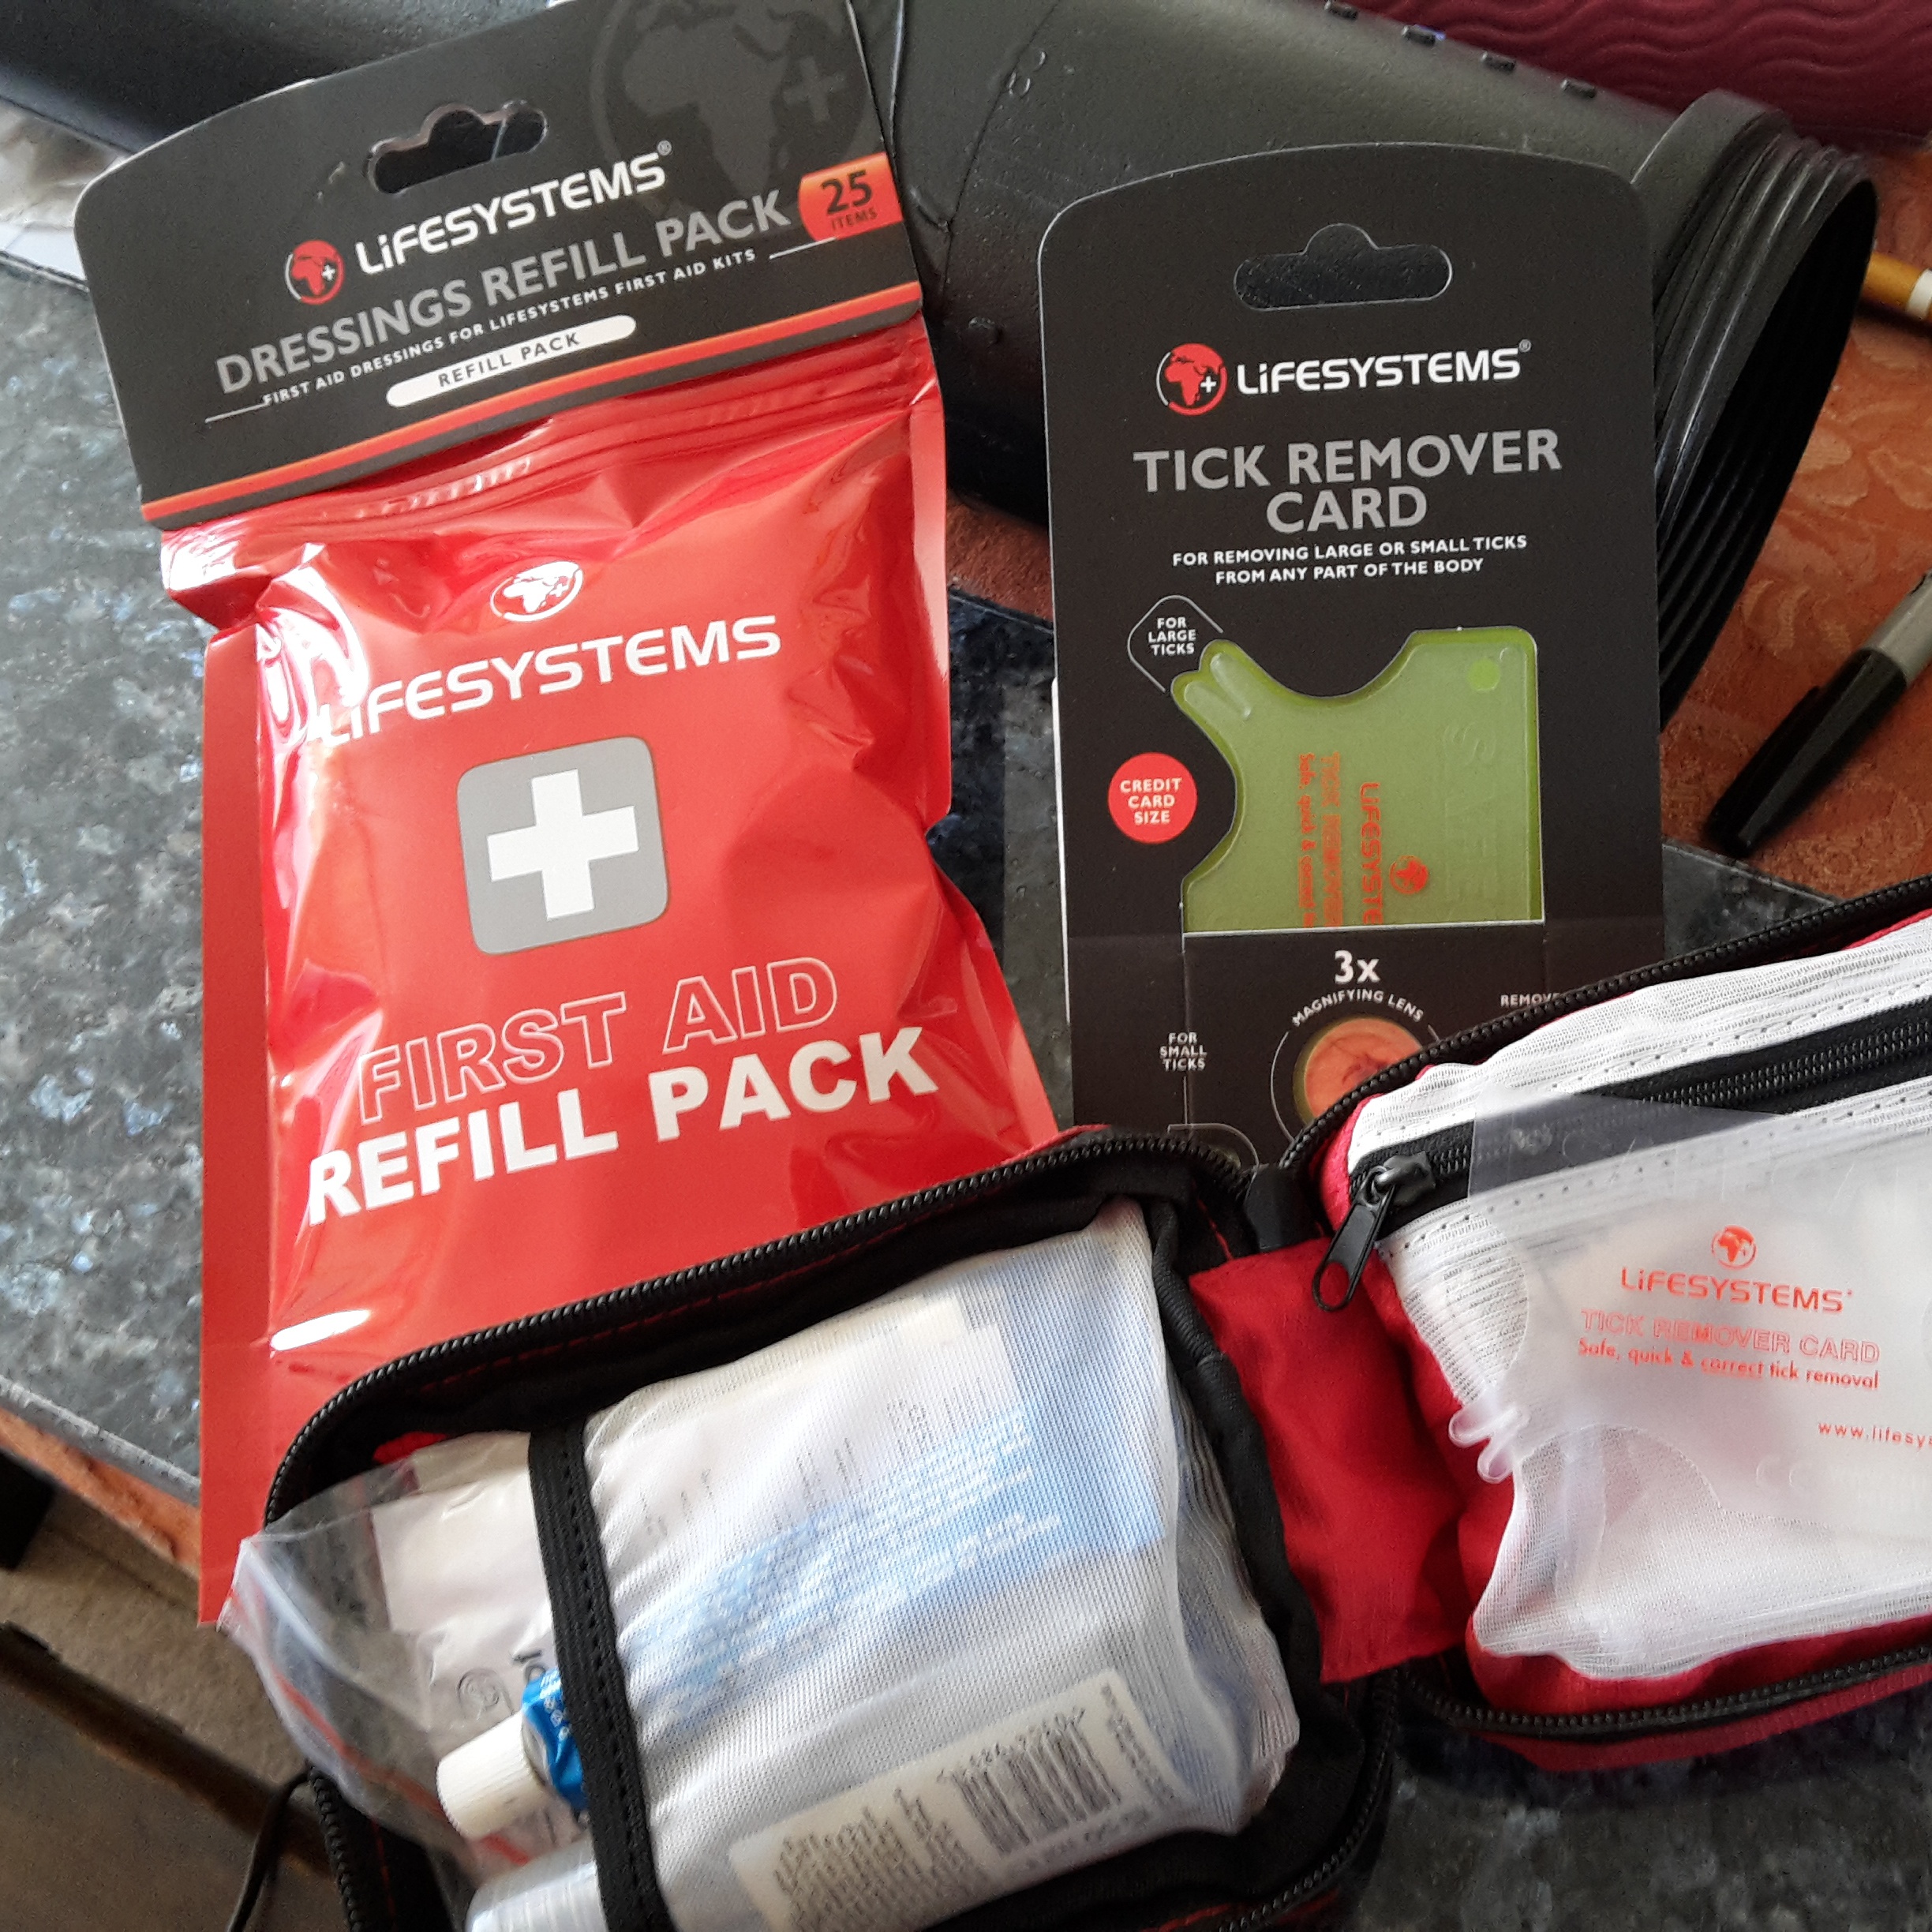
Since it’s the start of the summer and the 3d championships are just round the corner I use it as a reminder to check, replace and refill the kit. It’s worth checking to make sure everything is within date as sterile dressings, antiseptic wipes etc have a limited shelf life. When in Cotswold Outdoors this last Saturday I noticed they sell a refill pack for first aid kits, which is a good simple means by which to restock.
One addition to the kit this year is a tick card, which is a small credit size card with a magnifying glass and simple prongs to help you remove a tick (http://www.cotswoldoutdoor.com/lifesystems-tick-card-b3210065).
There has been a number of articles in the news about the spread of ticks and the increase in the number of reported cases of Lymes Disease.
Lymes Disease is a potentially serious condition and here is a link to a recent BBC news article http://www.bbc.co.uk/news/health-32429228 and another on the dangers of tick bites http://www.bbc.co.uk/news/blogs-magazine-monitor-27255853
As if to prove the point within 3 hours of posting the original photo on Sunday, the kit was being used. They had been doing some maintenance at the wood and badly cut his hand when trying to saw some wood.
Thanks for reading