A different kind of shot
At a recent shoot the club hosted I came up with the idea of a different kind of shot to the traditional one. The idea was to give them something a little different and give the archer a choice.
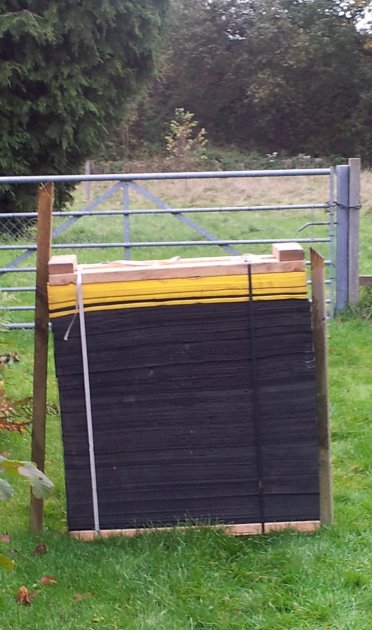
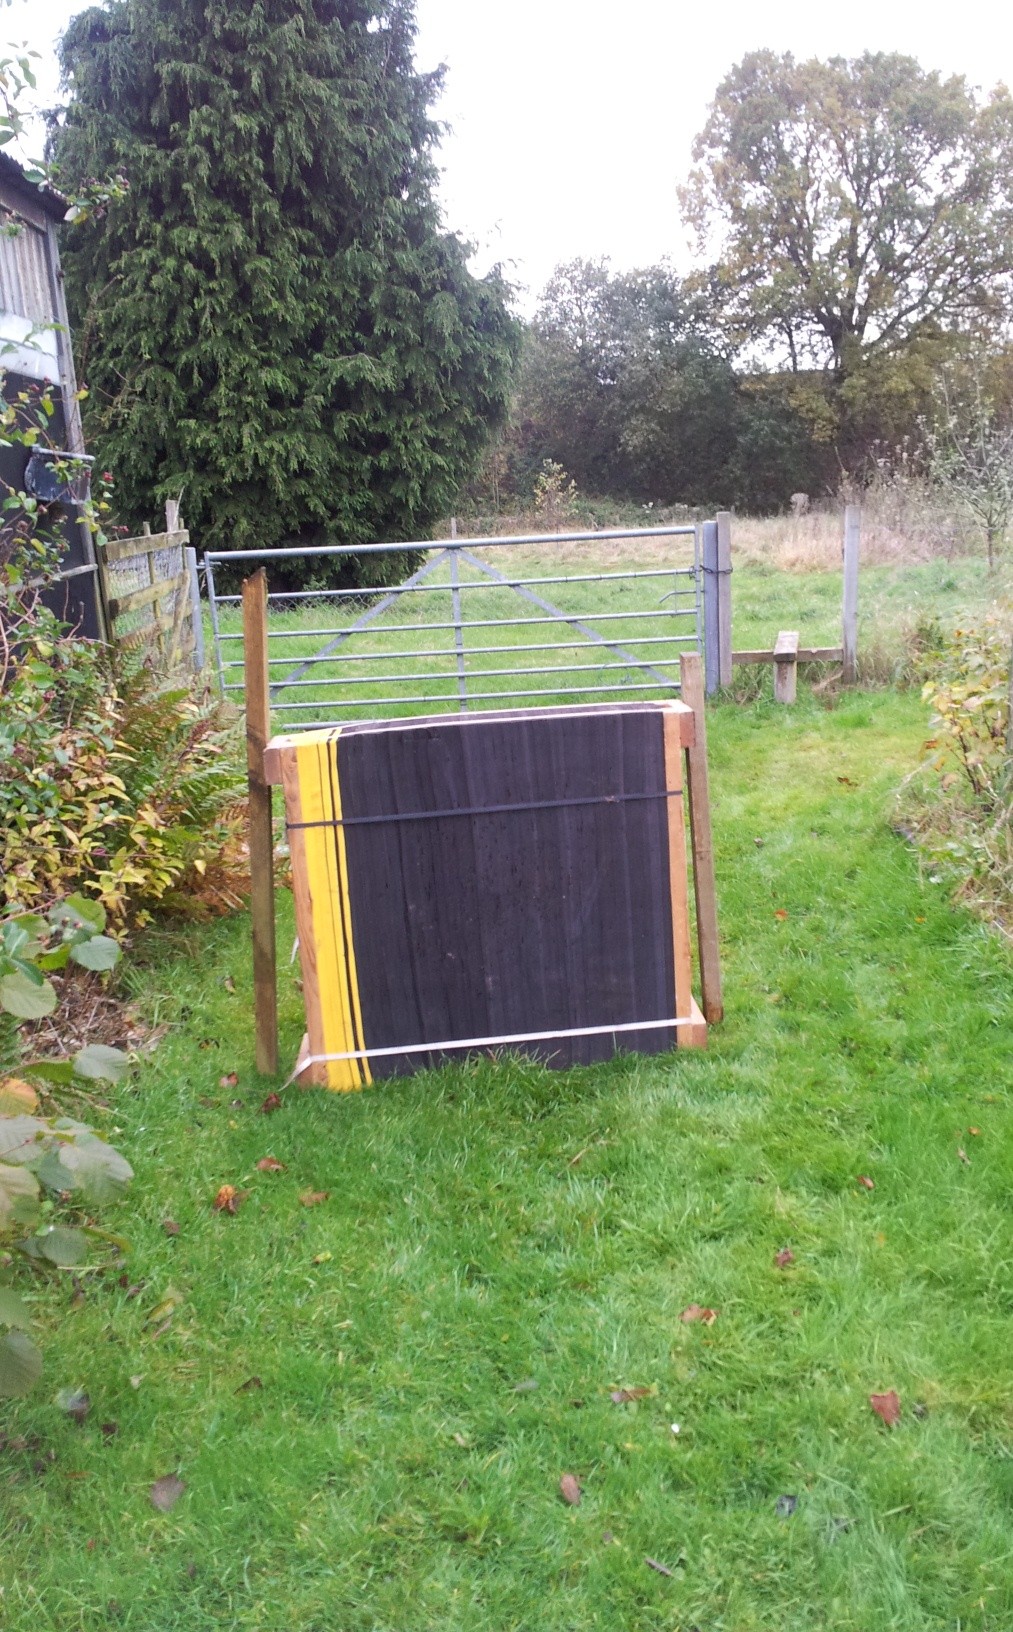
There would be 3 targets, not the customarily one, with each target being set up at varying distances ranging from 18 yards down to 9 yards. On each target boss I placed the same target face a picture of an owl I had taken a few years back, but with one crucial difference. The nearest was A3 in size (A3 = 280mm × 420mm) the middle A4 (A4 = 210mm × 280mm) and the furthest A5 (A5 = 140mm × 210mm).
A scoring line was drawn just inside the animal but I didn’t bother with any inner markings as all they had to do was be within the line. This is the image I used. I didn’t want to use a face that people had seen before.
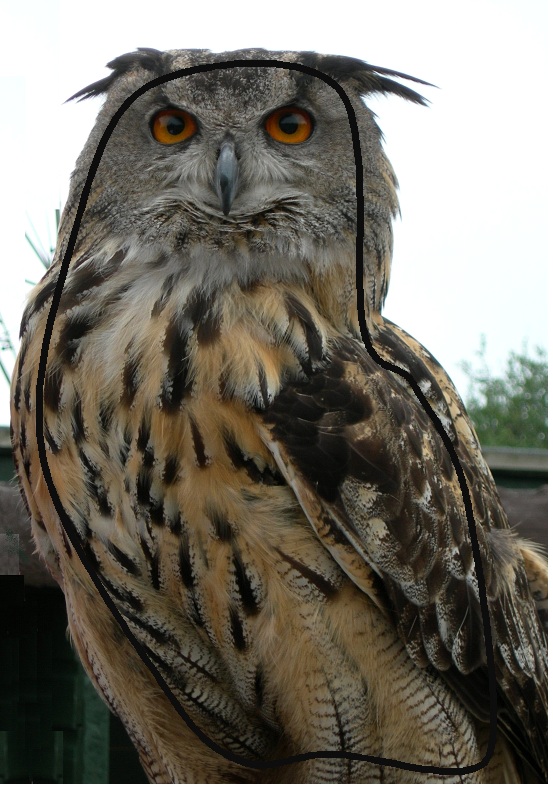
Target face
Archers were told they were allowed only one arrow and had to choose which target they wanted to go for.
If they made the shot and hit within the line, they scored otherwise it would be a blank on their score card. They would not be allowed to shoot a second if they missed first time or third arrow if they missed on their second attempt.
The closest and largest target (A)would score them 16 points (the normal score for a first arrow outer or wound hit) the smallest (C) and furthest would score 24 points ( inner bull often described as either pro ring or inner kill) and the medium sized middle (B) one 20 points (outer bull or outer kill).
Targets A & B were across clear ground allowing archers to judge the distance more easily, also target A & B had been positioned with little difference in the distance. This was deliberate as I wanted to encourage the slightly less confident archer to had a go and be rewarded with 20 points. To make target C a little more challenging I tied some holly bush bows down a few feet in-front of the boss so it was harder to judge the distance.
Close up of Target C
All target bosses were covered in greenery to camouflage them.
So the archer could go for an easy 16 points or challenge themselves if they felt confident, it was their choice.
Archers reaction
It was interesting to observe the archers on the day trying to way up which to go for.
- Many archers went for the easy 16 points, happy with just not blanking the target.
- Many of the sighted archers went for the 24 thinking they had too to keep their score up, the result being some missed.
- The remaining went for the 20 points (middle size target B).
- The holly bush trick on Target C worked, as a few archers commented they thought it was closer or further than the target actually was.
- Interestingly there were those who said I’ll go for what they perceived as an easy shot. Either target A or B, only to miss possibly due to lack of concentration?
- Many archers selected their target, shooting it and because there wasn’t any queues of people waiting asked if it was okay to have a pop at the harder shot for fun.
- Lastly I noticed lots of smiling faces and a few people have commented on it to be since the shoot.
Conclusion
As I said earlier the idea was to give them something a little different. This worked with a number of archers speaking to me afterwards about the shot and how they liked it. Importantly it didn’t slow the shoot down which had been a concern, in fact I would say the opposite as it was one of the quickest targets on the day with no waiting. People seemed to enjoy the difference.
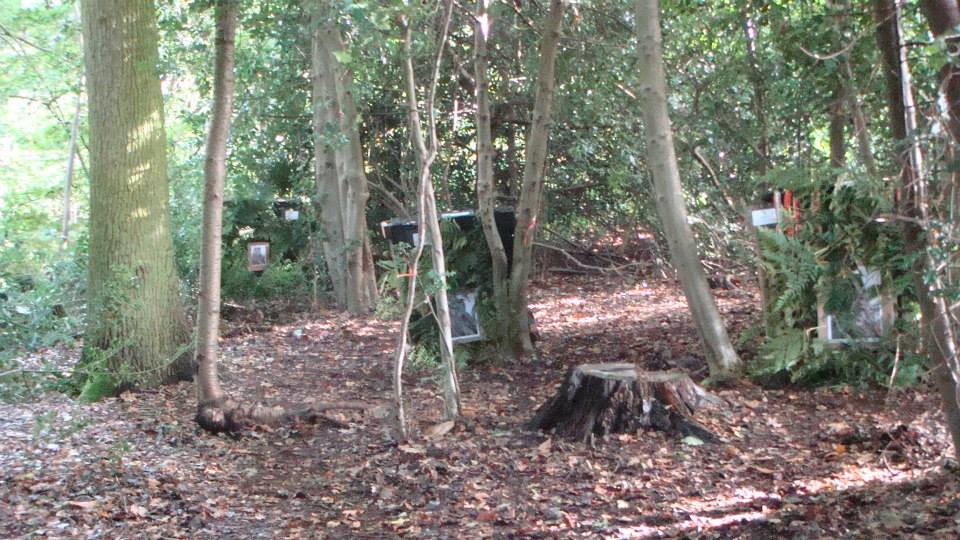
One thing I would add is the importance of having clear instructions. For those interested these are the instructions we used to explain the shot to archers on the day. We laminated a couple of copies, attaching them to trees near the shooting peg for archers to read before taking the shot.
You only shoot 1 arrow. No 2nd or 3rd arrows are shot. If you hit anywhere within the scoring area of the animal you score points shown below otherwise you blank. Choose target A, B or C. If you hit your chosen target with your one arrow you score 16 points for hitting target A or blank if you miss.20 points for hitting target B or blank if you miss.
24 points for hitting target C or blank if you miss. No hit. No score. No 2nd or 3rd arrows are shot. Choose carefully and Good luck.
Future Posts
In the next few posts I will be looking at course laying and the factors as I see them that make a good shot and a great shot. Trying to give advice, thoughts and ideas. If you have any thoughts or comments please let me know.
As always thanks for reading.