As promised here is the write up from the Paget shoot which took place on Sunday 17th. This was the first competitive shoot of the 2013 season for us and before I start I will admit to having a soft spot for Paget de Vasey shoots.
Paget was the first NFAS shoot we ever did and have made sure we have booked on their shoot ever since. It was also going to be the first shoot that Sharon would be competing at following recovering from her injury.

Sunny start of the day
Unlike in previous years, where the shoot has been cold and damp, last year even having a dusting of snow, we enjoyed a sunny Sunday. The only problem was having the sun in your eyes for a few shots 😉
The Paget club only hold one shoot a year and they use an outdoor activity centre when they do. This means the club members have to set everything up the day before and have everything cleared out by the end of Sunday. An advantage to this site is the catering is superb, with 2 food stop huts with an excellent selection of cakes for those with a sweet tooth.
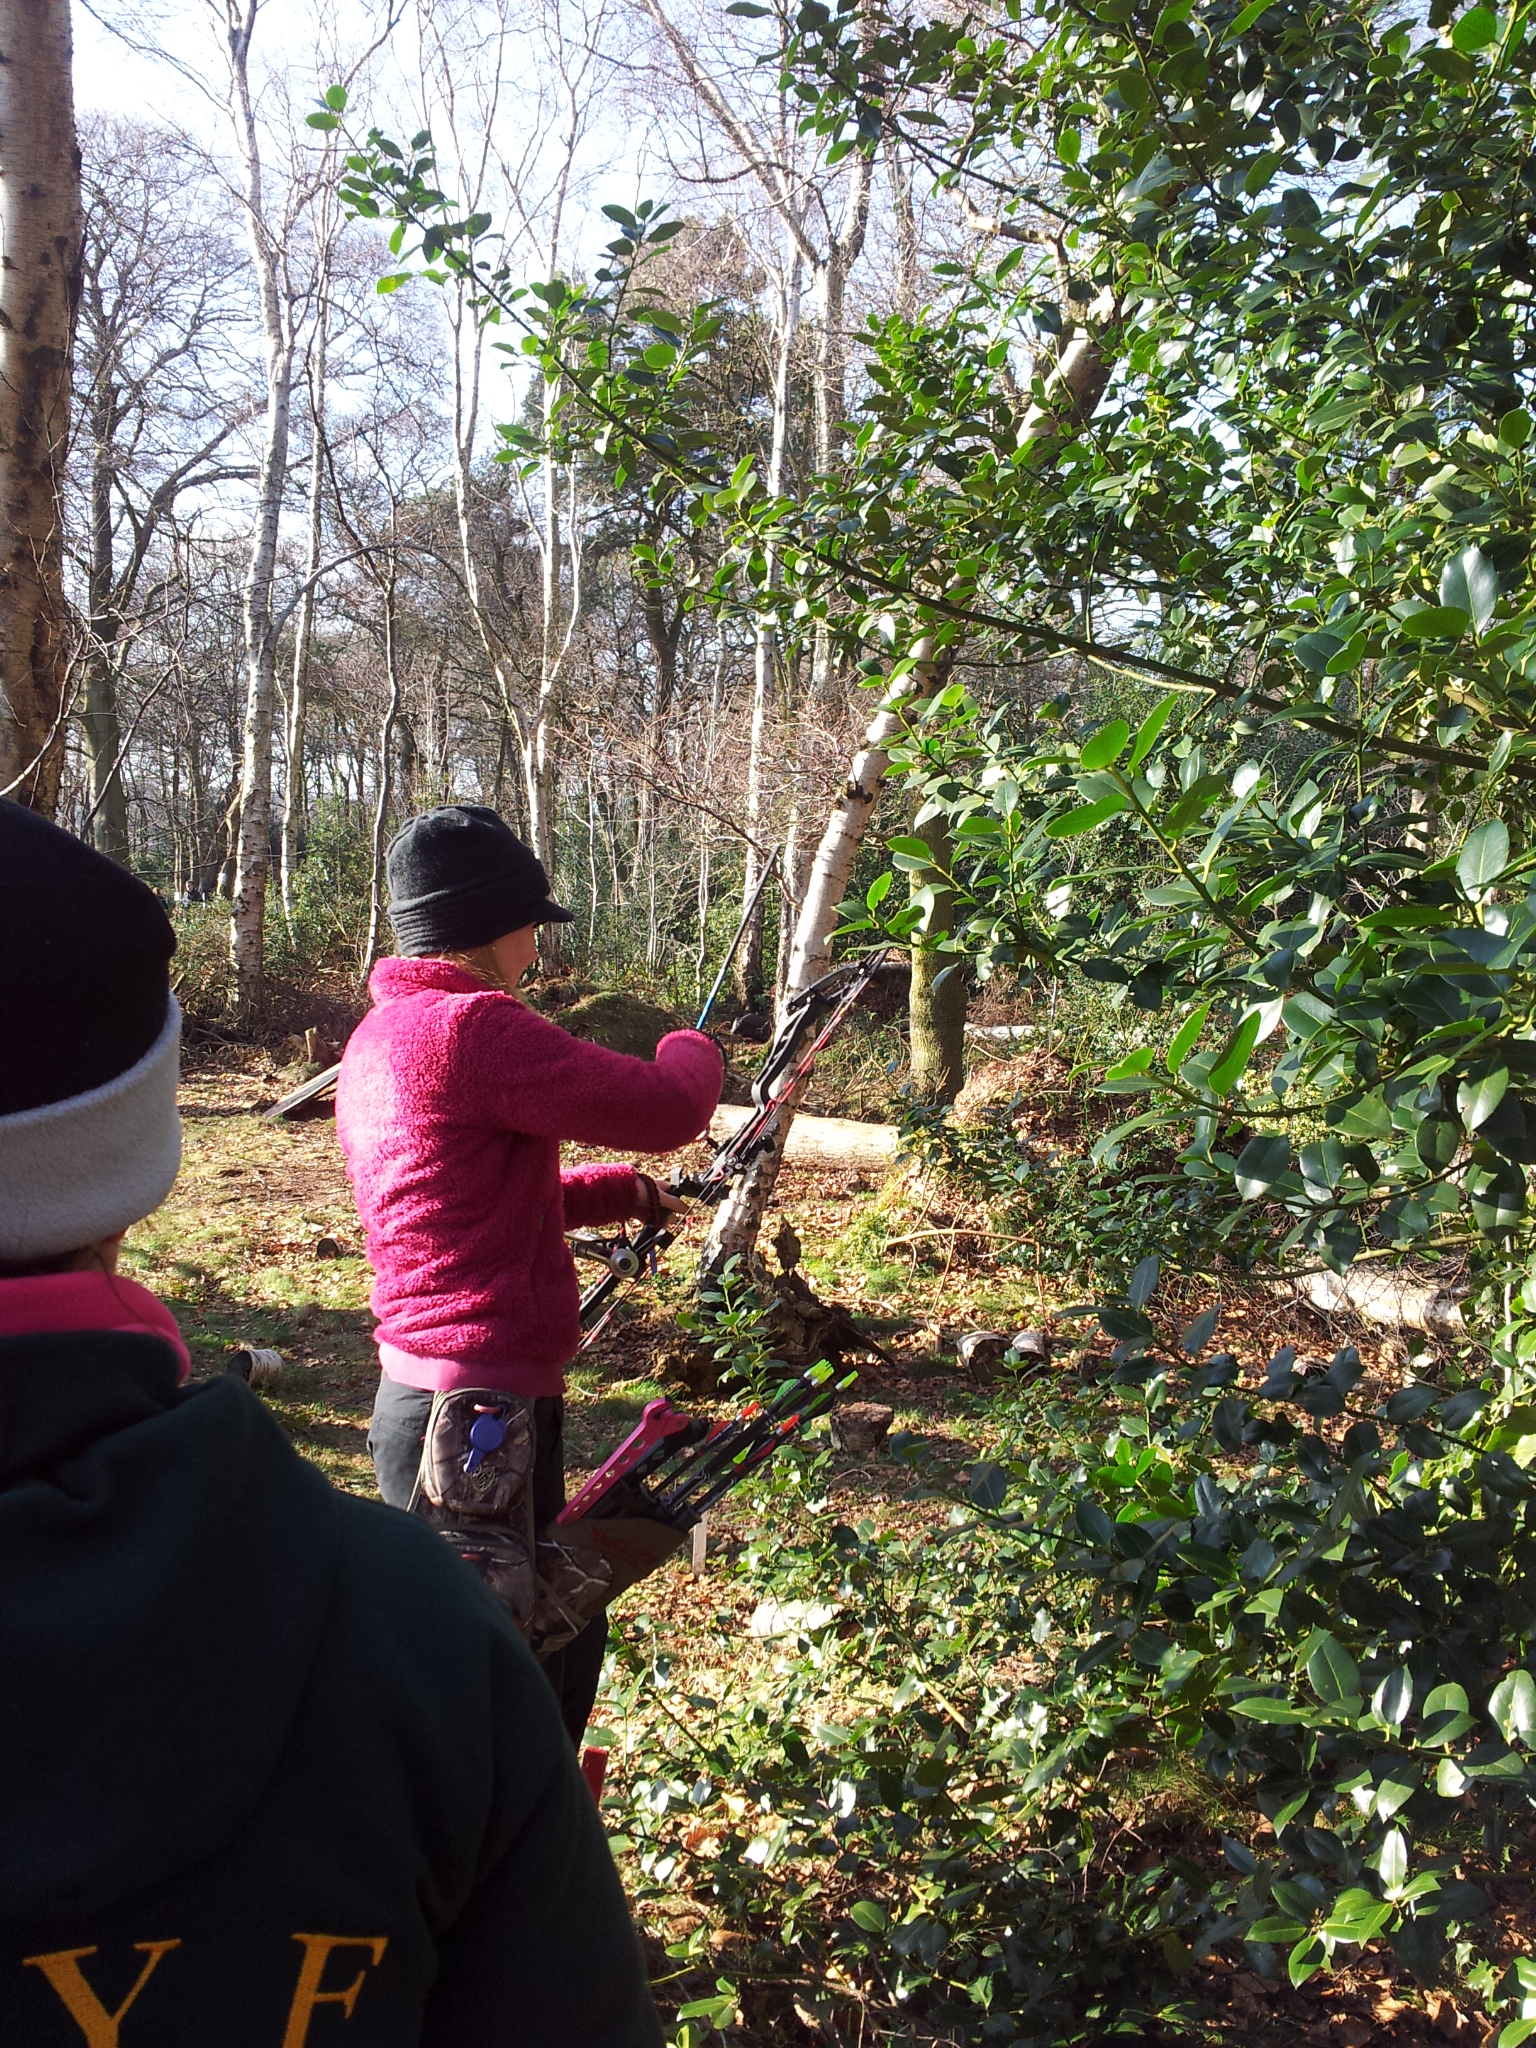
On the day we were very fortunate to have a had a great group too shoot with Trev, Emma, Robin (also from SVYF who we were taking round for his first ever NFAS shoot), Sharon and myself, with a mix of styles too with longbow, hunting tackle, barebow and compound. I was shooting Hunting Tackle (recurve bow without sights and wooden arrows) as I’d not had any practice with my flatbow.
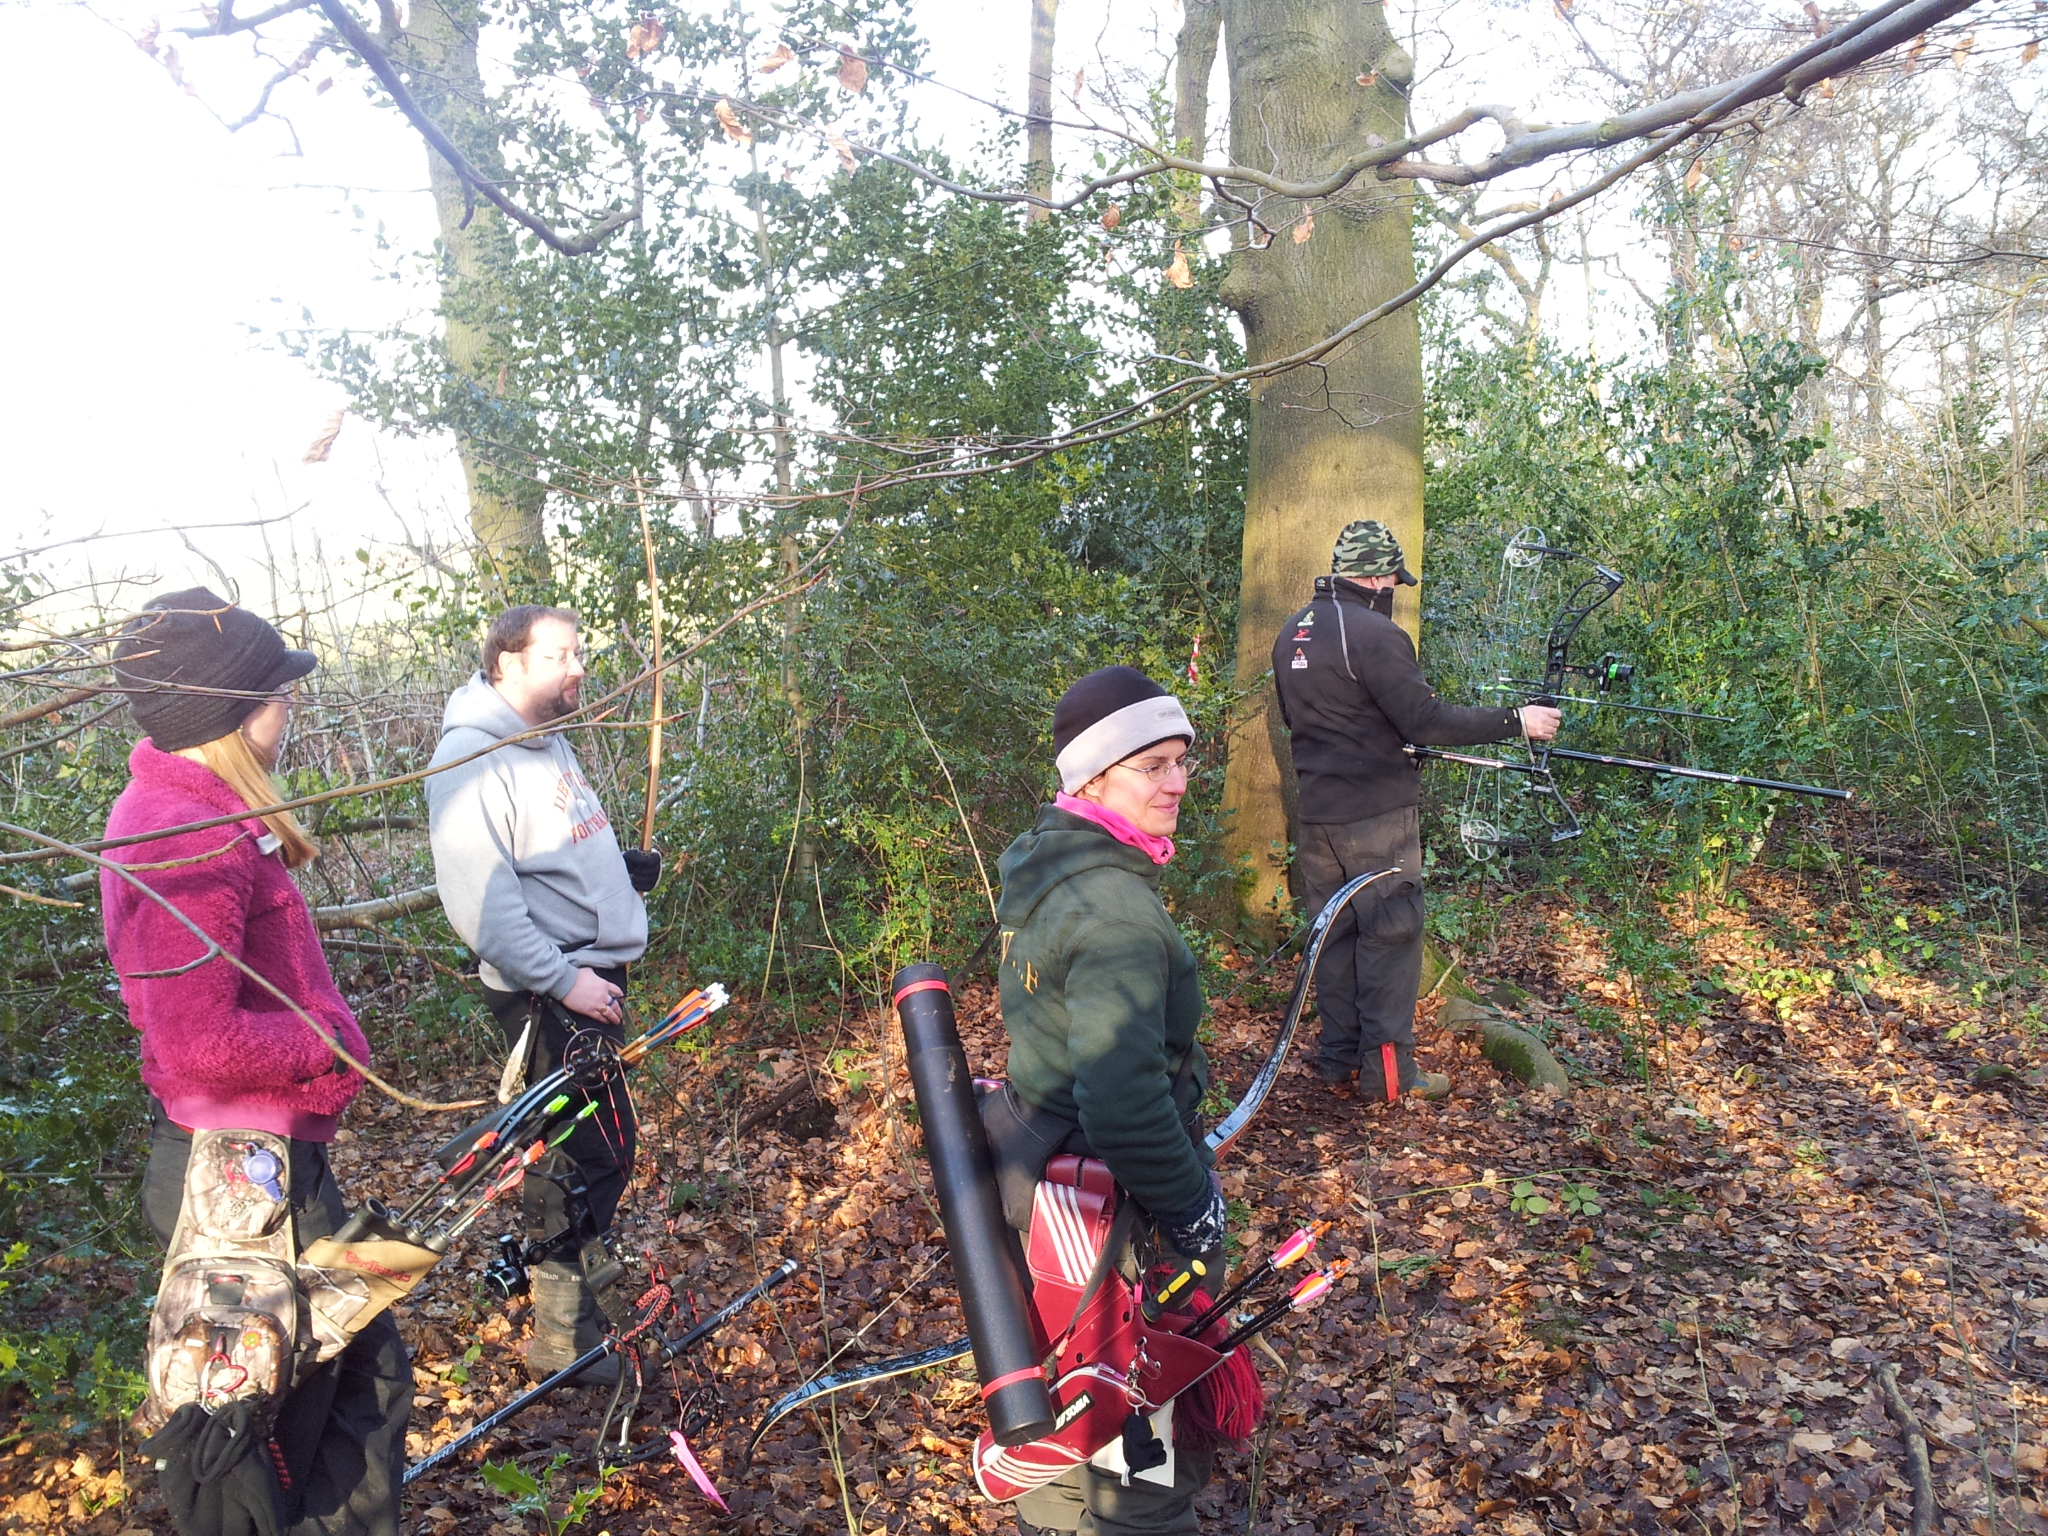
From left to right
Emma, Robin, Sharon and Trev
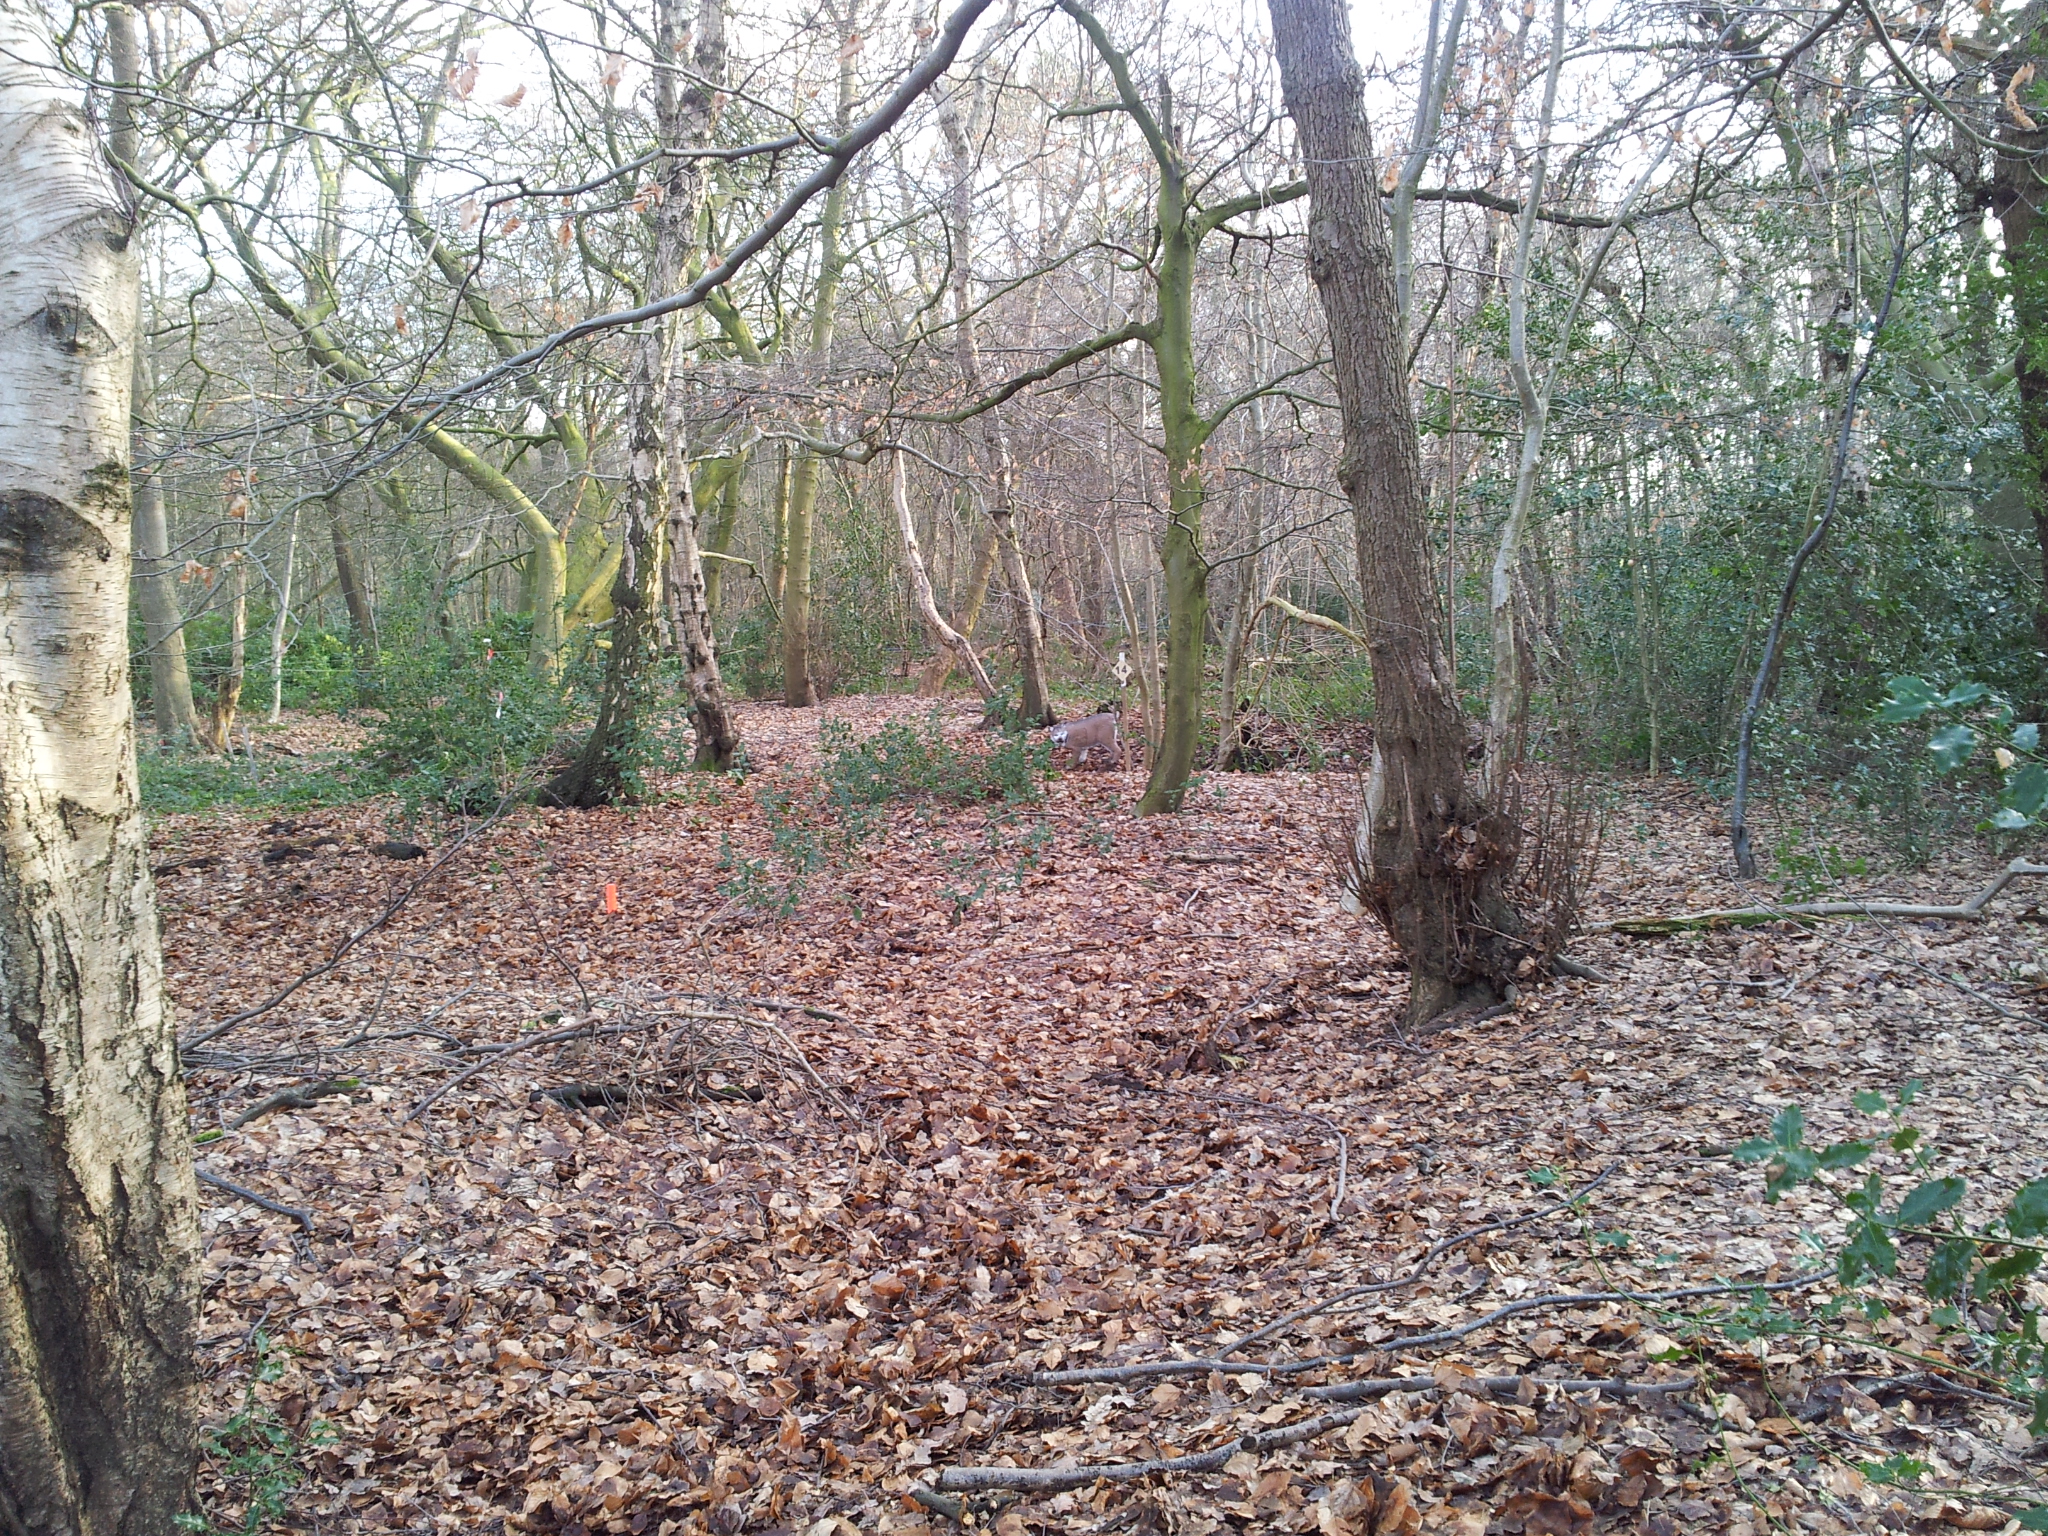
The course was made up of 36 targets, being a mix of 3D and paper faces about 50/50 I’d say with some less familiar faces too. The centres grounds are flat, with the woods being mainly deciduous woodland.
The shoot started at 10 am the day flowed well with only a short stop for lunch and no hold ups. We started on target 15.
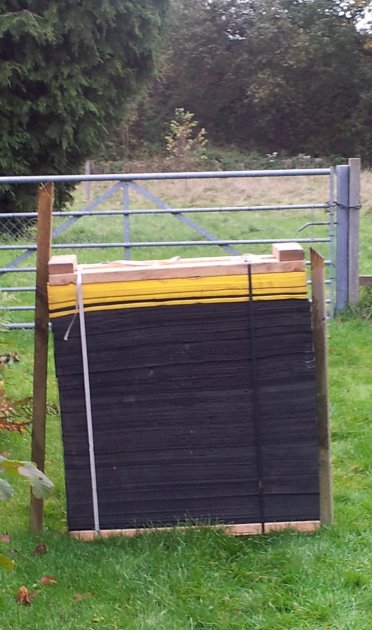
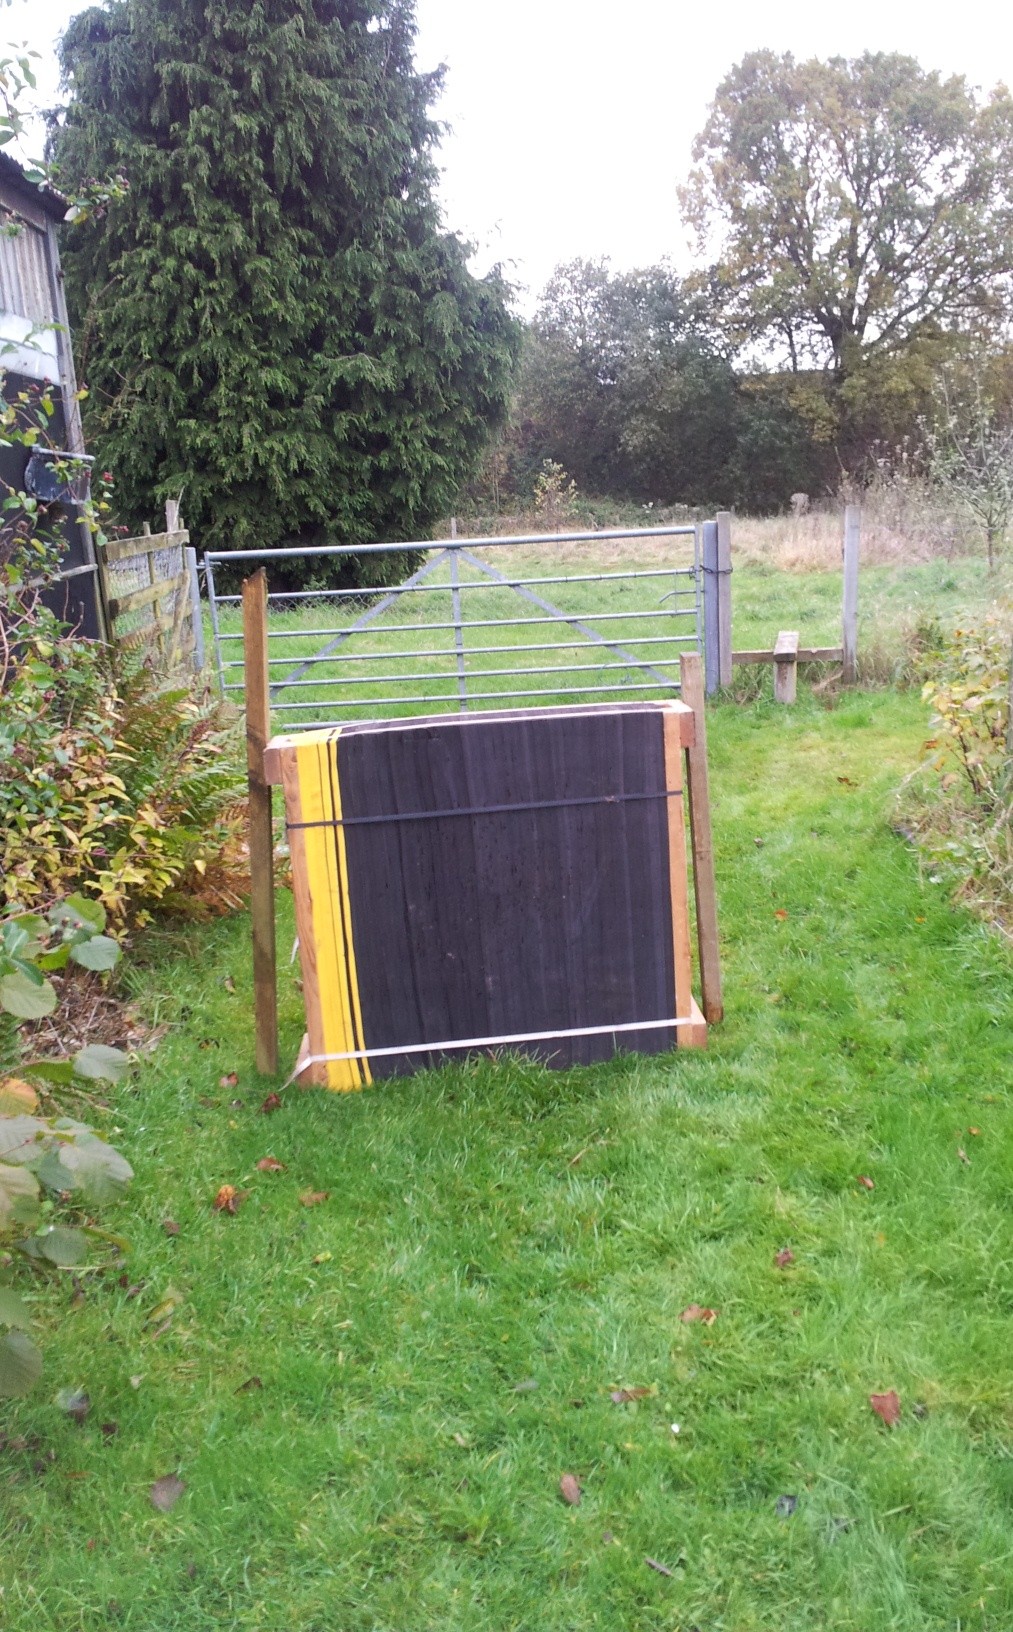
Target 16 – 3D coyote
Some of the shots were very nicely set like this one below of a 3D boar in a hole by an uprooted tree.
Paget Shoot – 3D boar in hollow
There were a few paper faces targets that were stretched for the distance which was a shame. Often course layers will put a paper face out and increase the recommend distance to make it a harder shot when it truth it can be done with careful positioning or use of ground. Sorry winge over.
In fairness there were also some very nicely set paper faces. This crocodile was a great example, can you spot the interesting feature? (No, Trev hasn’t shot himself in the head, its just the angle of the photo and how he is holding the arrow)

Paper Crocodile shot (No Trev hasn’t shot himself in the head)
This target was made more interesting as the target boss was slightly slanted forward.
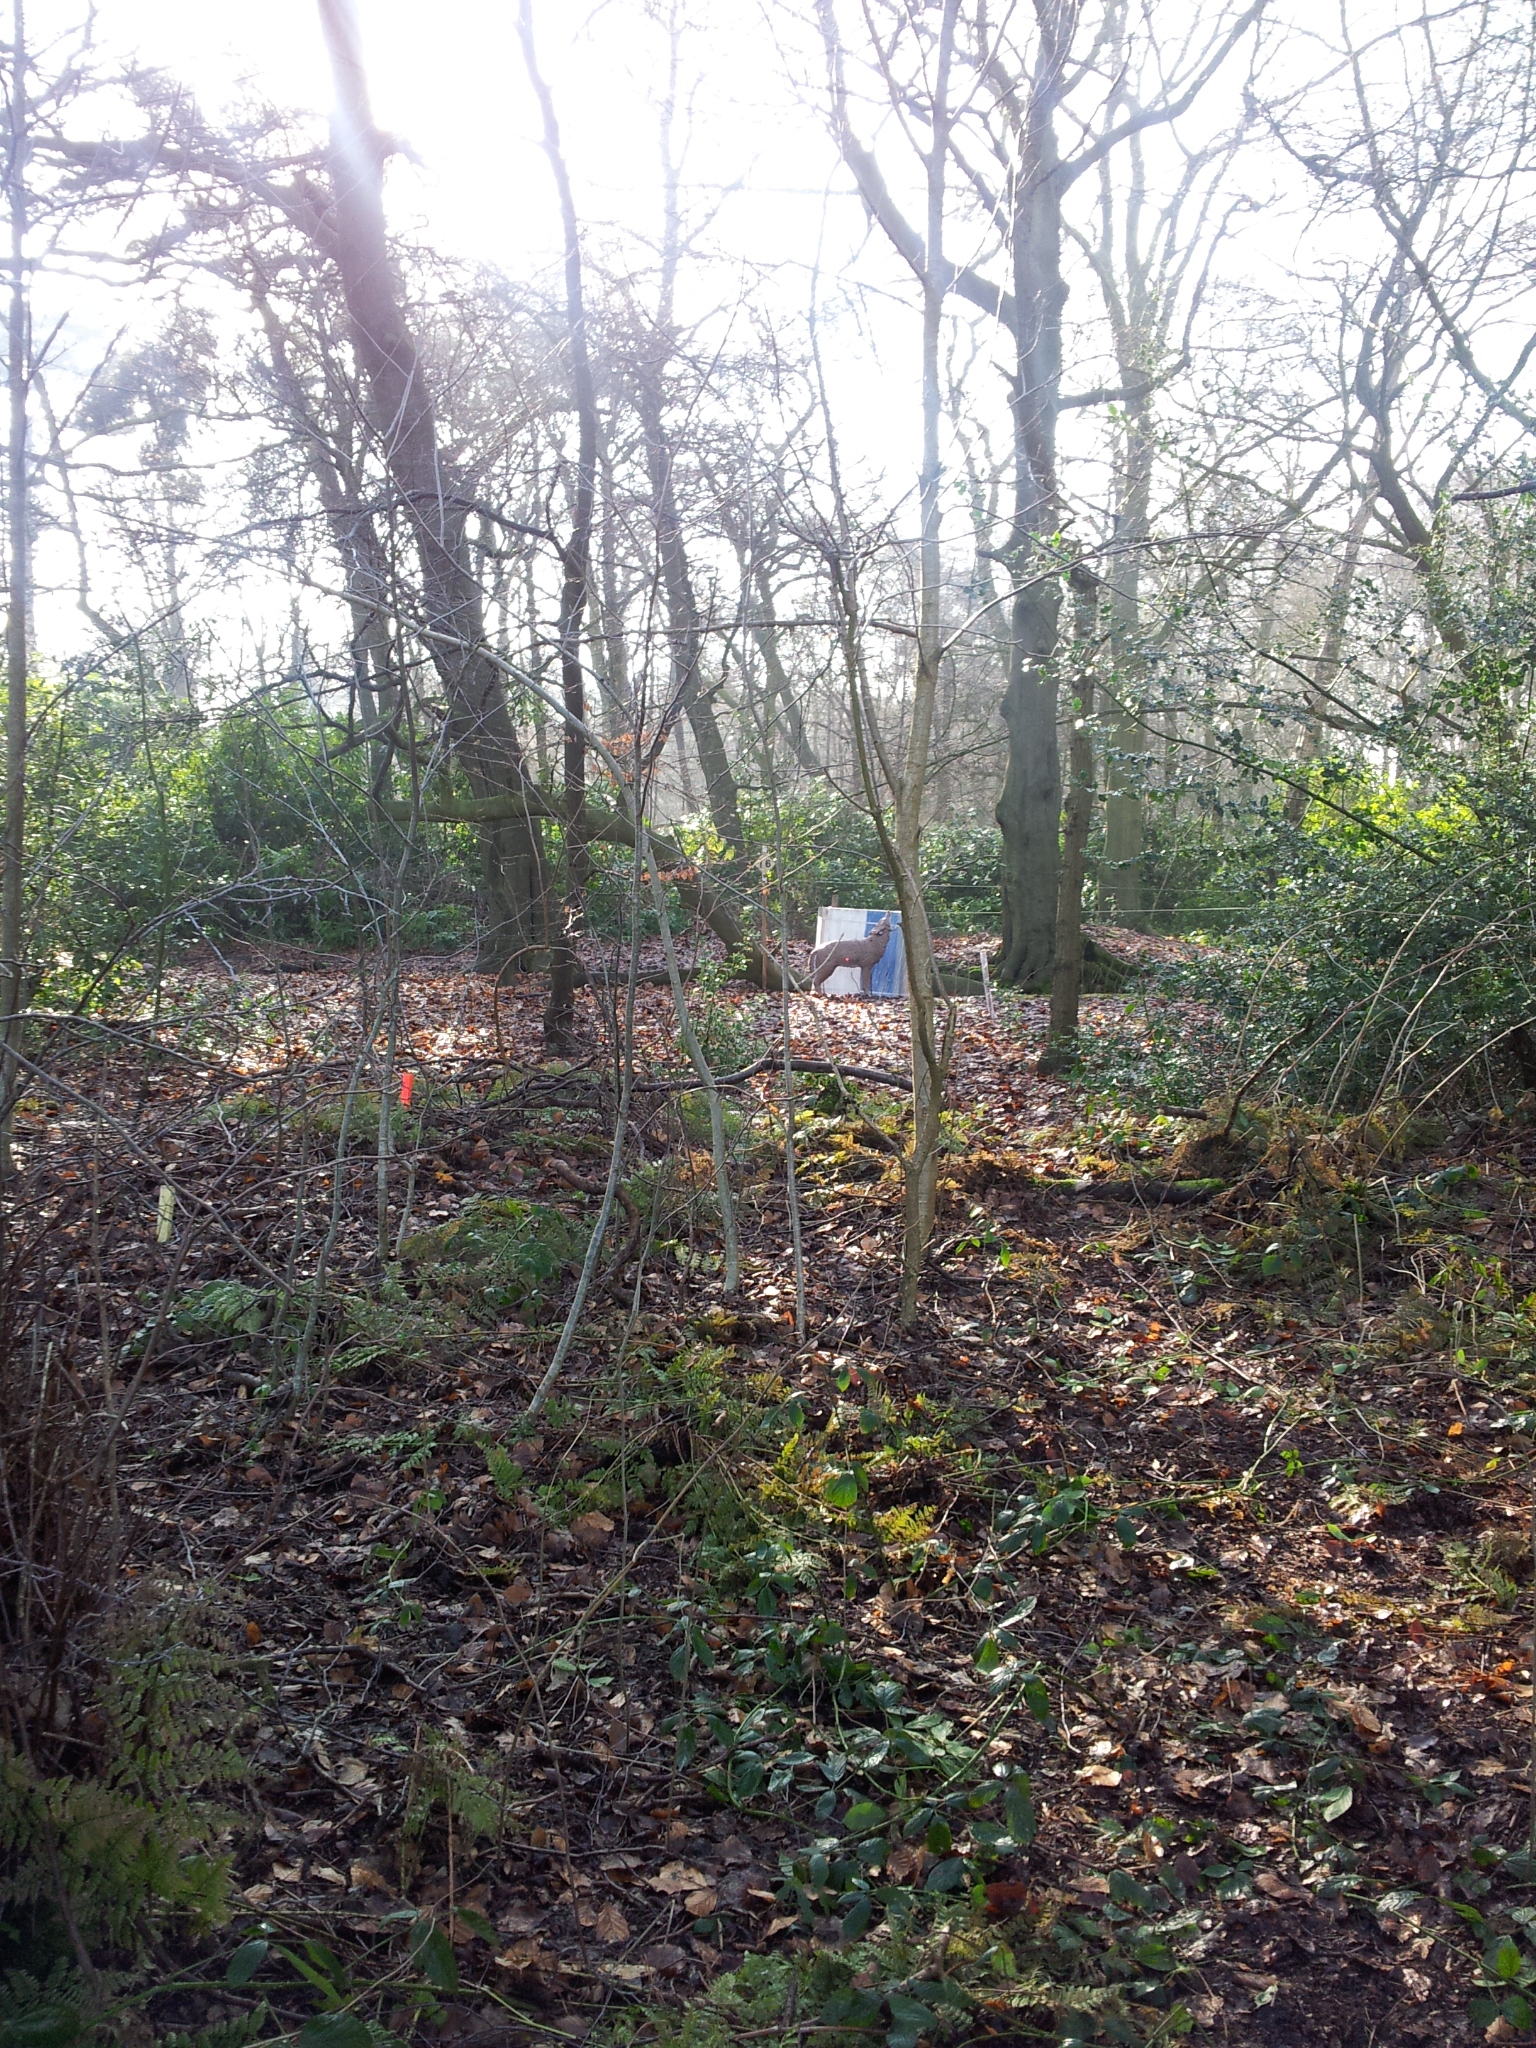
Target 14 – last of day – 3D bobcat
As readers of this blog will know I was a little anxious about this shoot. It would be the first Sharon had competed at following the recovery from injury. Saturday she had managed to shoot round the wood in full (40 targets) for the first time with her own bow for nearly 4 months.
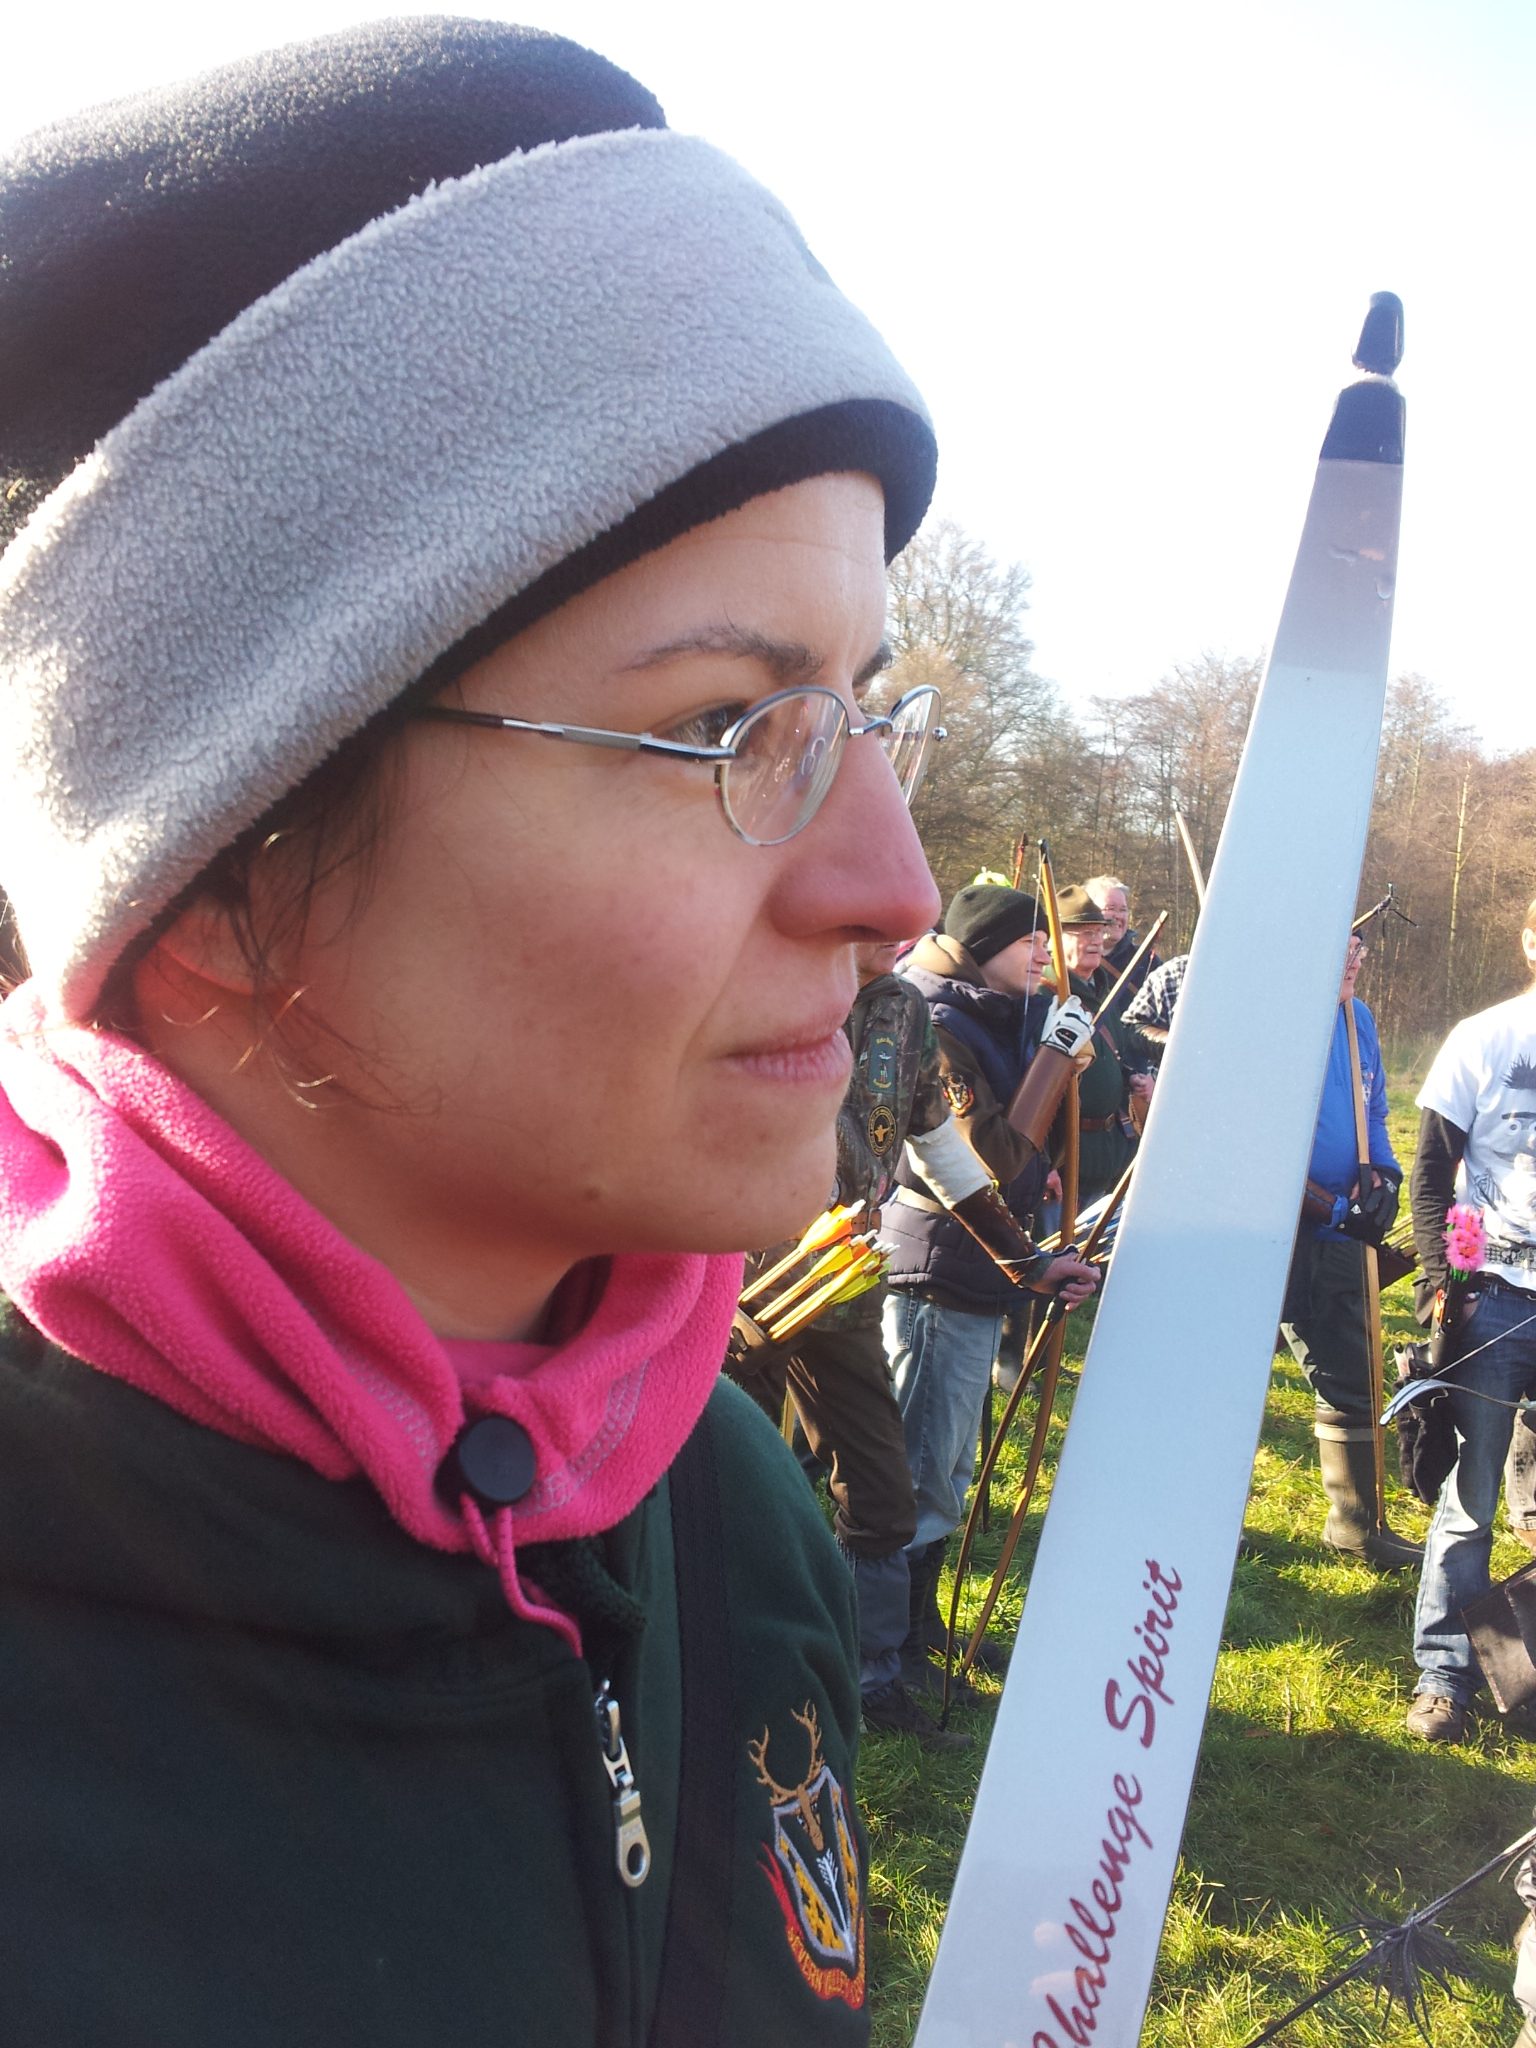
Sharon (holding my bow)
I needn’t have worried as she did really well and enjoyed the day. Though she will admit she was not up to her usual scoring level, she managed to shoot the entire course and it wasn’t until the latter part of the day that she began to feel tired and scores dropped off. Even then she scored 546 points (an average of just over 15 points a target) which was enough to secure first place in ladies Barebow. Well done.
Robin also did really well and seemed to enjoy himself and already booked on another shoot in a couple of weeks.
I came in with 596 points, no blanks and secured second place in gents Hunting Tackle, 8 points off first. Not bad considering I’ve only shot the bow a couple of times in the last few months.
Overall I’d say it was a great day, really good to catch up with so many familiar faces who we hadn’t seen for so long. Here is hoping for a good 2013 season.
Thanks for reading.