This shoot report covers our experiences of the Pride Park March shoot. This was the first trip to their new wood, which is only a stones throw from one of our old clubs Black Arrows wood.
So on Sunday we headed just north of Derby, about an hour and 20 minutes drive for us. The weather was dry but not as sunny or warm as the previous day, which had been the first real sign of spring arriving. But as I said it was dry, though it did get cold in the afternoon, which was a shame.
The shoot would also be a test for Sharon’s new arrows or rather piles for her x7. We have been experimenting with the pile weight in her arrows and she had tried a few different ones out on Saturday. So Saturday evening was spent with me swapping out old points for new inserts and screw in points.
Our shooting group was made up of 5 people, Pride Park limit their group numbers to 5 and I think this is a good plan. There was a good flow with no hold ups. The only delay in the day was after the lunch break, by which point it was getting a bit cold as the wind had picked up. In fact there was a really relaxed atmosphere all day.
The course was a mix of paper faces, 3D targets and couple of hessian / fabric faces. We started in the small wood, with a downhill hessian target.
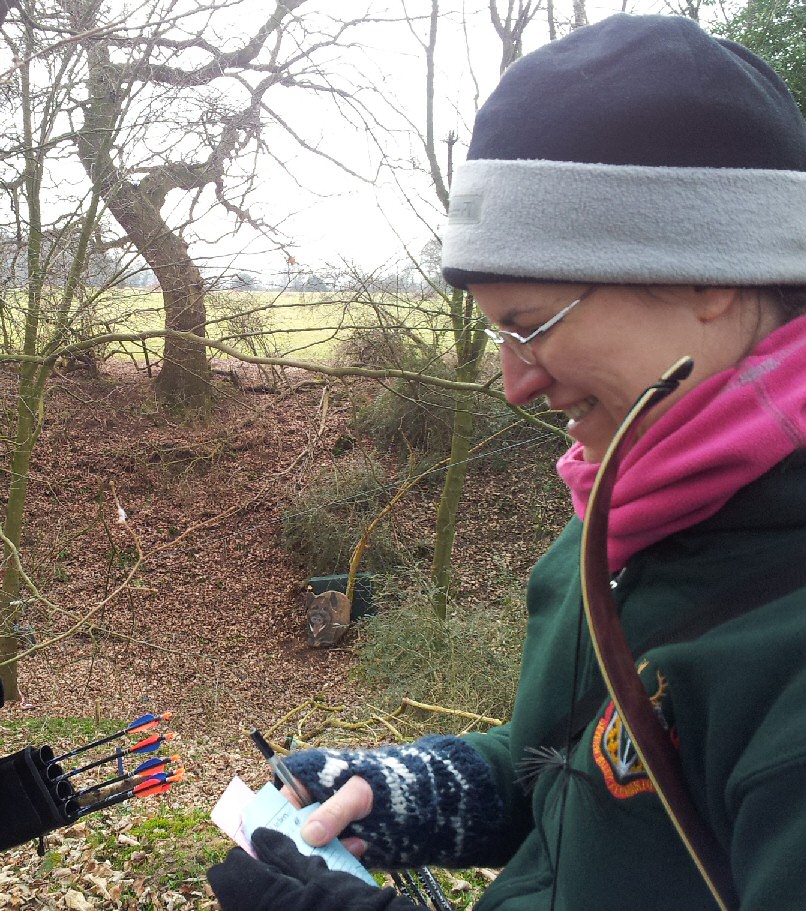
Sharon at first target
It was good to see that targets, especially paper ones, had been put out at sensible distances making them hitable targets.
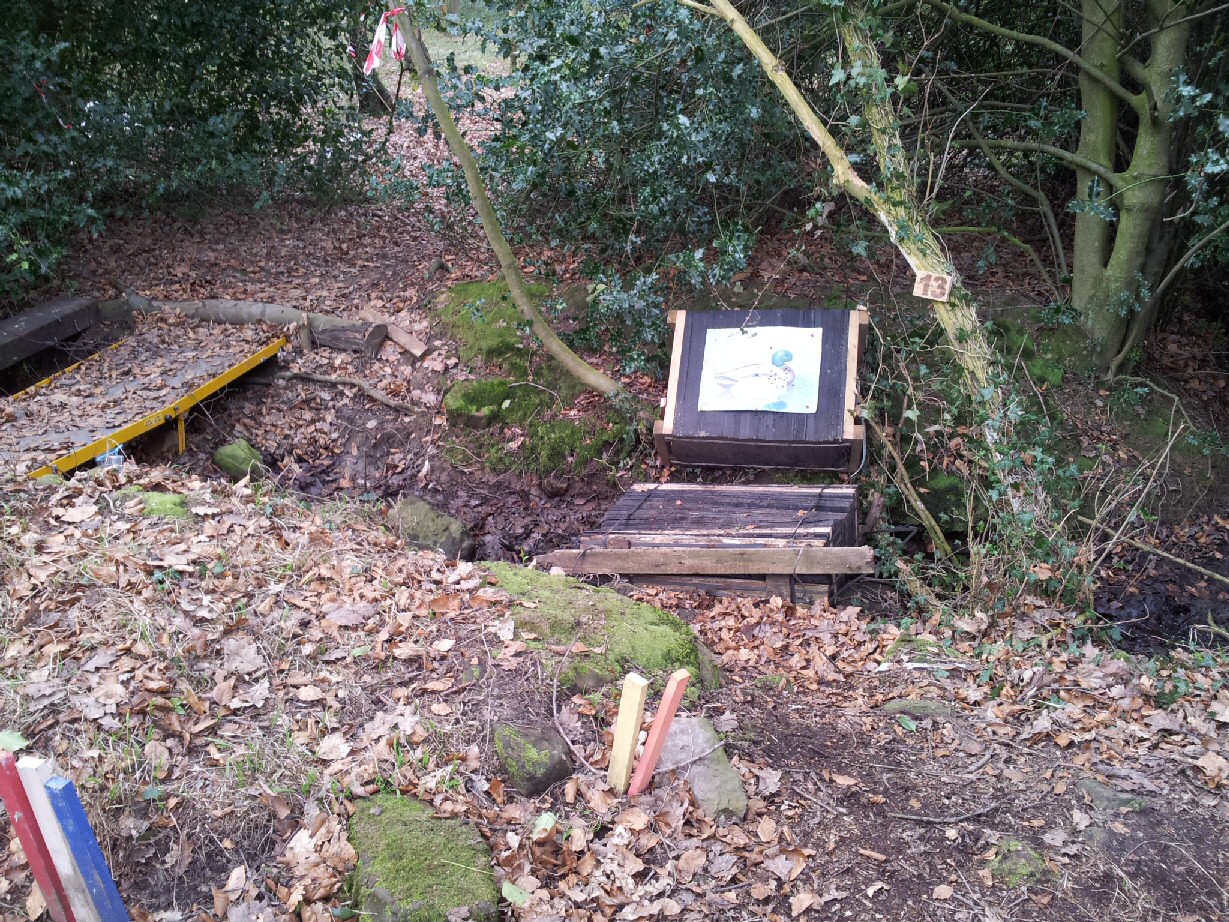
target 13 Close paper duck
In fact there were a few larger faces put closer than normal that confused a lot of archers, resulting in them misjudging the distance.

Scott shooting target 15
The paper faces included my 3 least favourite, the ermine, standing hare and red squirrel.

JVD Ermin target face

JVD Hare target face

JVD Red Squirrel target face
Why do I hate them? Well besides 2 of them being very small (ermine and squirrel have a 20mm inner scoring zone) the 3rd, the hare, is easy to miss if you lose your line and go slightly left or right, as it is quite tall but skinny.
For those interested I scored 20 on the ermine, 8 (3rd arrow) on the hare and 16 on the squirrel. so that is 2 first arrows and one 3rd, not too bad really.
It all it was a good day with Scott and Zack Ball, Norman joining Sharon and I to make up our group of 5.
Despite being very close to Black Arrows wood the grounds are very different. Black arrow is on a hillside and quite small whilst Pride Parks ground is made up of 2 woods with a connecting field / hedge row, with a small coppice that allows for steeper angles and downhill shots, the other wood is more open and flat allowing for longer shots.
As for how I got on, not great 604 on 36 targets, top score in my class was 654 I think. Sharon did well getting first place again in ladies Barebow. Guess the new arrows worked.
As always thanks for reading.