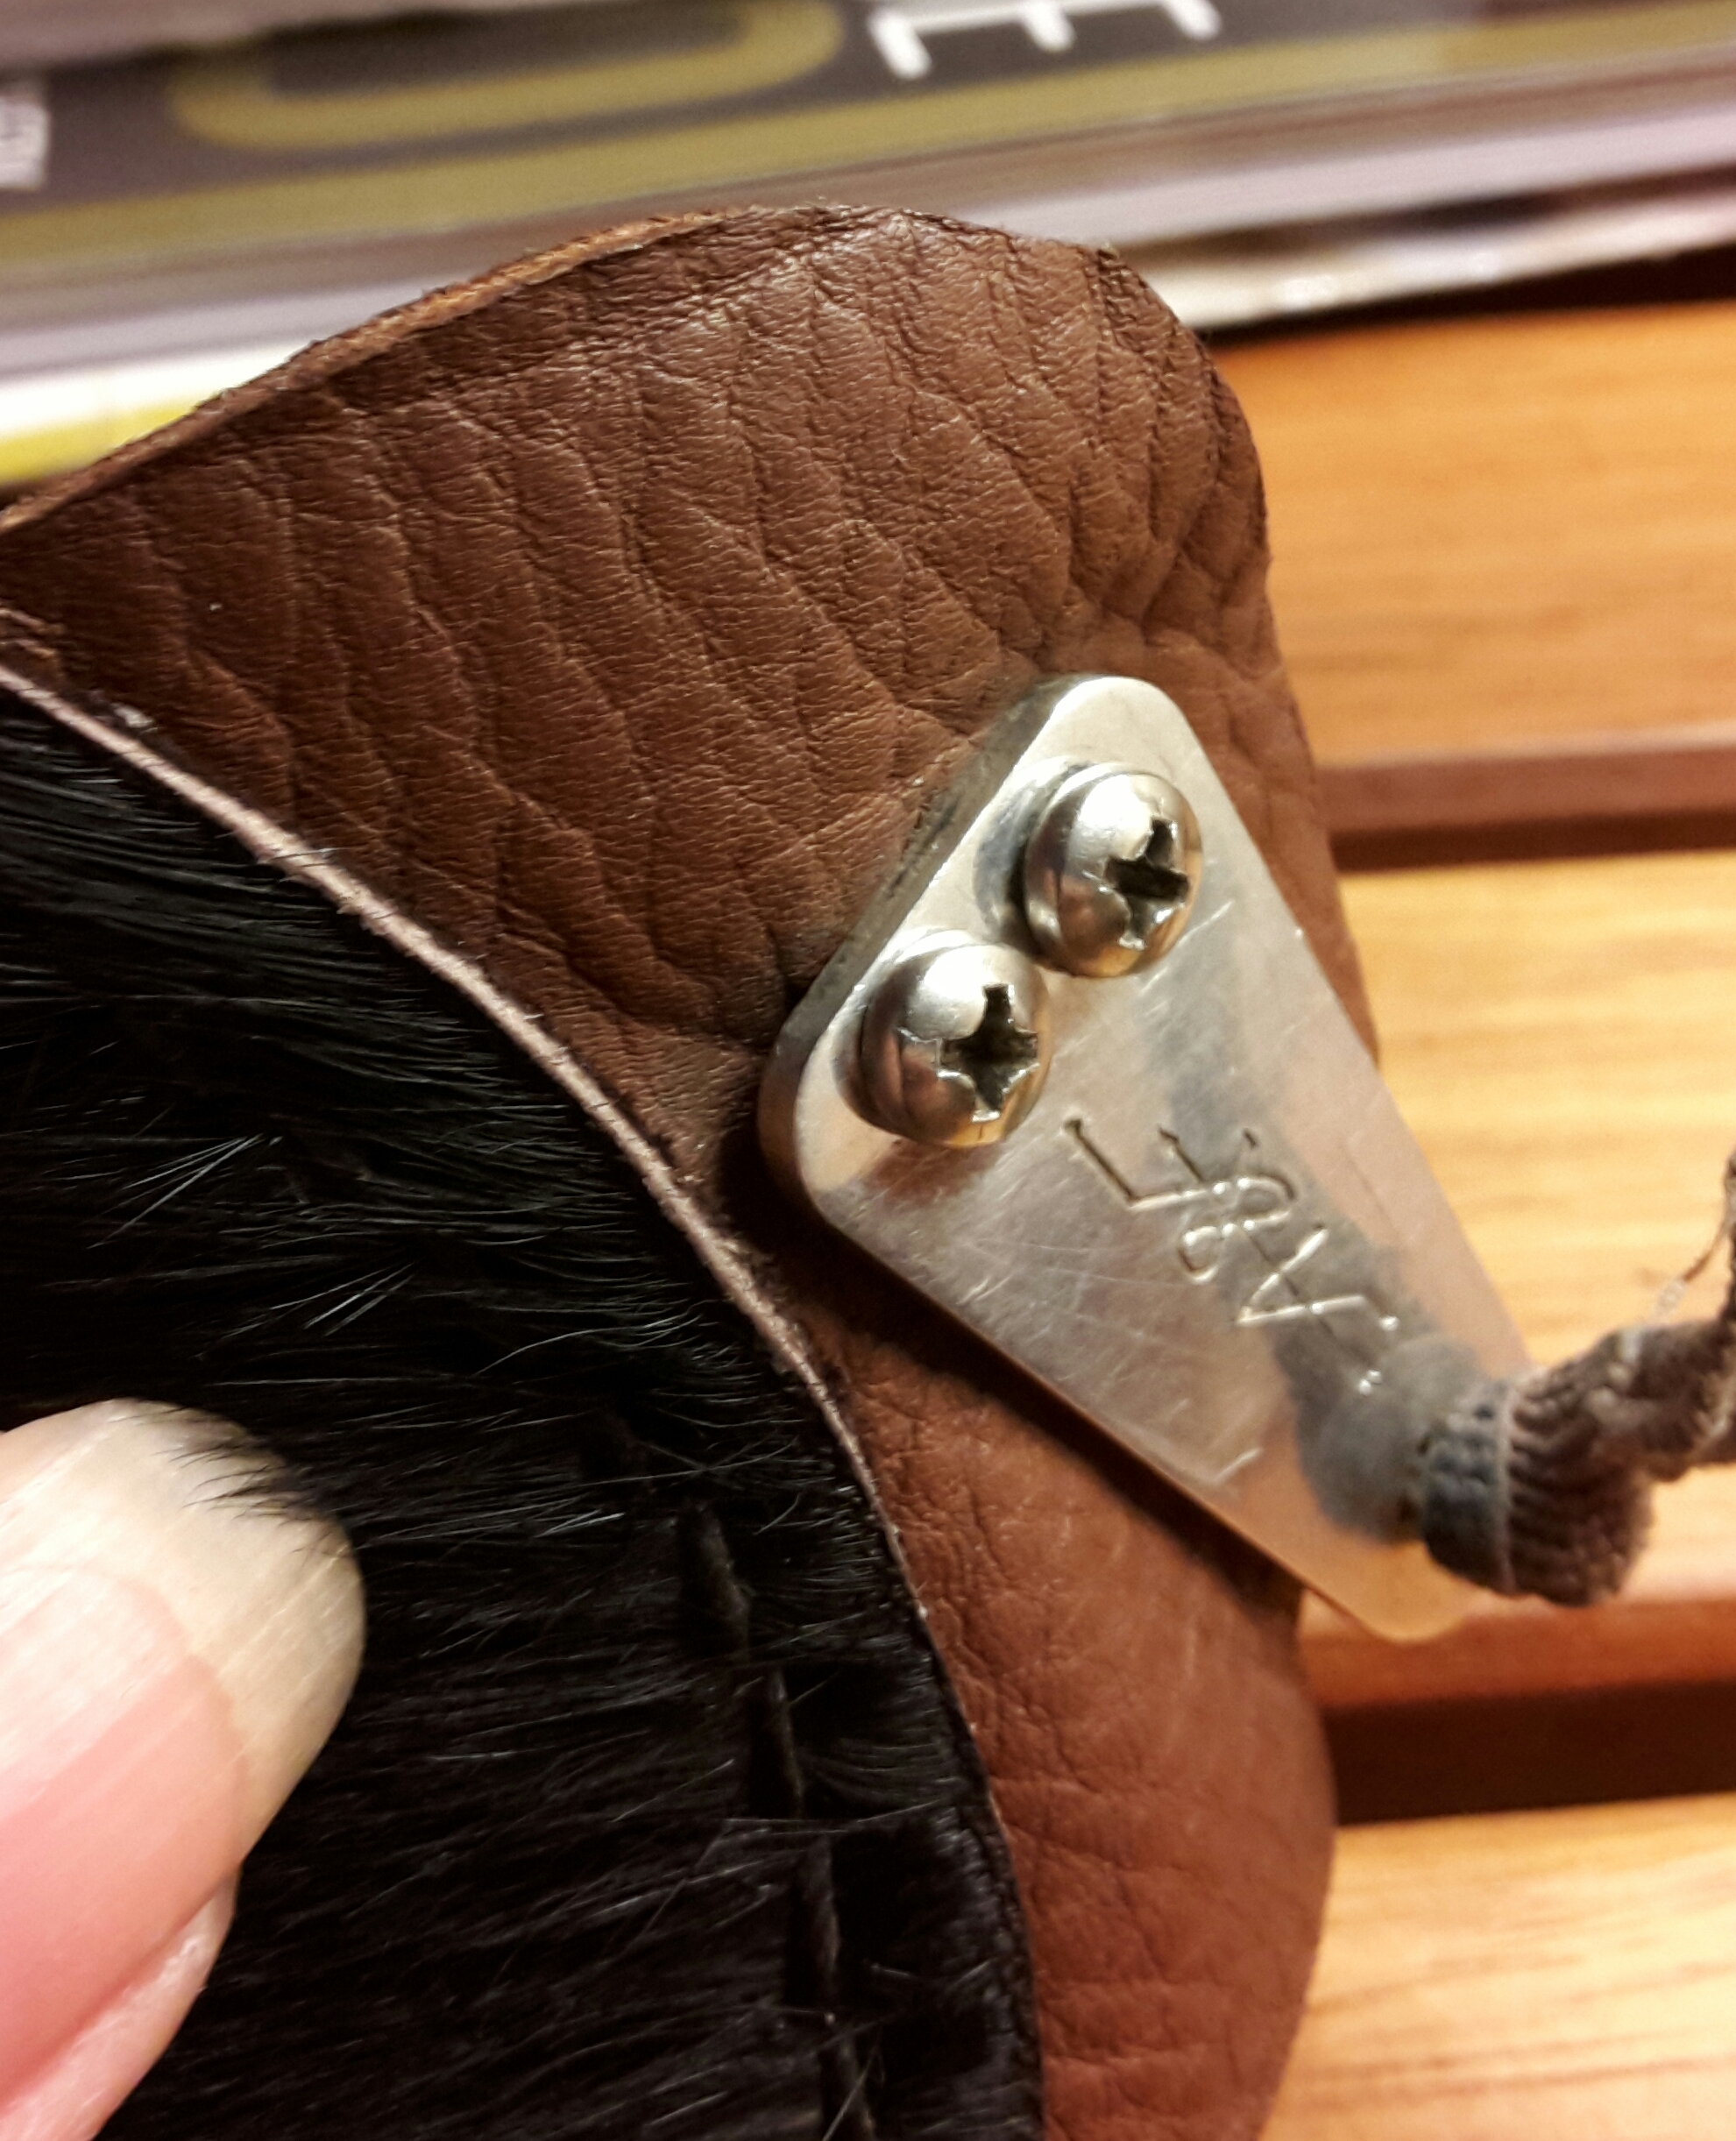
Quite often I find my arrows break directly behind the pile, leaving a small piece of wood inside the pile which can be difficult to remove especially if you want to reuse the pile.
I know some people drill the wood out and others simply throw away the pile.
Well I thought I would show how I remove the broken piece of wood.
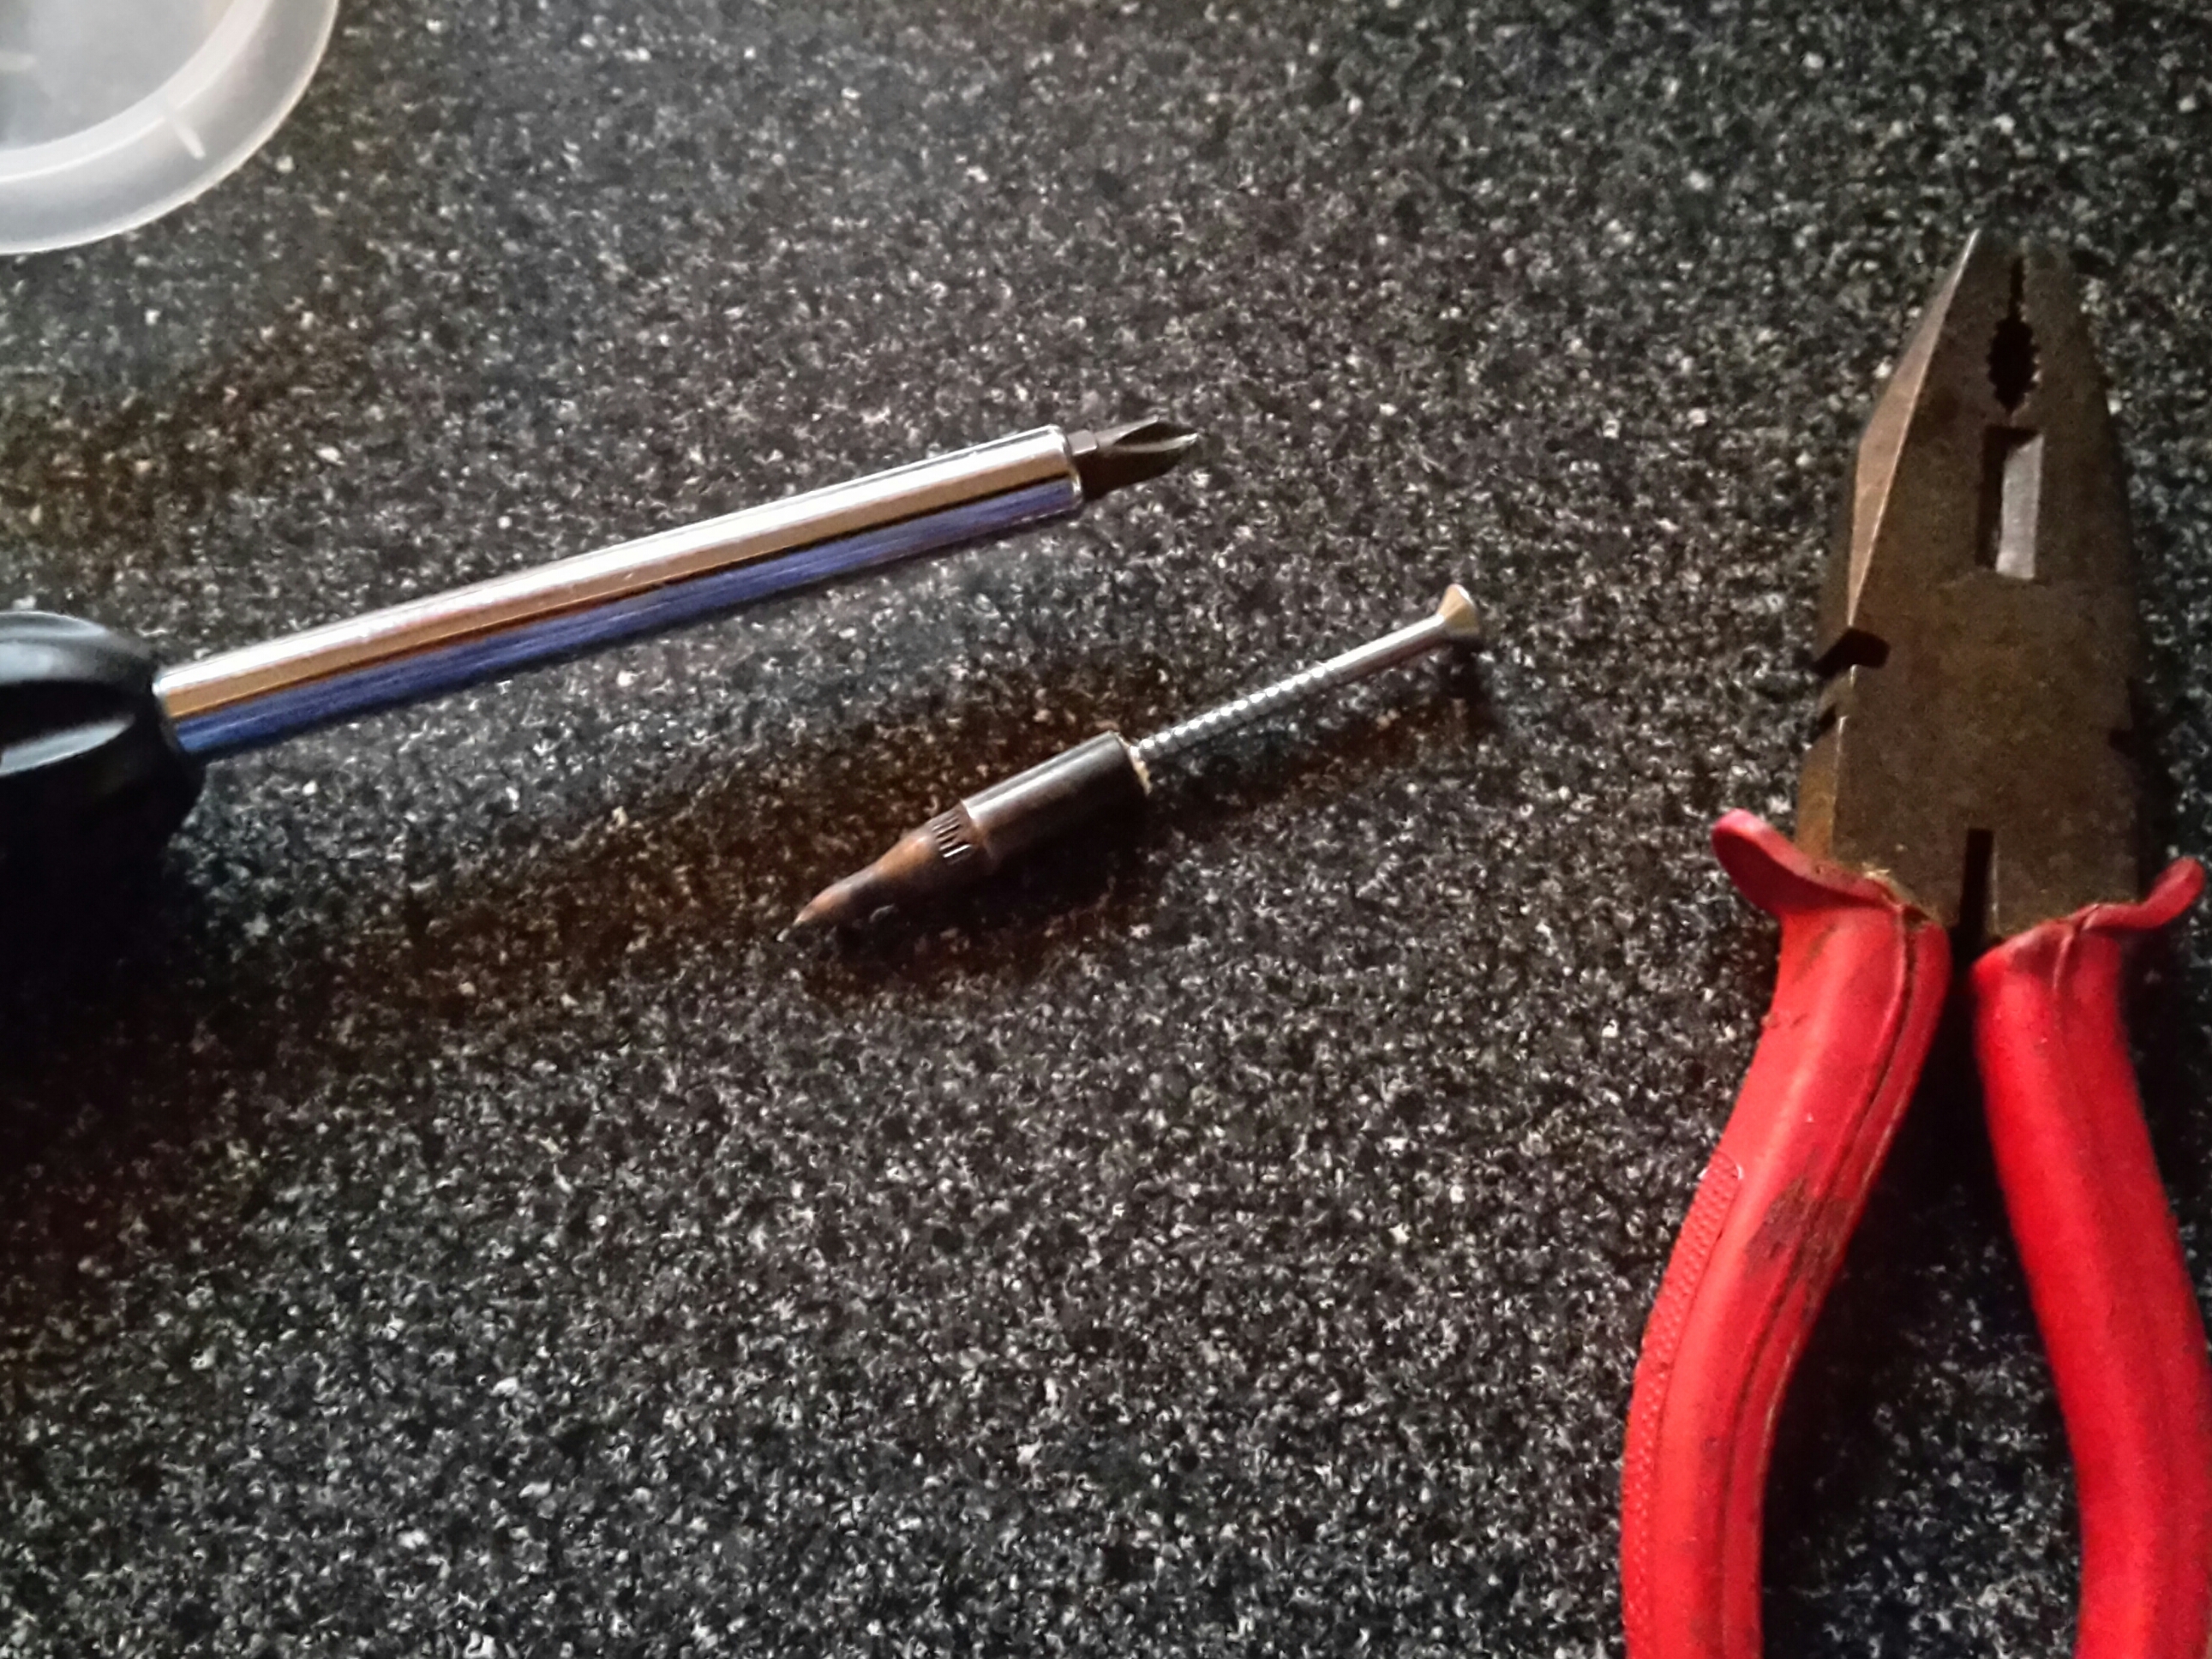
Tools required
1 x long wood screw 2 1/2″ is ideal (cross head)
1 x screwdriver
1 x gas stove or gas ring
1-2 x pliers
1 x small pot or basin of water
First stage is to carefully take the screw and screw it into the wood still in the pile.
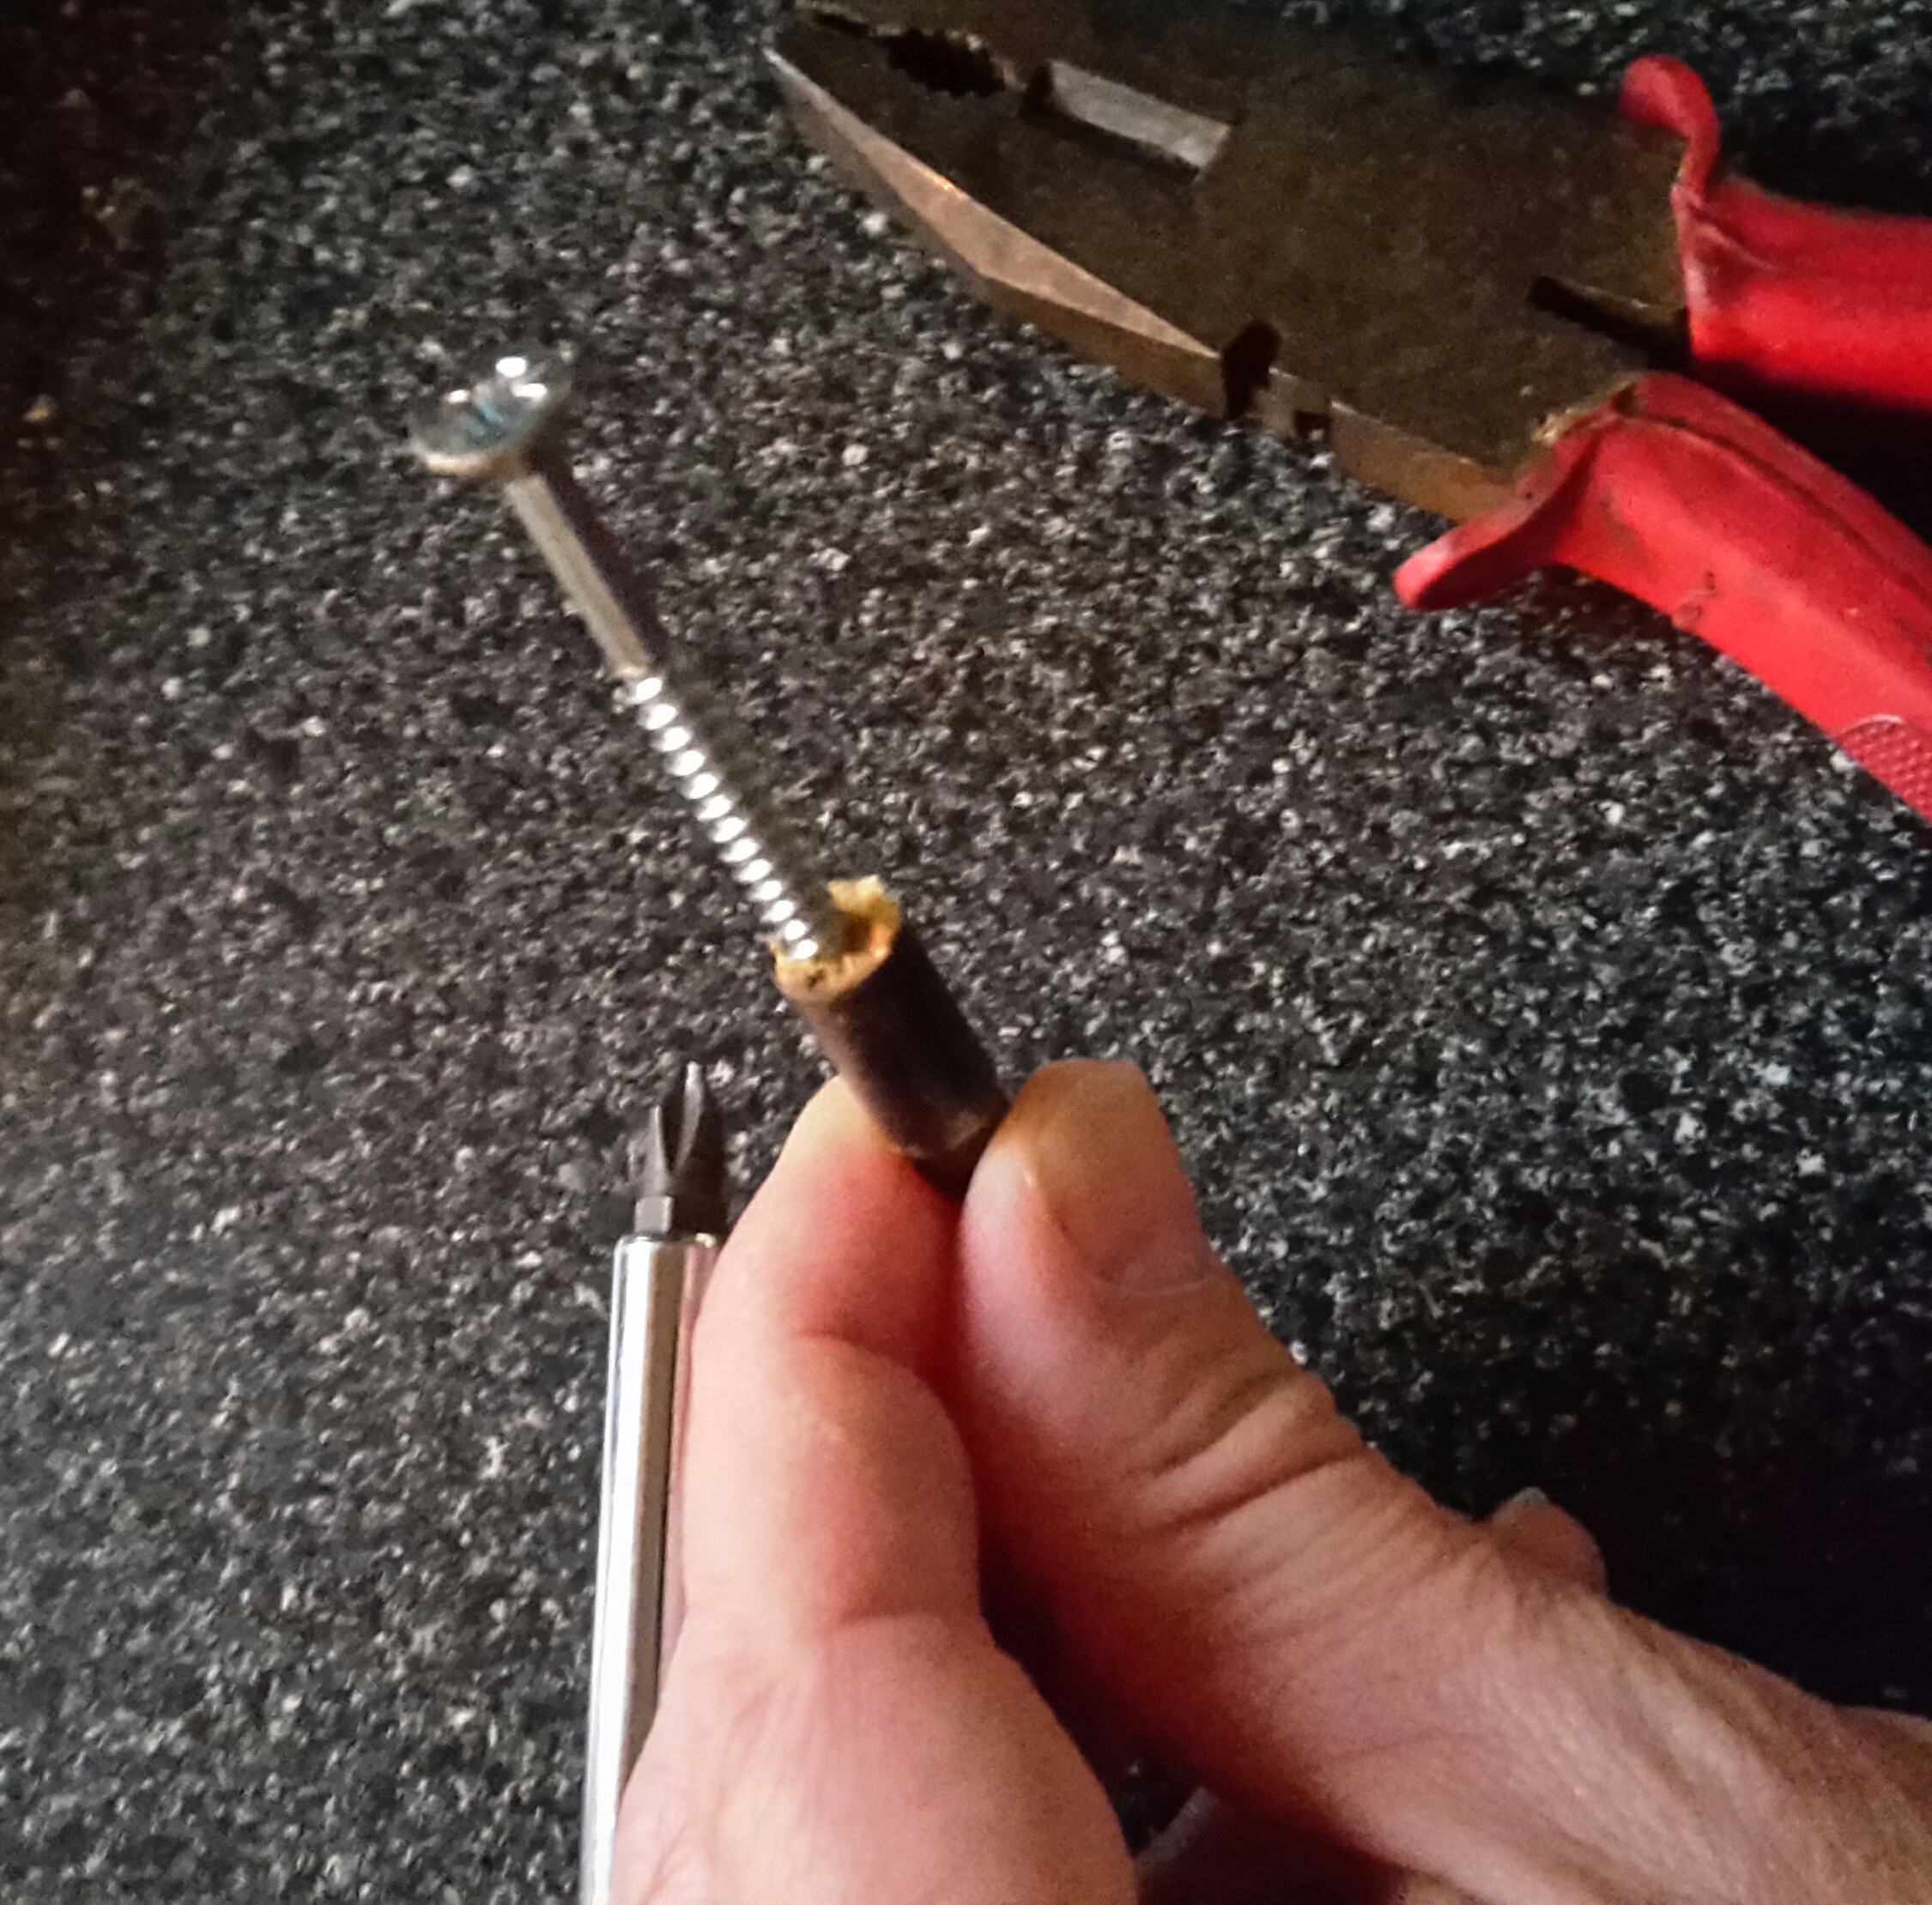
Screw into wood
Once the screw is secured in the wood, you need to heat the pile up as this breaks down the glue securing the wood to the pile.
Holding it by the screw you can heat the pile using the gas ring. It should only take 10-20 seconds.
Word of warning here.
I usually use screw on piles, but if you have taper fit or parrell fit you can have the piles pop off as the glue and gases in the glue expand under the heat.The reason I mention this is on one occasion when removing a pile I left it in the ring to heat up too long as I worked on another. I heard a loud pop and saw the pile shoot across the kitchen towards the window and the screw and wood went in another direction. Fortunately no one was injured and nothing was broken (otherwise I think Sharon might have injured me)

Heating the pile
It’s worth doing this in a well ventilated room as the glue can stinks, especially the two part epoxy I use. How long you keep it in the flame will vary depending on the glue. Hot melt, melts quickly whilst some epoxy ones might take 20 seconds. It’s a bit of trial and error here.
Step 3
Holding the now heated pile in the pliers (don’t grab it with your hand as it will be hot) take the screw driver and continue to screw the screw into the wood.
You should find that because the glue has melted and lost adhesion to the pile the screw will force the wood free. Resulting in the wood remaining on the screw and free of the pile.
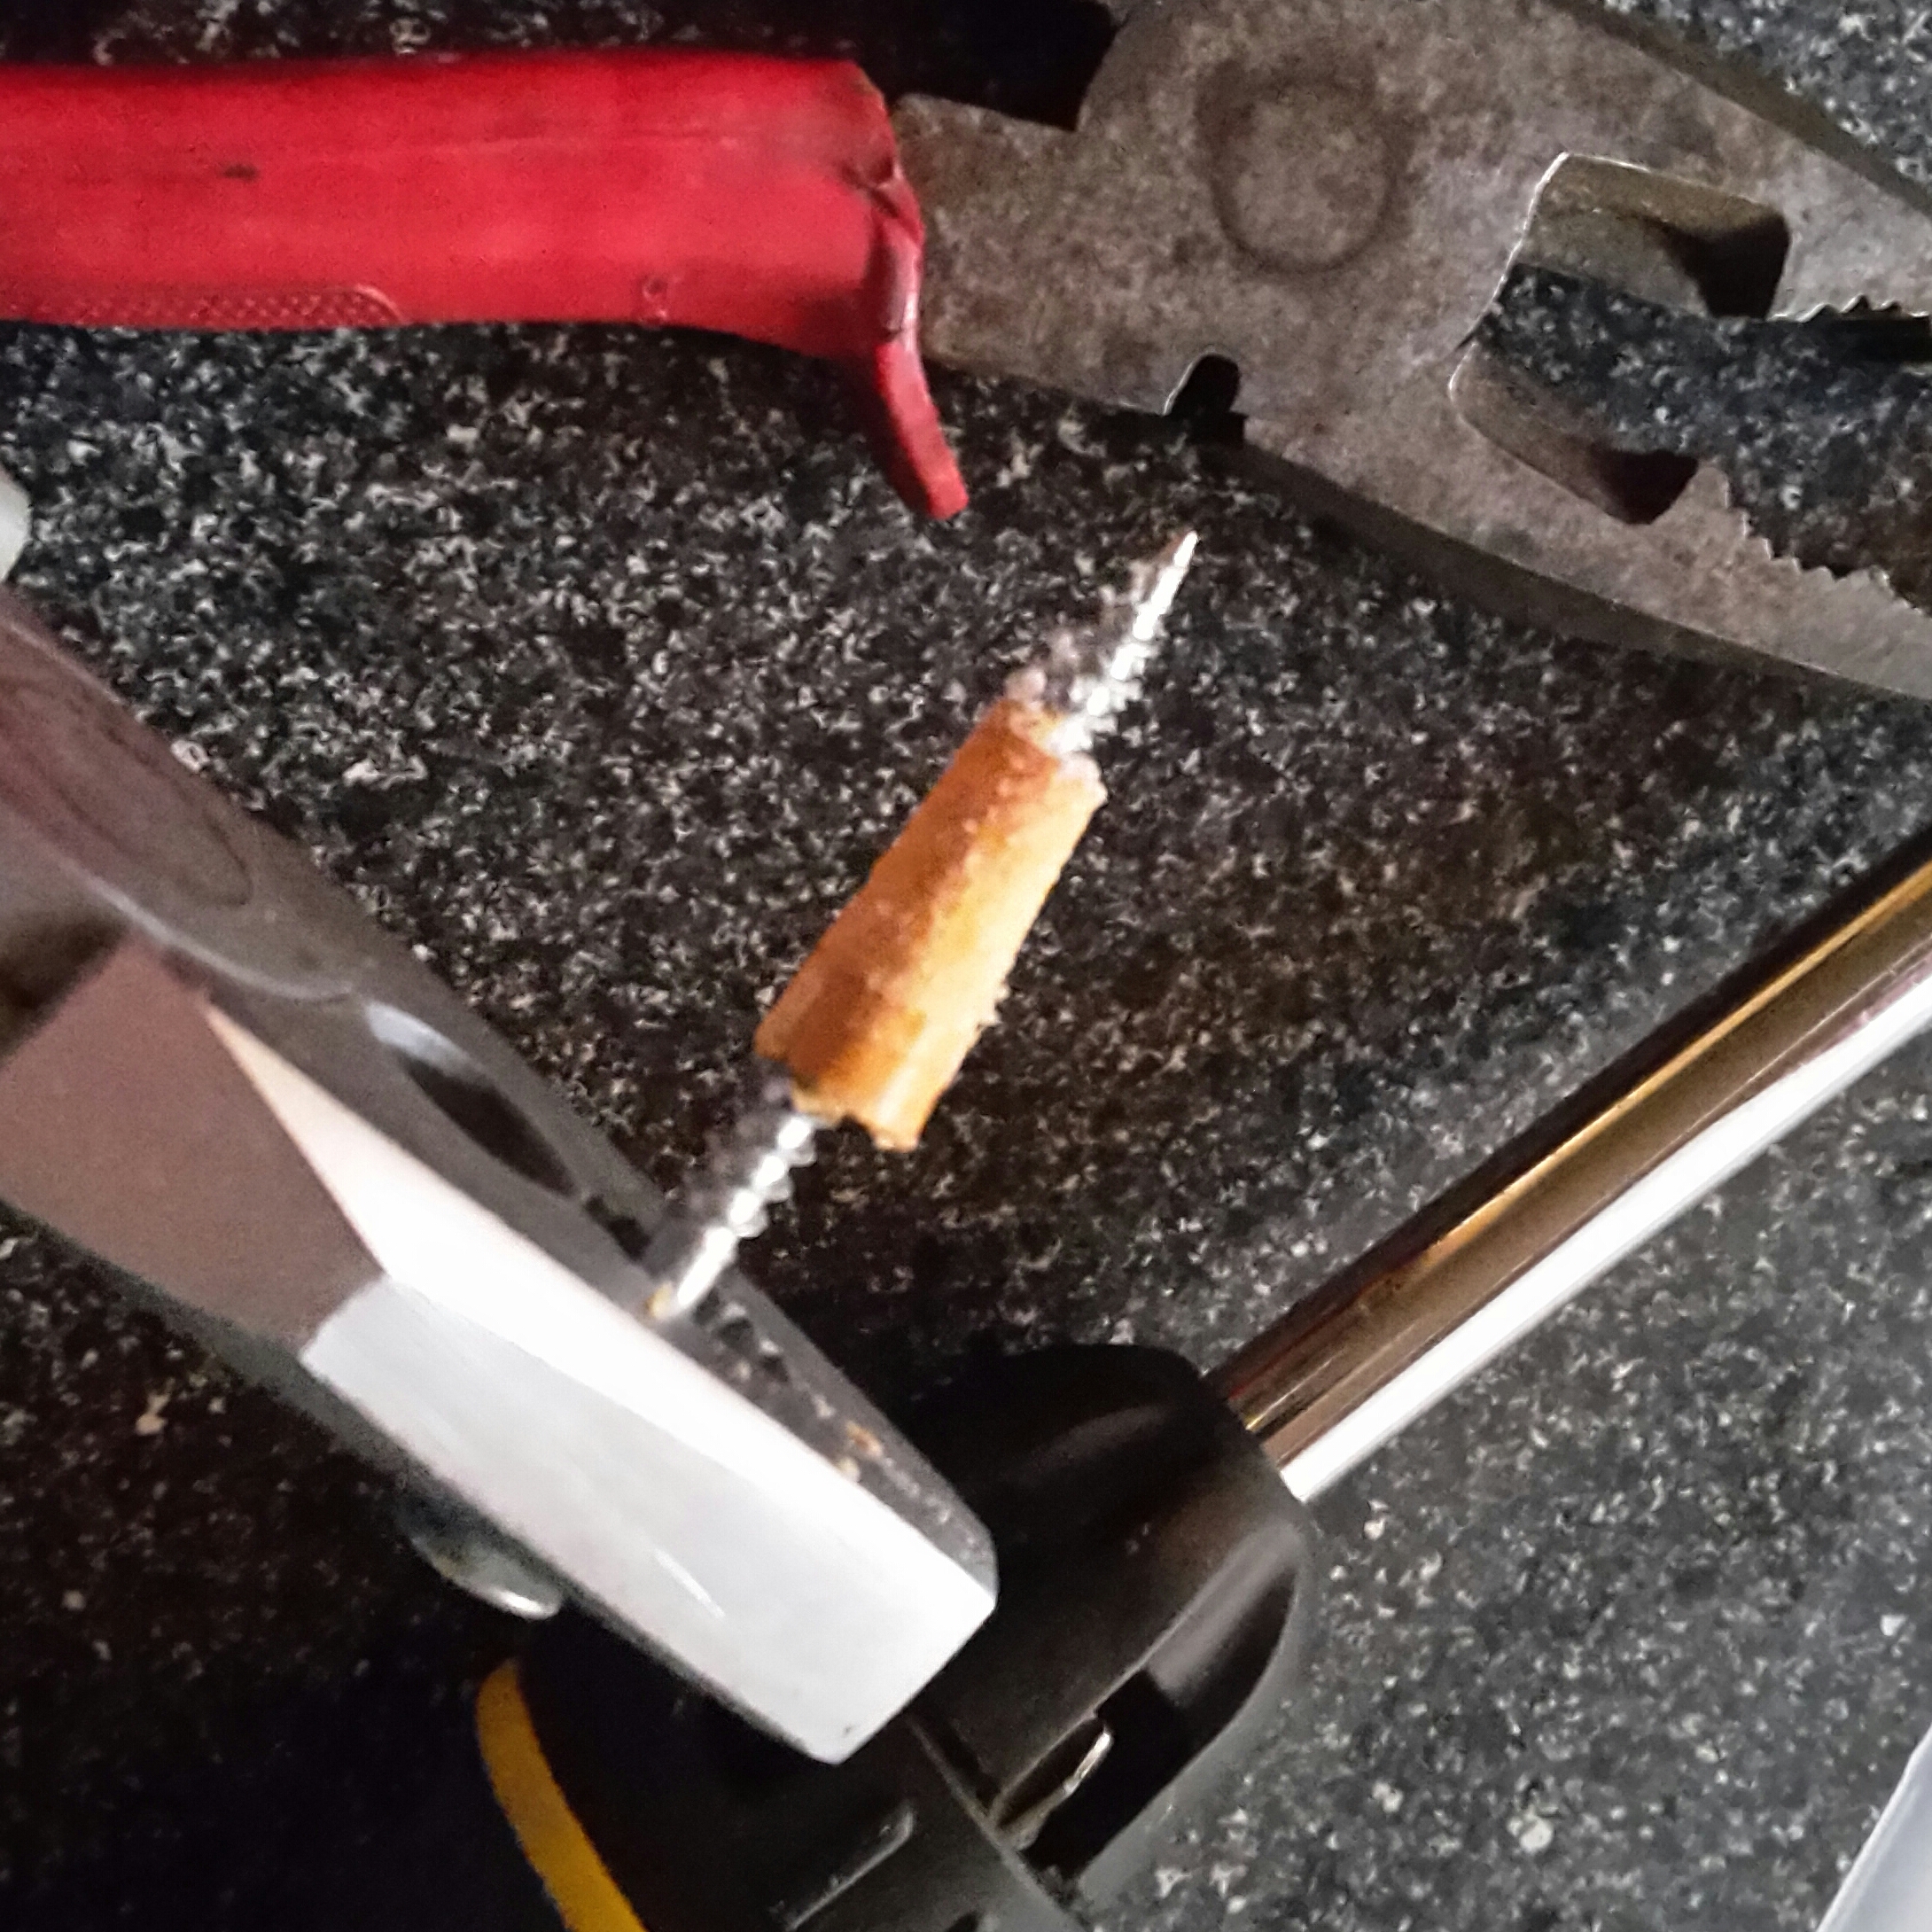
Wood remains on pile
Step 4
Drop the pile and screw into a pot of cold water to cool. Once cool you can dry the pile.
You might need to clean out the inside of the pile of glue residue with a bit of wire wool or I find an old shaft tapered down and screwed in and out a couple of times works well to dislodge any residue.
The easiest way to remove the wood from the screw is to hold the wood in the pliers and then using the screw driver “unscrew” it.
Hope you find this useful.
Thanks for reading.