Episode 157 Practice progress and permanence

Welcome to another episode and today I’ll provide a quick rundown of the past very busy weekend which saw us starting a new beginners archery course and running a taster session and that was just Saturday.
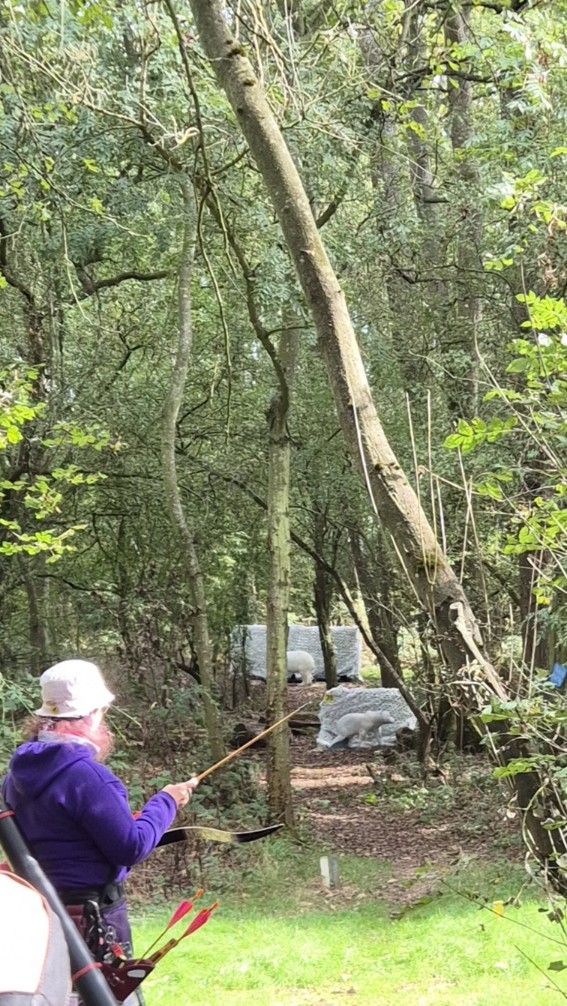
Polar bear 3D target

Sunday saw us heading over to Worcester Woodland Archers club as they returned the favour and invited us down to check out their 40 target 3D course. In the podcast I make a mistake and say there were 36 targets, when in fact there are 40. With some interesting course setting such as the white target bosses behind the polar bear shot.
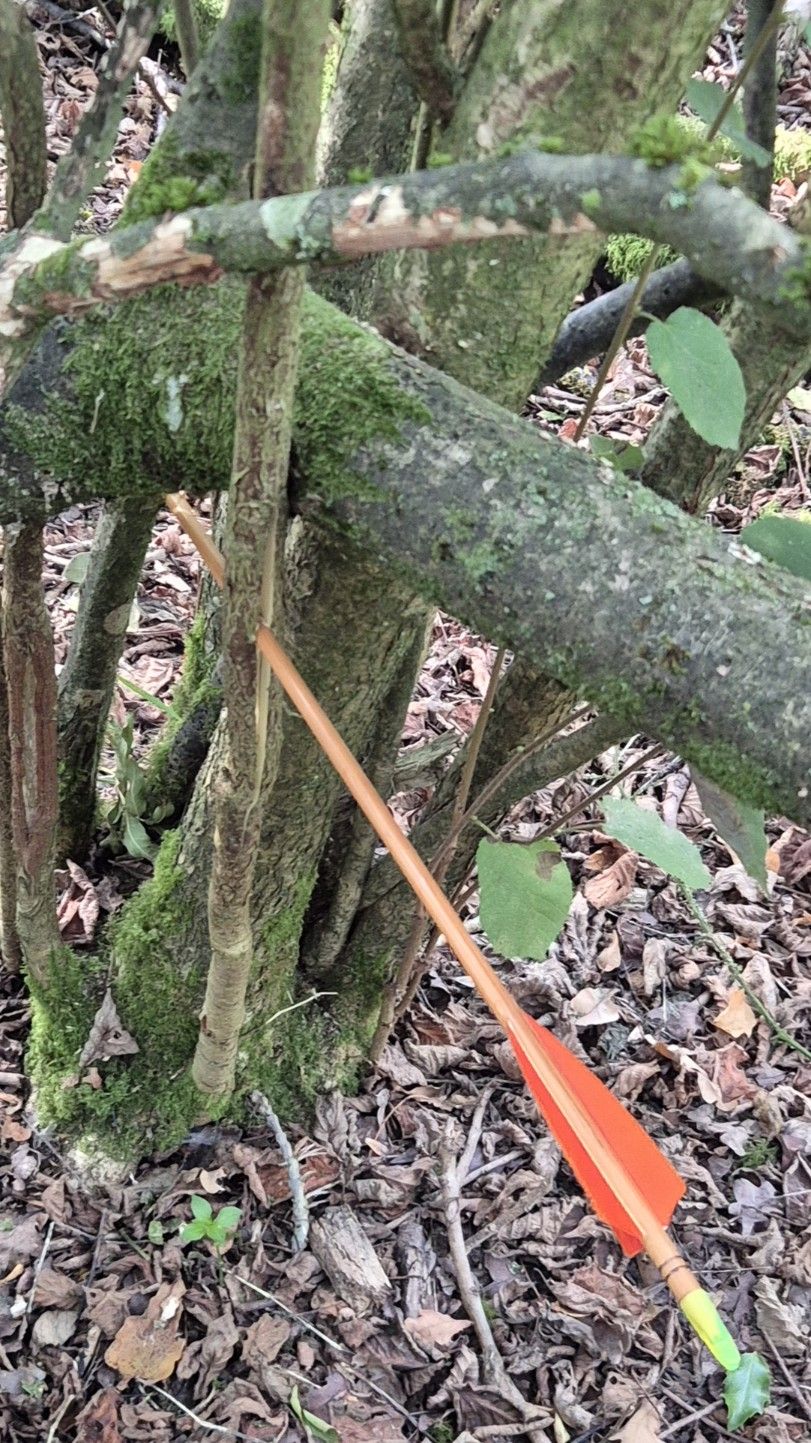
Arrow splitting sapling

As was clear from the photo I wasn’t shooting my best with one or two misses and even breaking an arrow when glancing off one 3D. Though it was quite an impressive miss, splitting the sapling clean in two.

Overall I think all the members of the club who attended had a good day, though we had to leave early to collect our son from a scout cub camp.
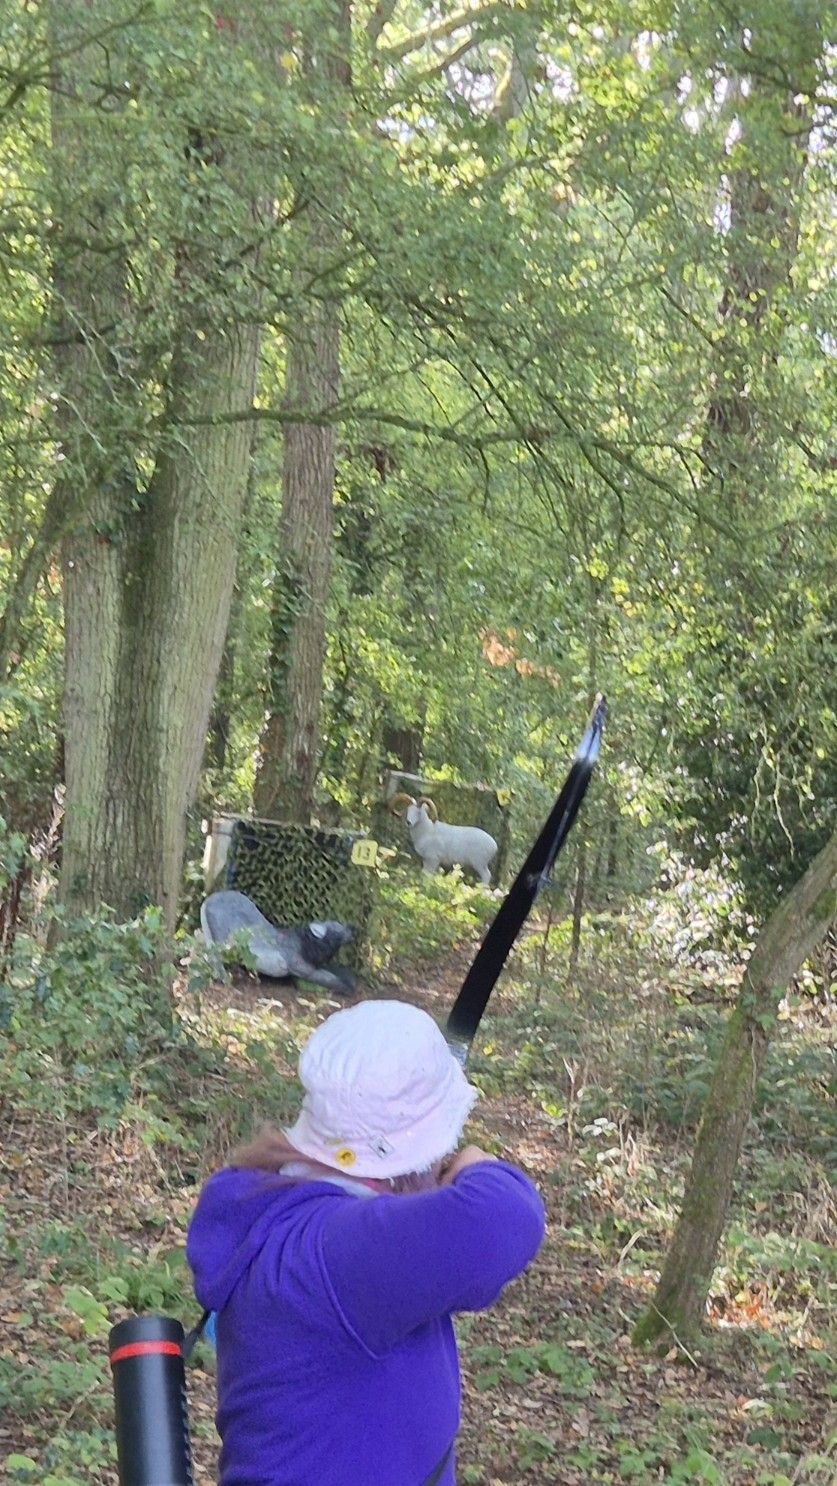
Sharon shooting in woodland

The other main element I have covered in the episode want to discuss is some feedback I’ve had from a listener on the concept of practice and how that impacts progress but also permanence.

I think I was a little naïve when I recorded the episode, as I thought archers would be building good form through their practice, however if they don’t have good technique then they will simply be building the wrong muscle memory. At some stage they will have to relearn the correct methods.

This is why practise does not just build progress but also the repetition builds permanence i.e. muscle memory or neurons in the brain and it’s this my listener highlighted as a potential issue if the student was doing it wrong in the first place.

I really appreciated that feedback, thanks.

Here are the links to the episode on Amazon Music and Spotify.

As always, enjoy your archery and thanks for listening.

Range Set up

I’ve had a few discussions recently about range set up and how I’ve set up our range. I thought I would share how my range is set up to support both marked and unmarked distances practice.

We as a club don’t have any indoor facilities so our range is outdoor and this means we need to consider how it can be used all year round. Currently all the trees are in full leaf, but in winter months it can be quite cold.

Range image

We have only 2 bosses unlike other clubs that have several. These are in static positions, meaning we don’t have to set them up each time we want to use them. There are only 2 due to the space available.

These are arranged in 2 shooting lanes.

Each has a 60 ft overshoot behind, which enters into a small cop of trees, with catching mats at 30 feet behind each boss in the trees. These catching mats are sections of old carpet hung to act as a simple arrow stop. Beyond the 60 ft overshoot there is a 30ft high earth embankment. Most of the time arrows don’t reach the backstop mat but they are there just in case. If necessary, I can rig a backstop net between the trees, though I’ve found this seldom necessary.

The 2 shooting lanes are set up near parallel to each other with approximately 10 yards apart at boss end and 15 yards approximately at the furthest shooting pegs.

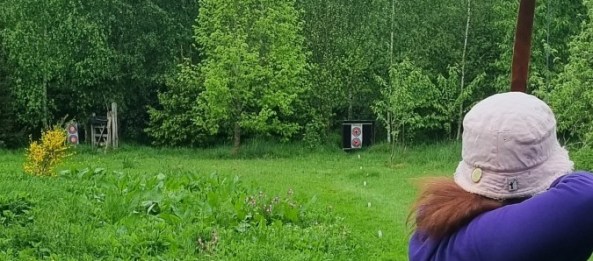
One shooting lane is marked and pegged at 5-yard increments for archers to develop their eye for fixed distance, to calculate their gaps or set up their sights. This is the one shown in the photograph above.

The other is unmarked distances with coloured pegs used by NFAS adults, so red, white and blue. You can just see the target boss beyond the yellow shrub in the above photograph. These are set to use the available ground and vegetation to simulate what you might encounter on a shoot. So, the red is by a tree, which forces the archer to adjust stance to avoid branches as they draw up. The white is on a small mound of earth so the forward foot touching the peg is higher than back foot. This helps archer develop their stance and balance on uneven terrain.

The blue peg is in the open but with trees between the peg and target giving an optical illusion on distance.

Periodically I move these coloured pegs slightly so they are slightly different. So, I might move the white peg forward, resulting in the archers back foot now being higher. This ensures archers don’t get complacent.

The coloured pegs are not set at 5-yard distances so the red is around 33 yards, white 27 and blue 21. This is deliberate again, so not at 20, 25, 30-yard distances that they might have practiced on the marked distance.

This has proved to help archers who want to get these gaps in and then practice unmarked distances with feedback being positive.

I hope this helps, thanks for reading.