Archers at Thornbury
For us the Thornbury shoot is one of the easiest grounds to get to, being a little over an hours drive down the M5, subject to traffic and road works of course.
We hadn’t shot Thornbury for a while and then, it had only a 34 target course but this time it was a full 36 target with a mix of paper faces, 3d targets and some home made painted ones. Here is a link to the previous shoot report if you are interested.
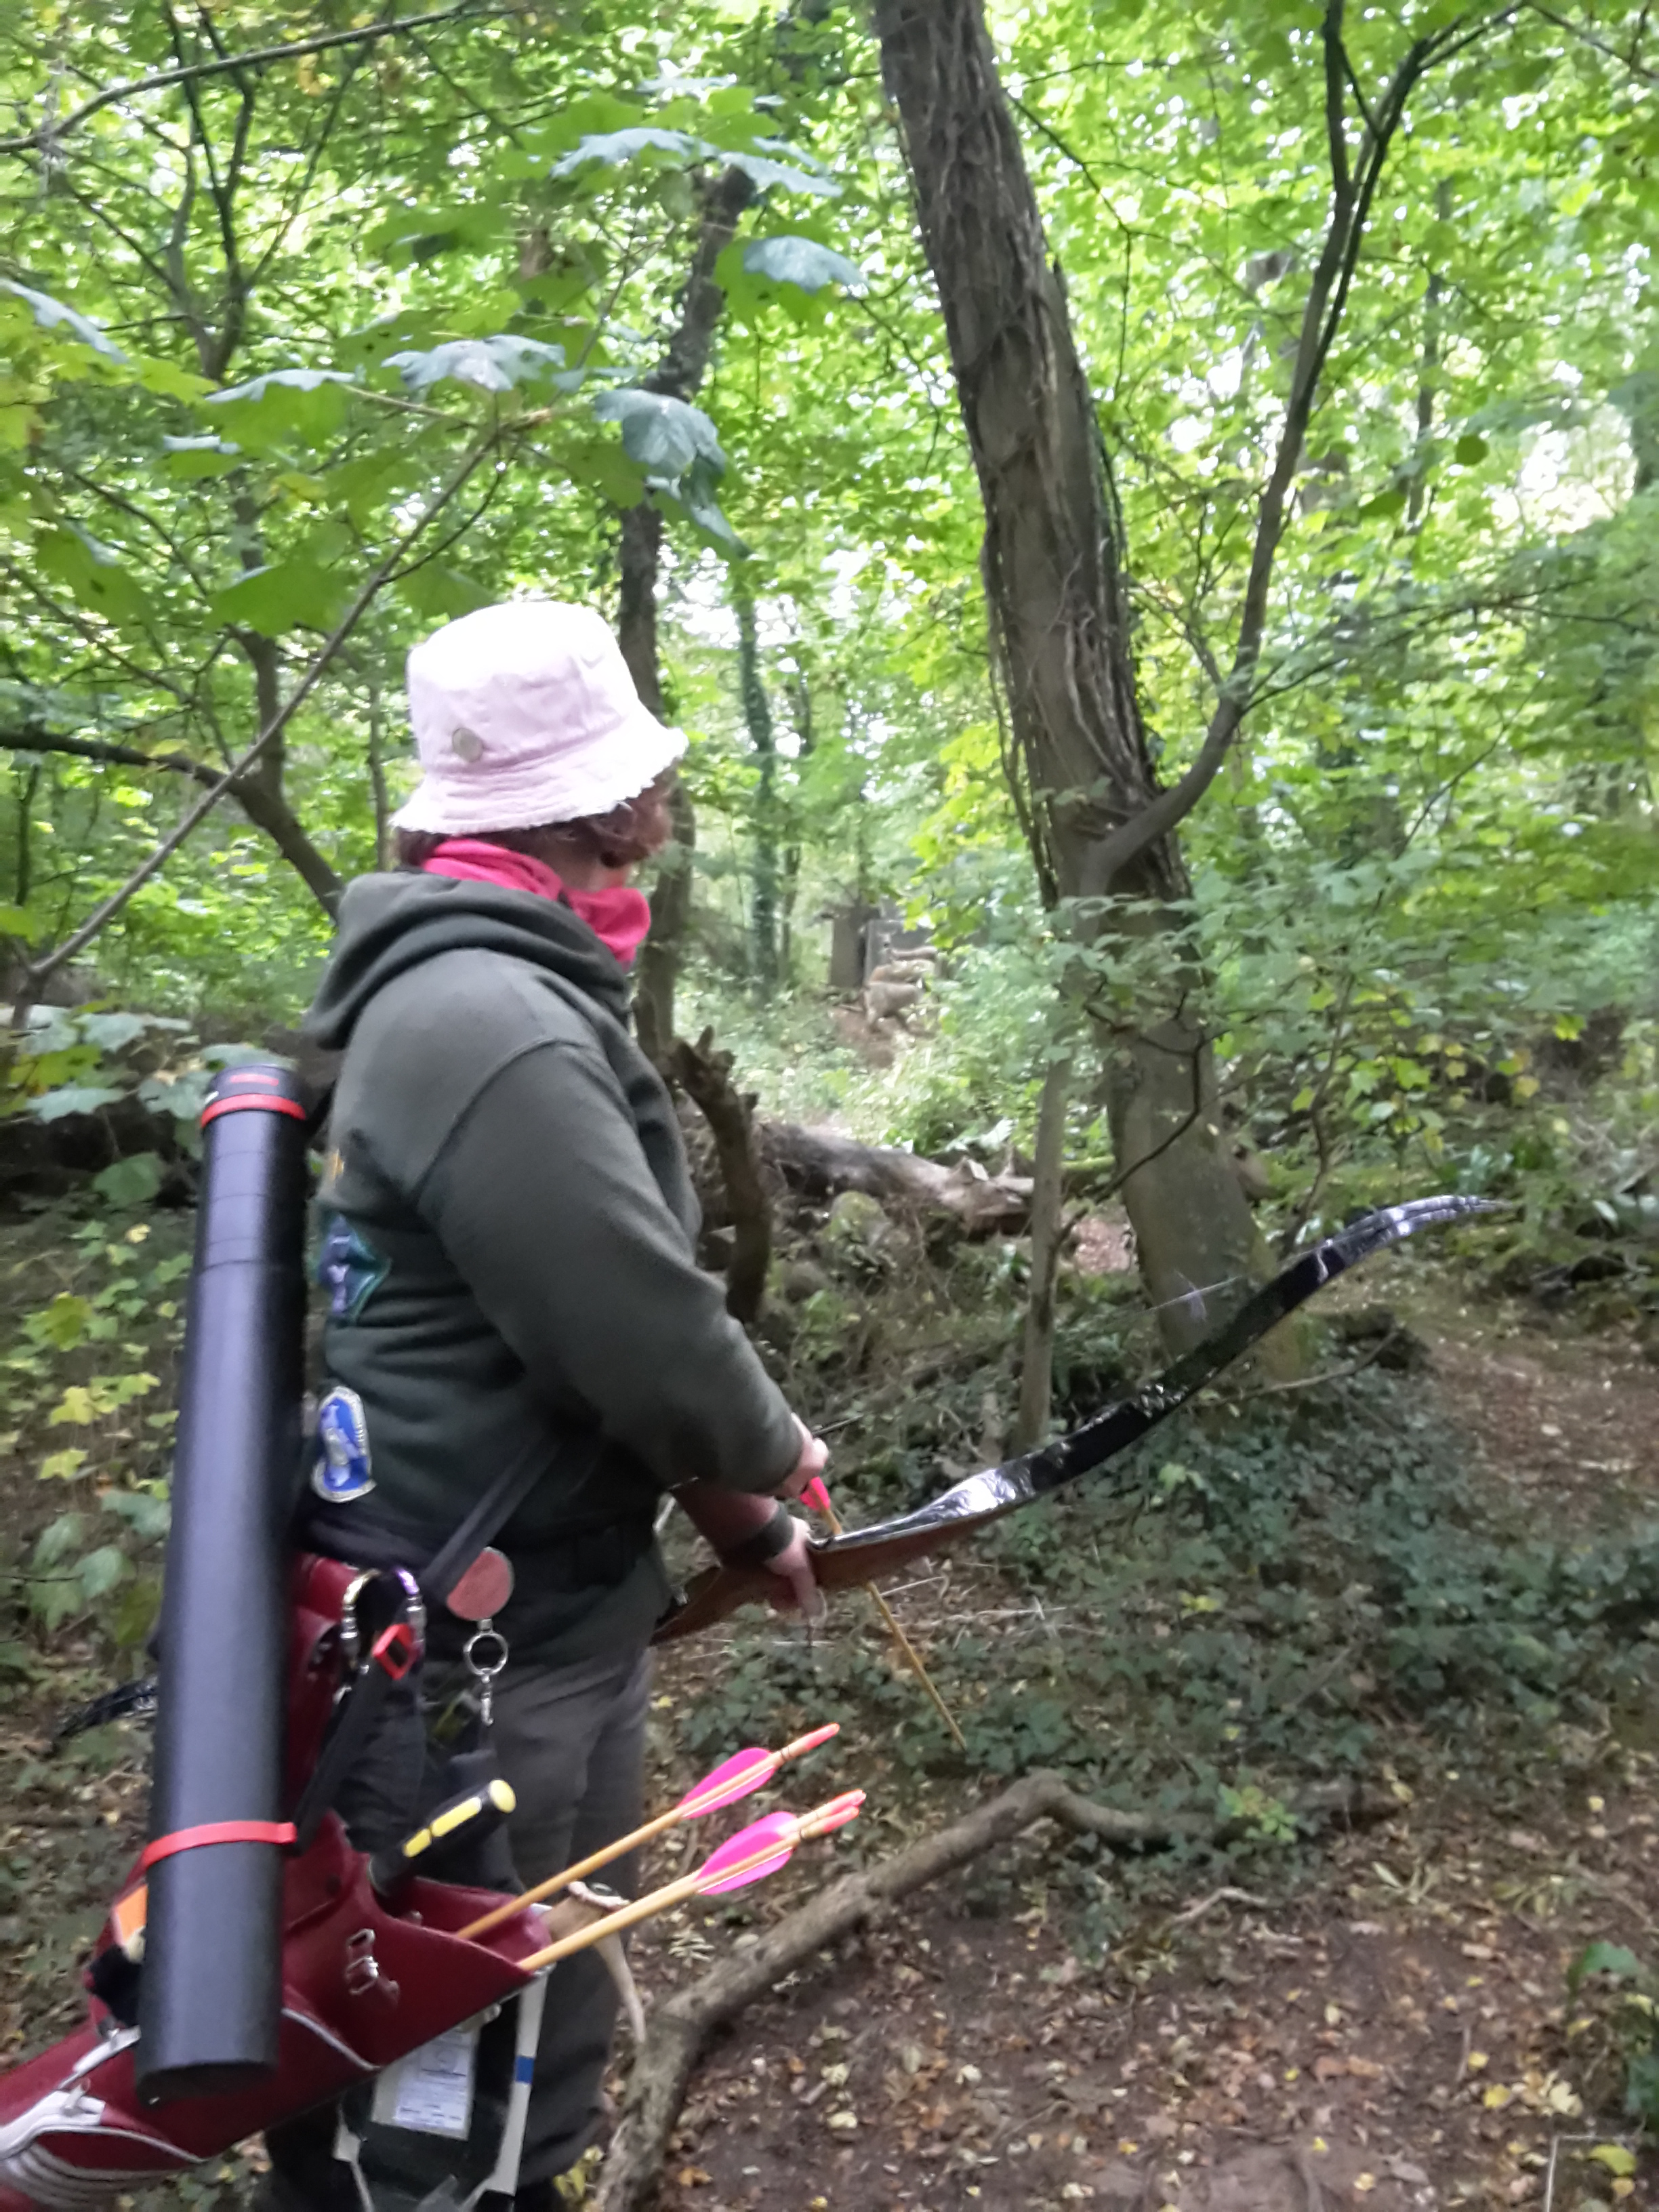
Sharon at Thornbury
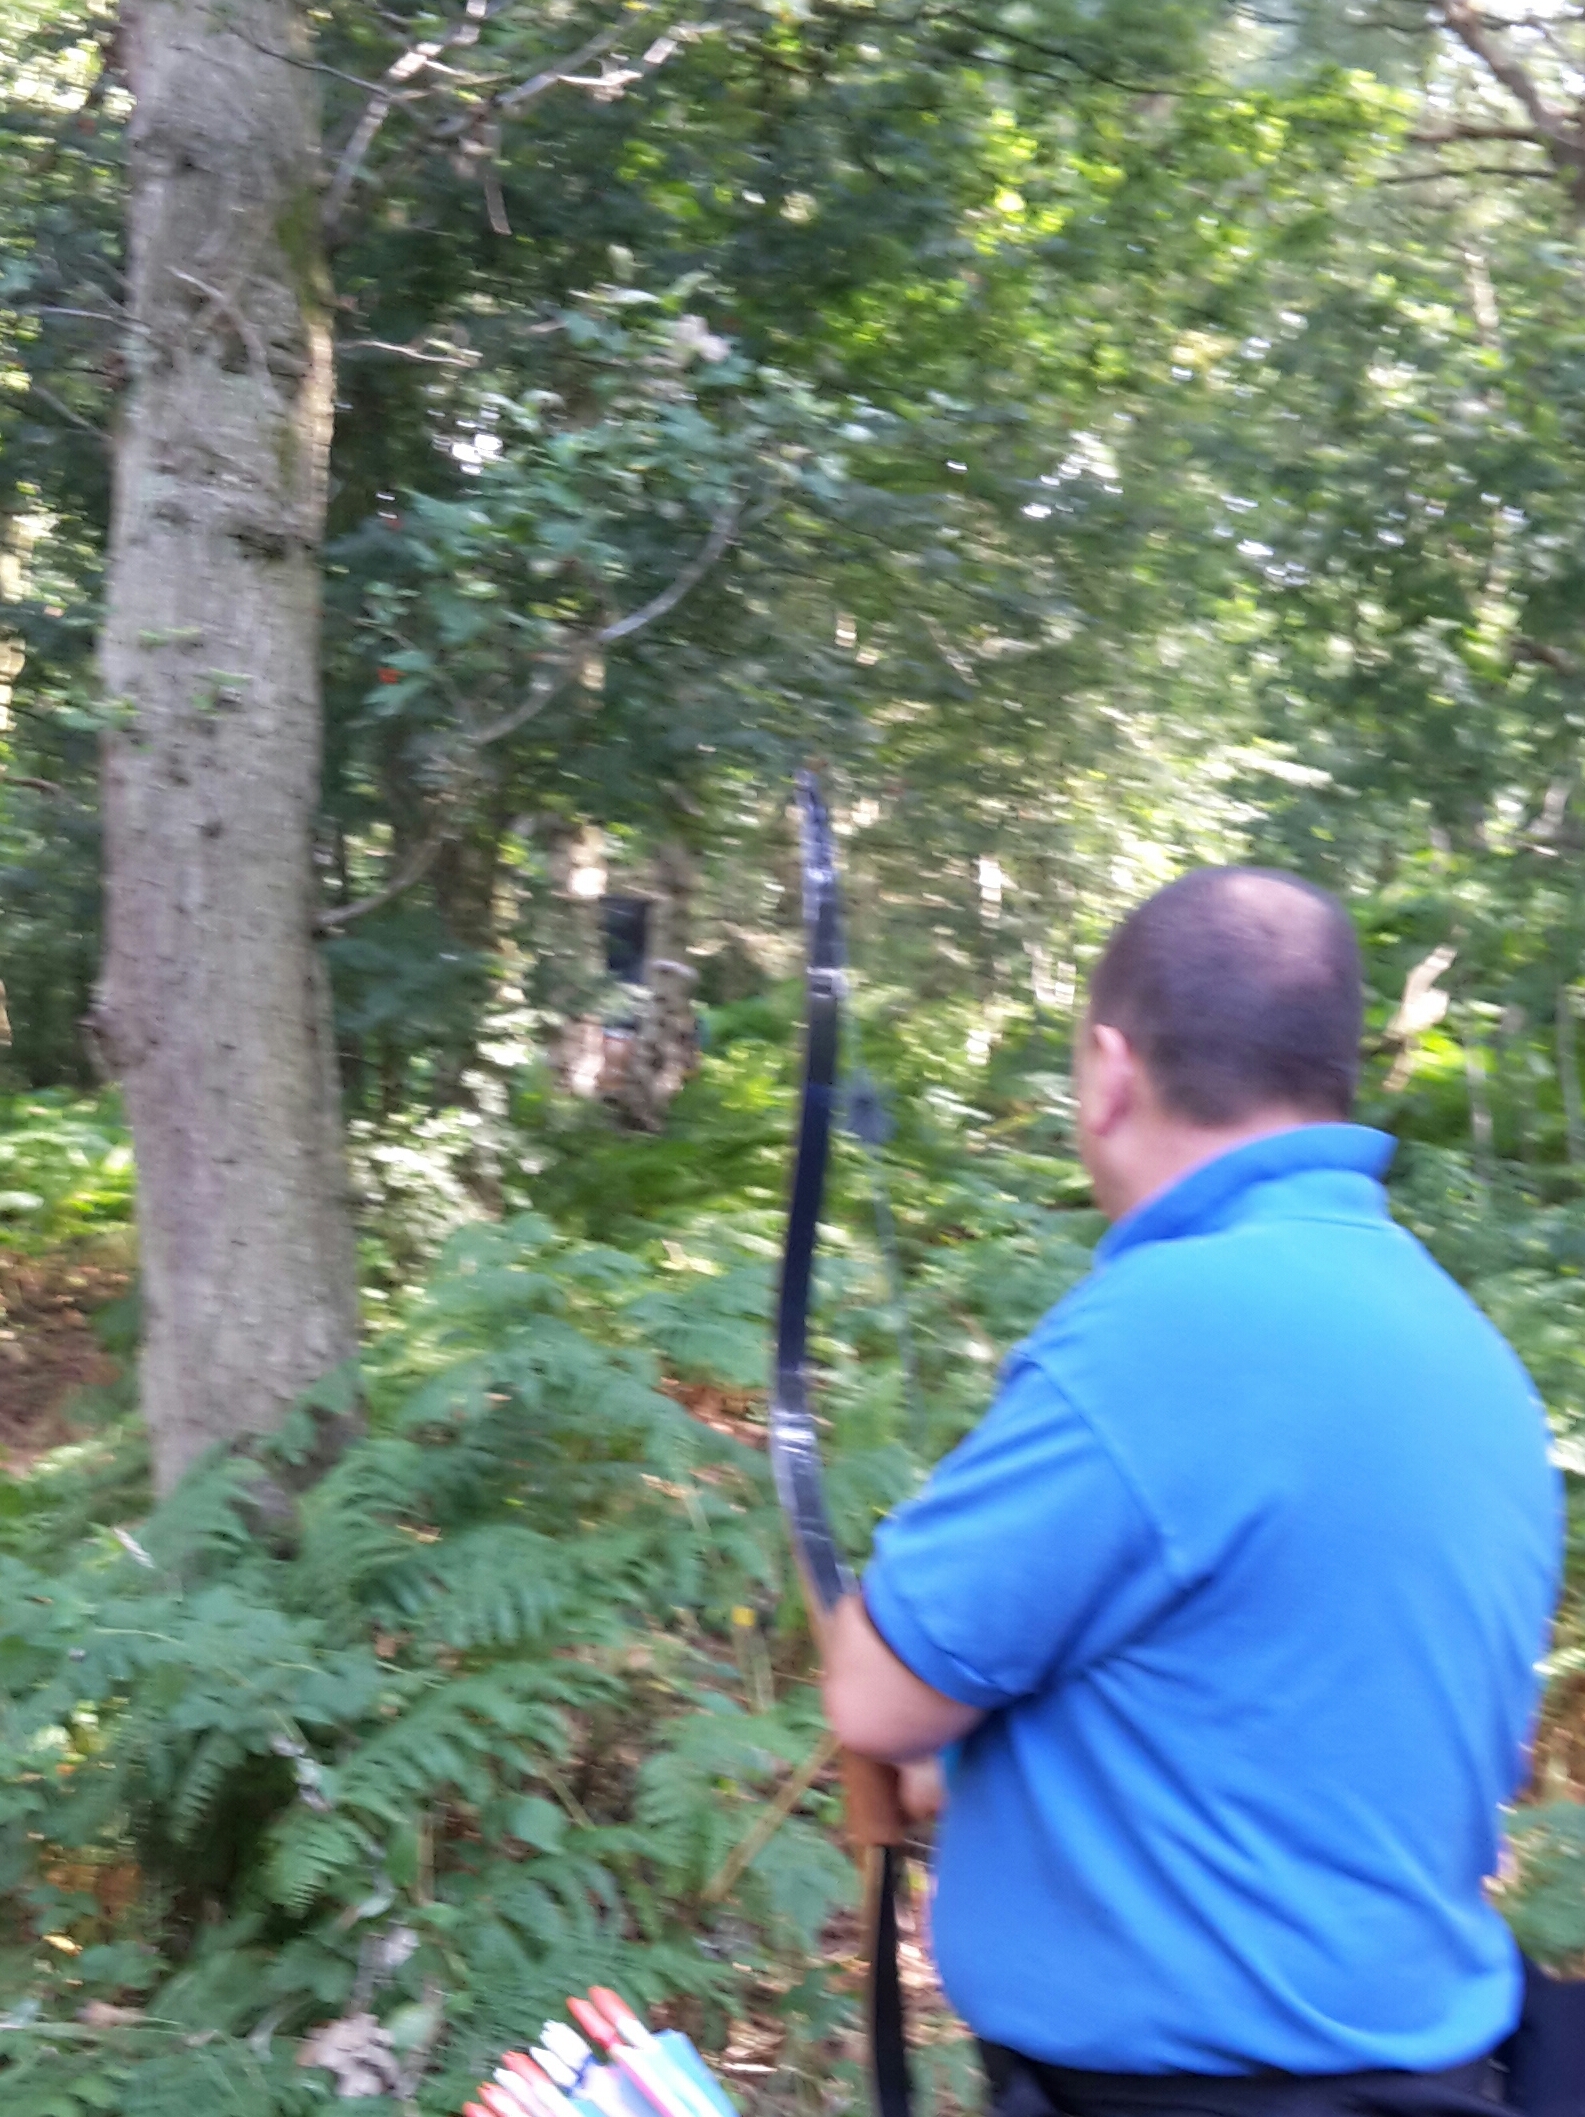
The shoot was well attended, with around 100 archers in different bow styles, with the day flowing smoothly. I don’t think there were any hold ups and there were a few archers finishing by 3 pm. Our group would include Sharon and myself, with Sheron shooting crossbow and Alan shooting hunting tackle.

Sheron shooting 3D
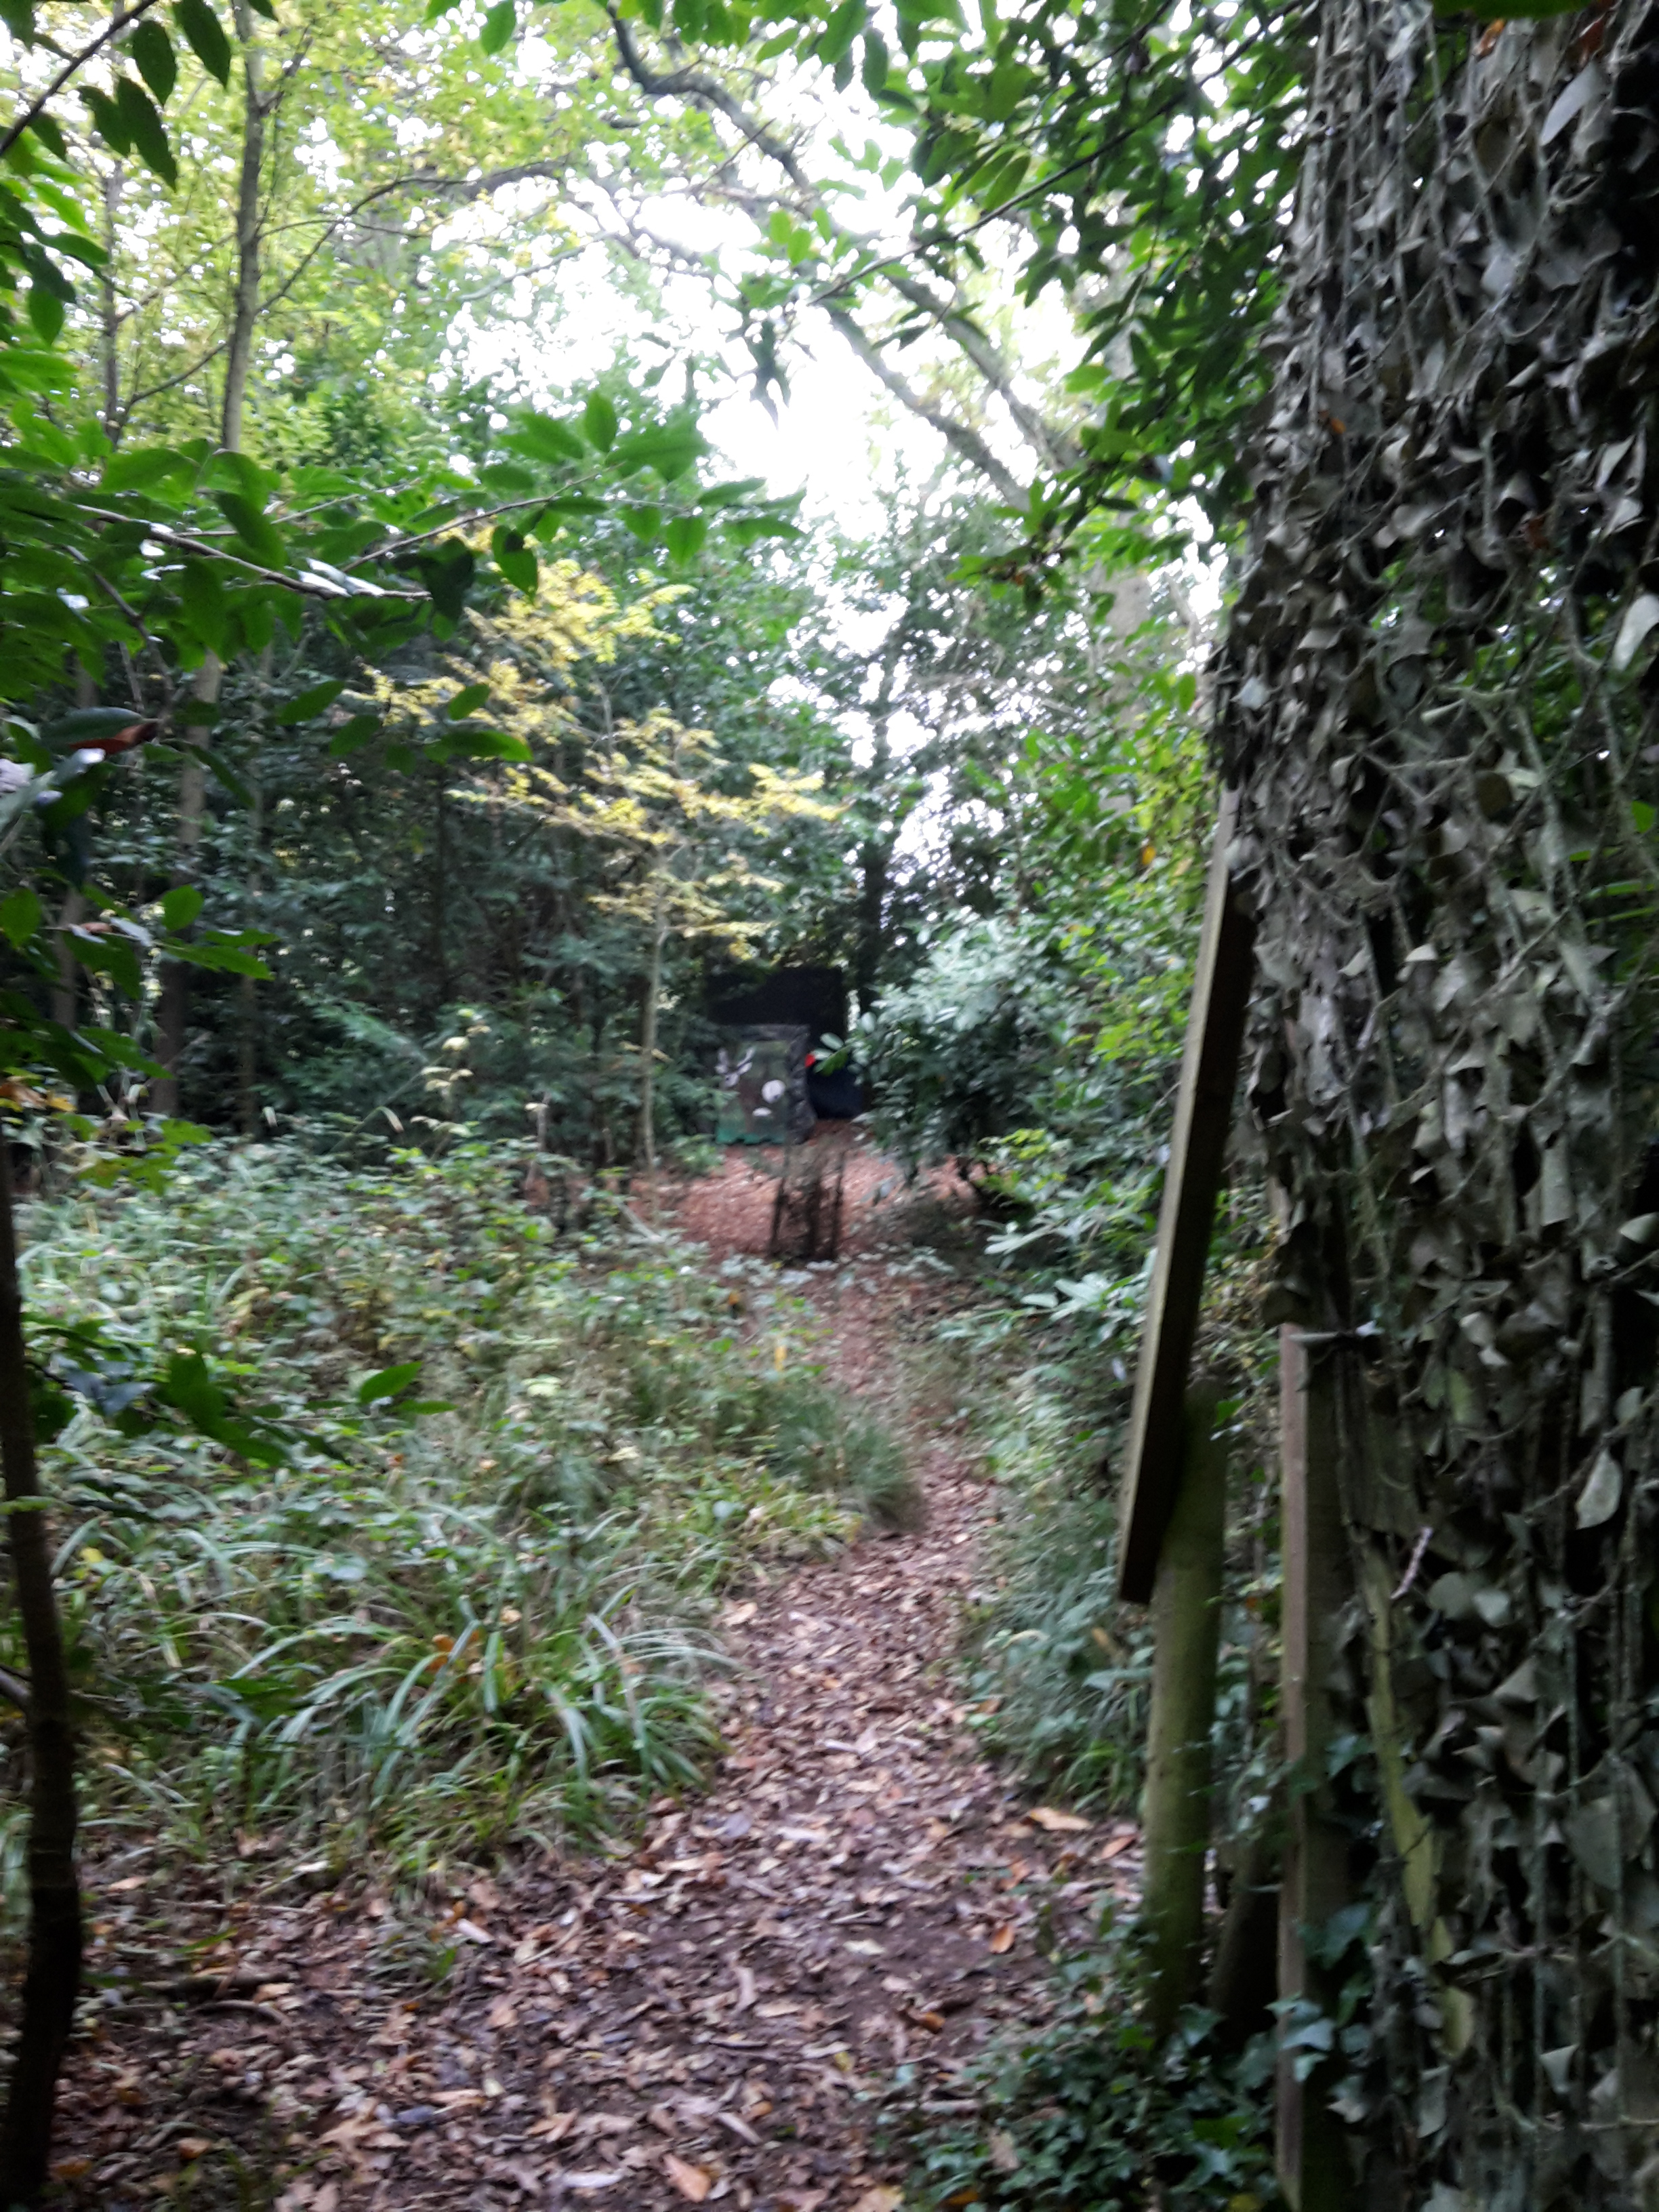
Though a small wood Thornbury have built a few small towers enabling them to have some elevated shots which seems to work well.
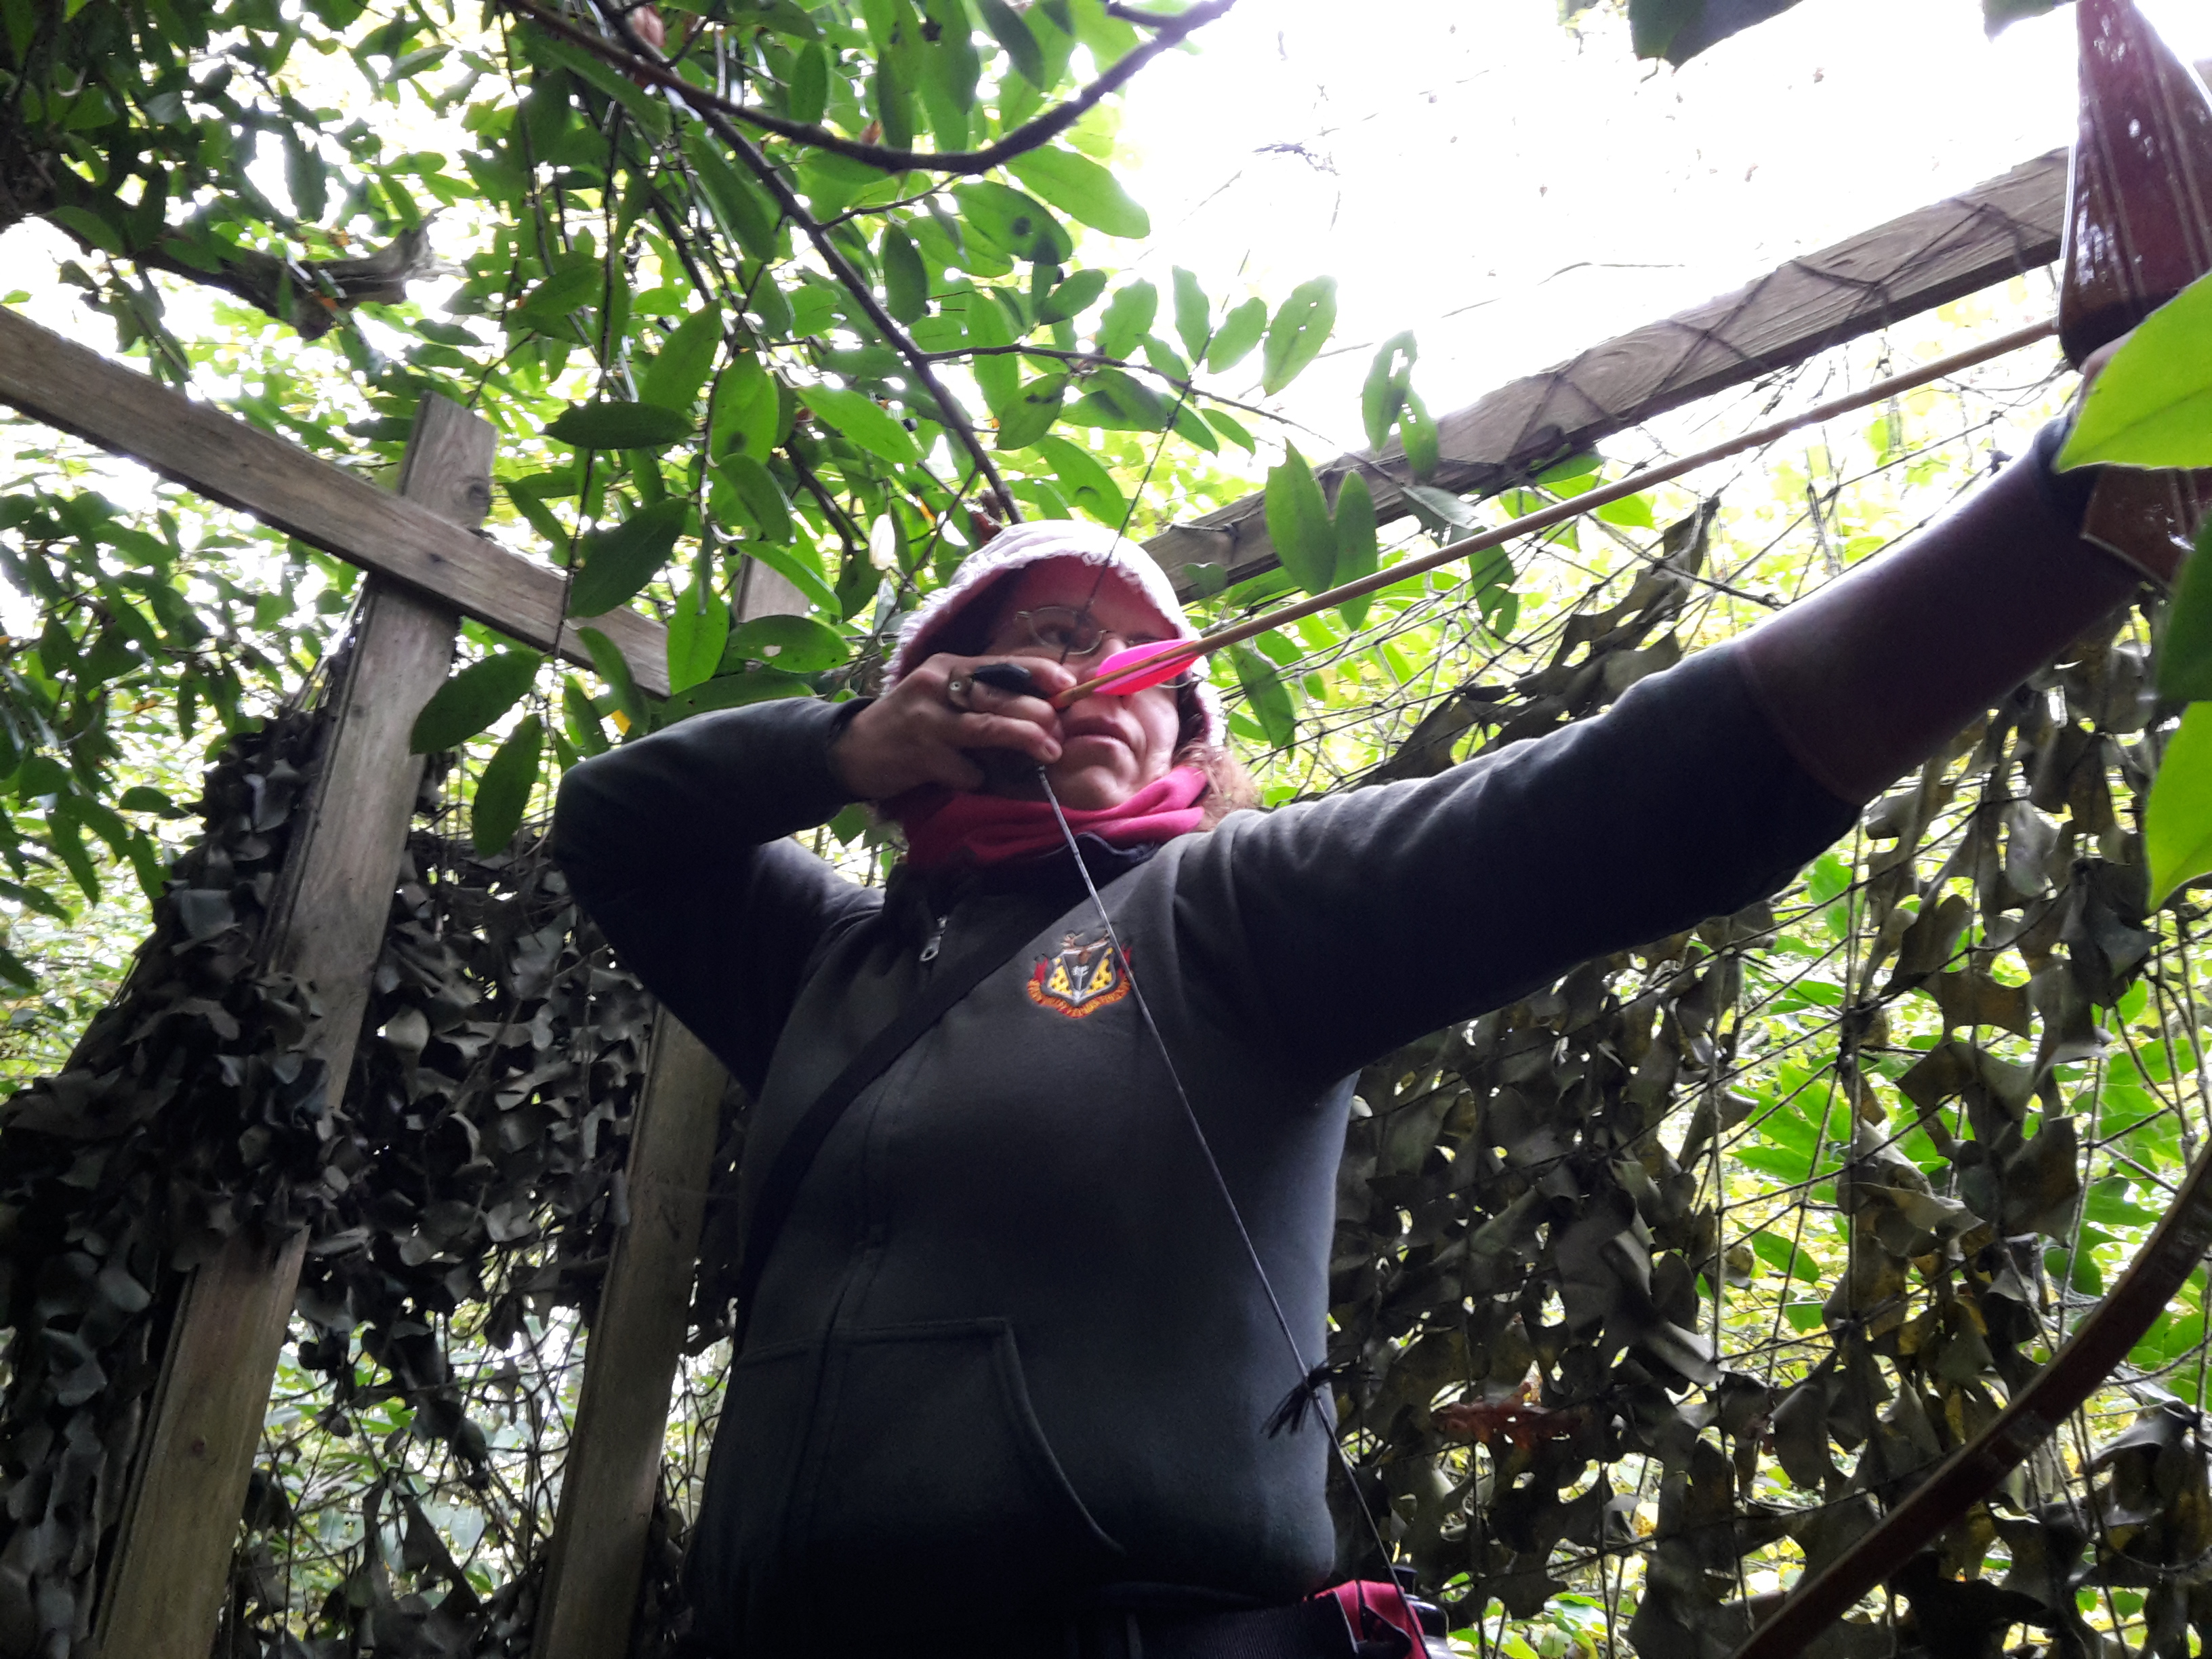
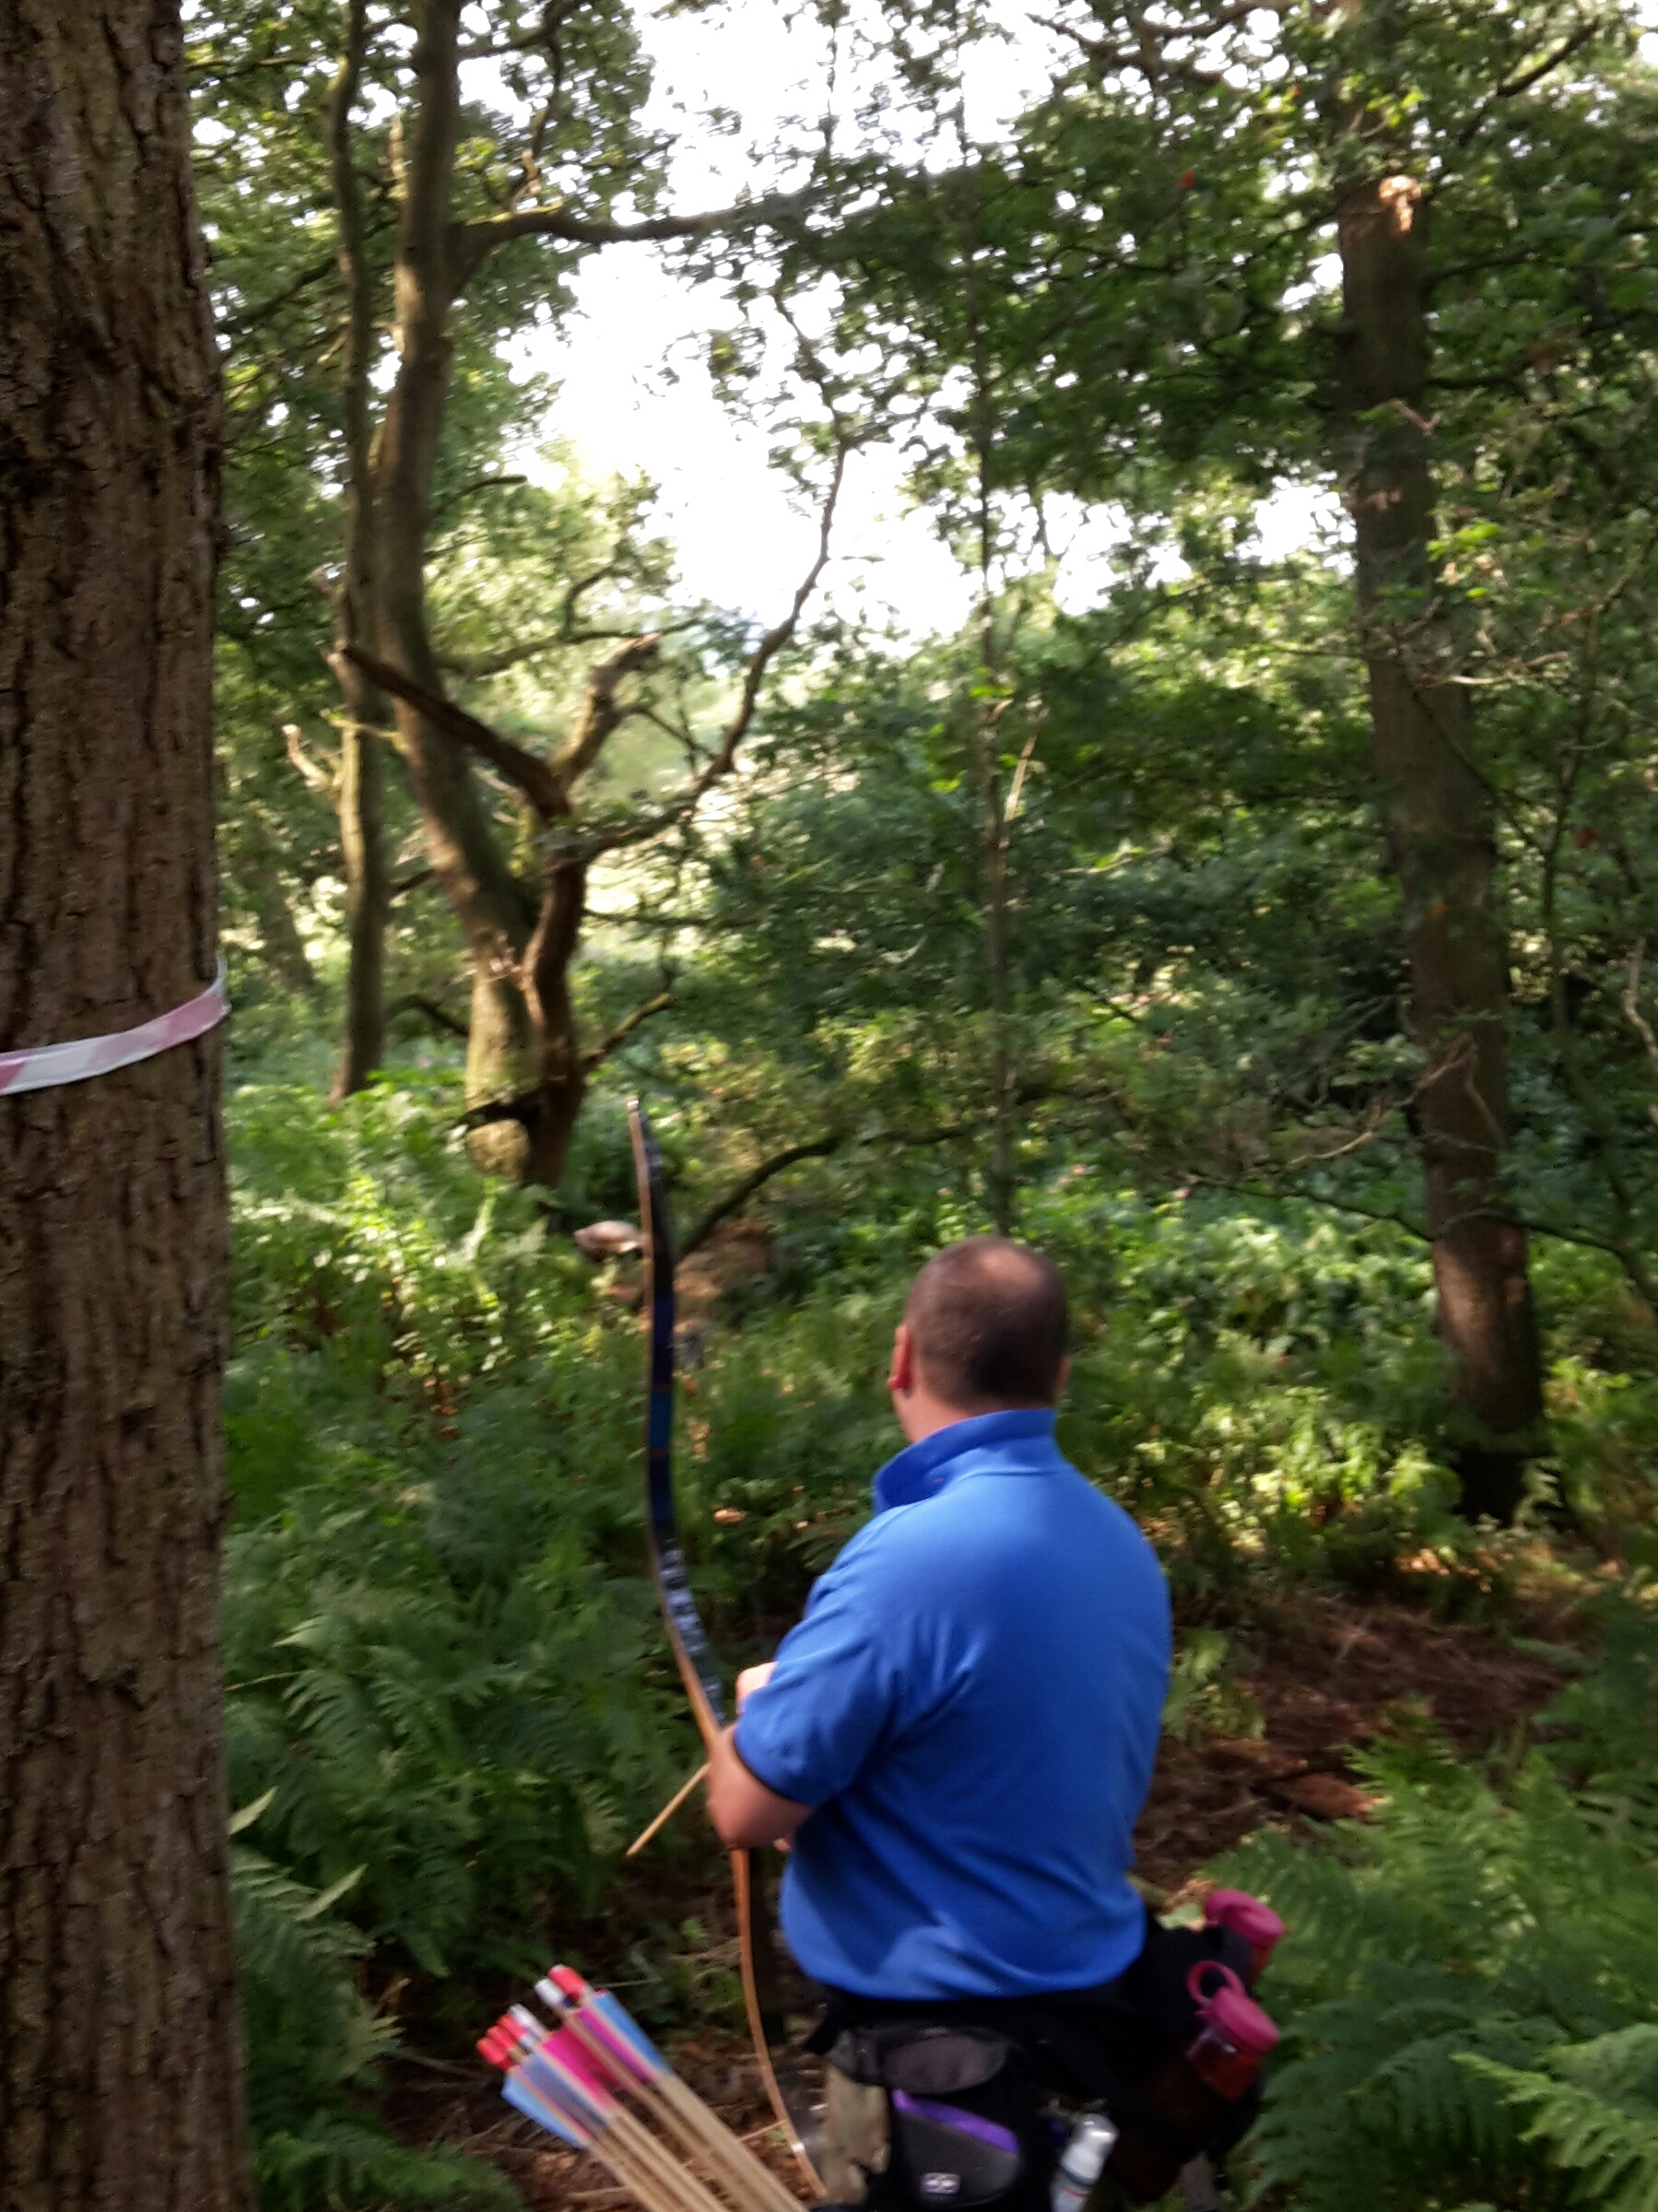
Sharon shooting from one of th towers
One target that must be mentioned is the elephant shot. A near life size elephant had been painted up and very cleverly set down an avenue of trees. A small hurdle of branches in front of the target provided a screen for an area of dead ground, making distance judgement that little harder. There were several discussions afterwards over tea breaks and at the end of the shoot, as to how far it had been set and concensus had it was between 68-70 yards.
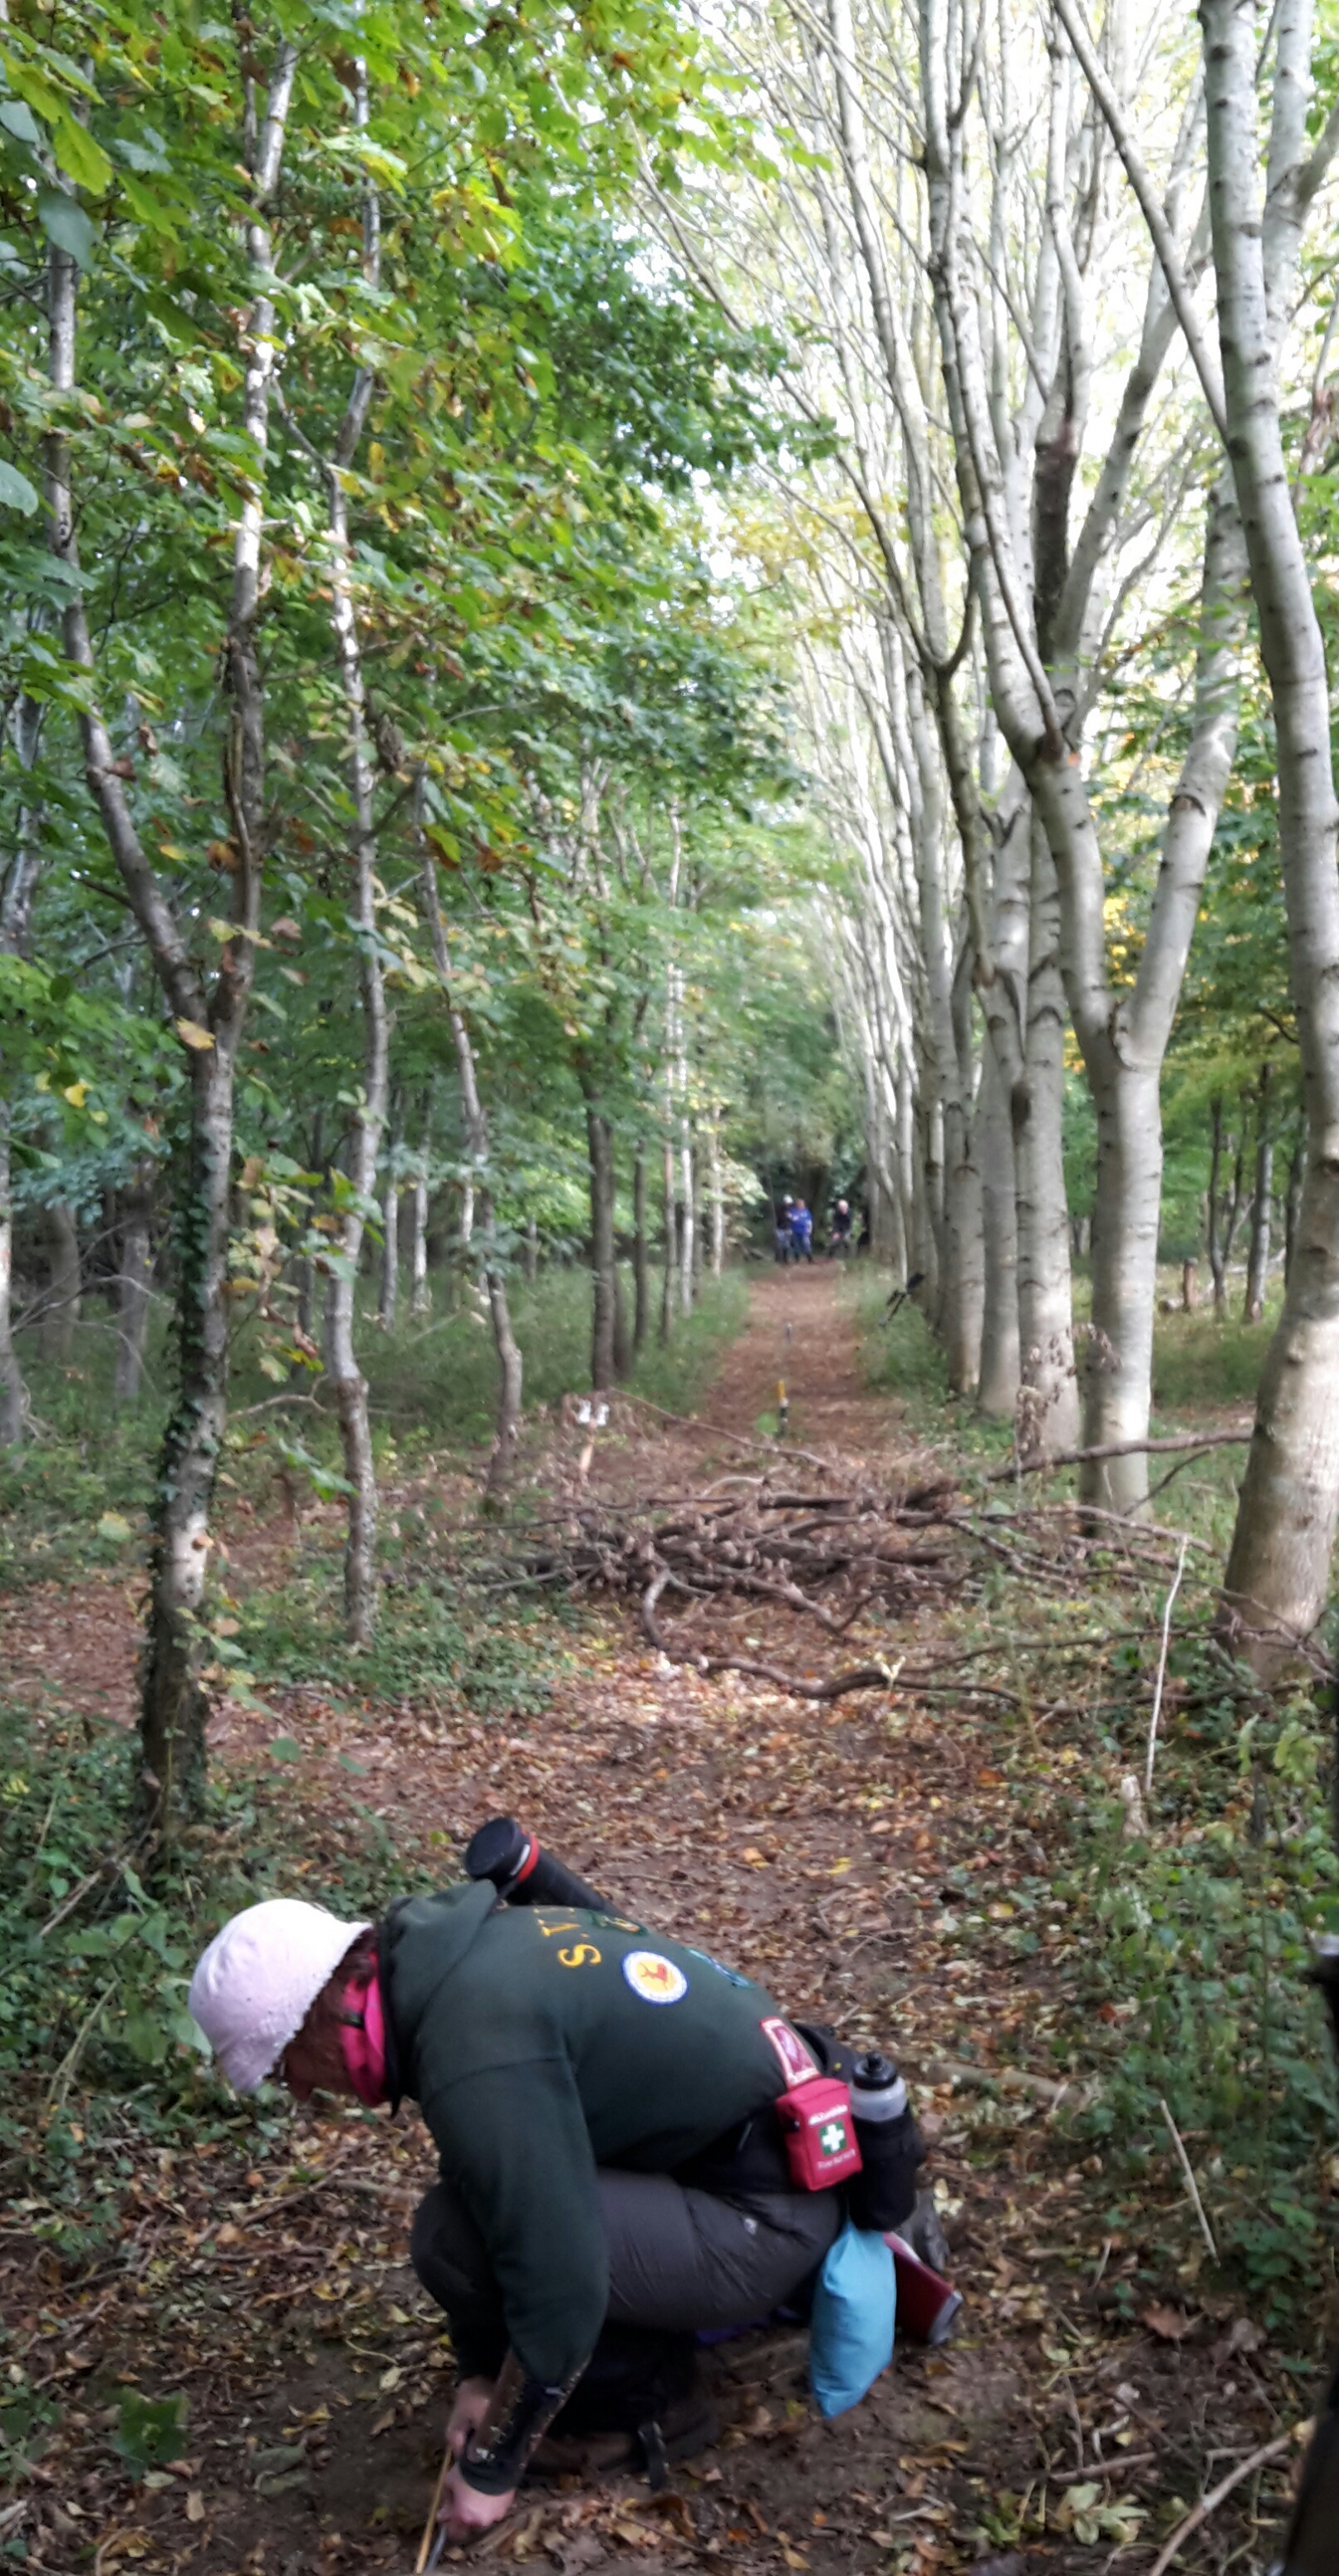
View back to the shooting group on red peg
Catering was good at sensible prices, with all marshals being friendly and there overall there was a very relaxed atmosphere to the day .
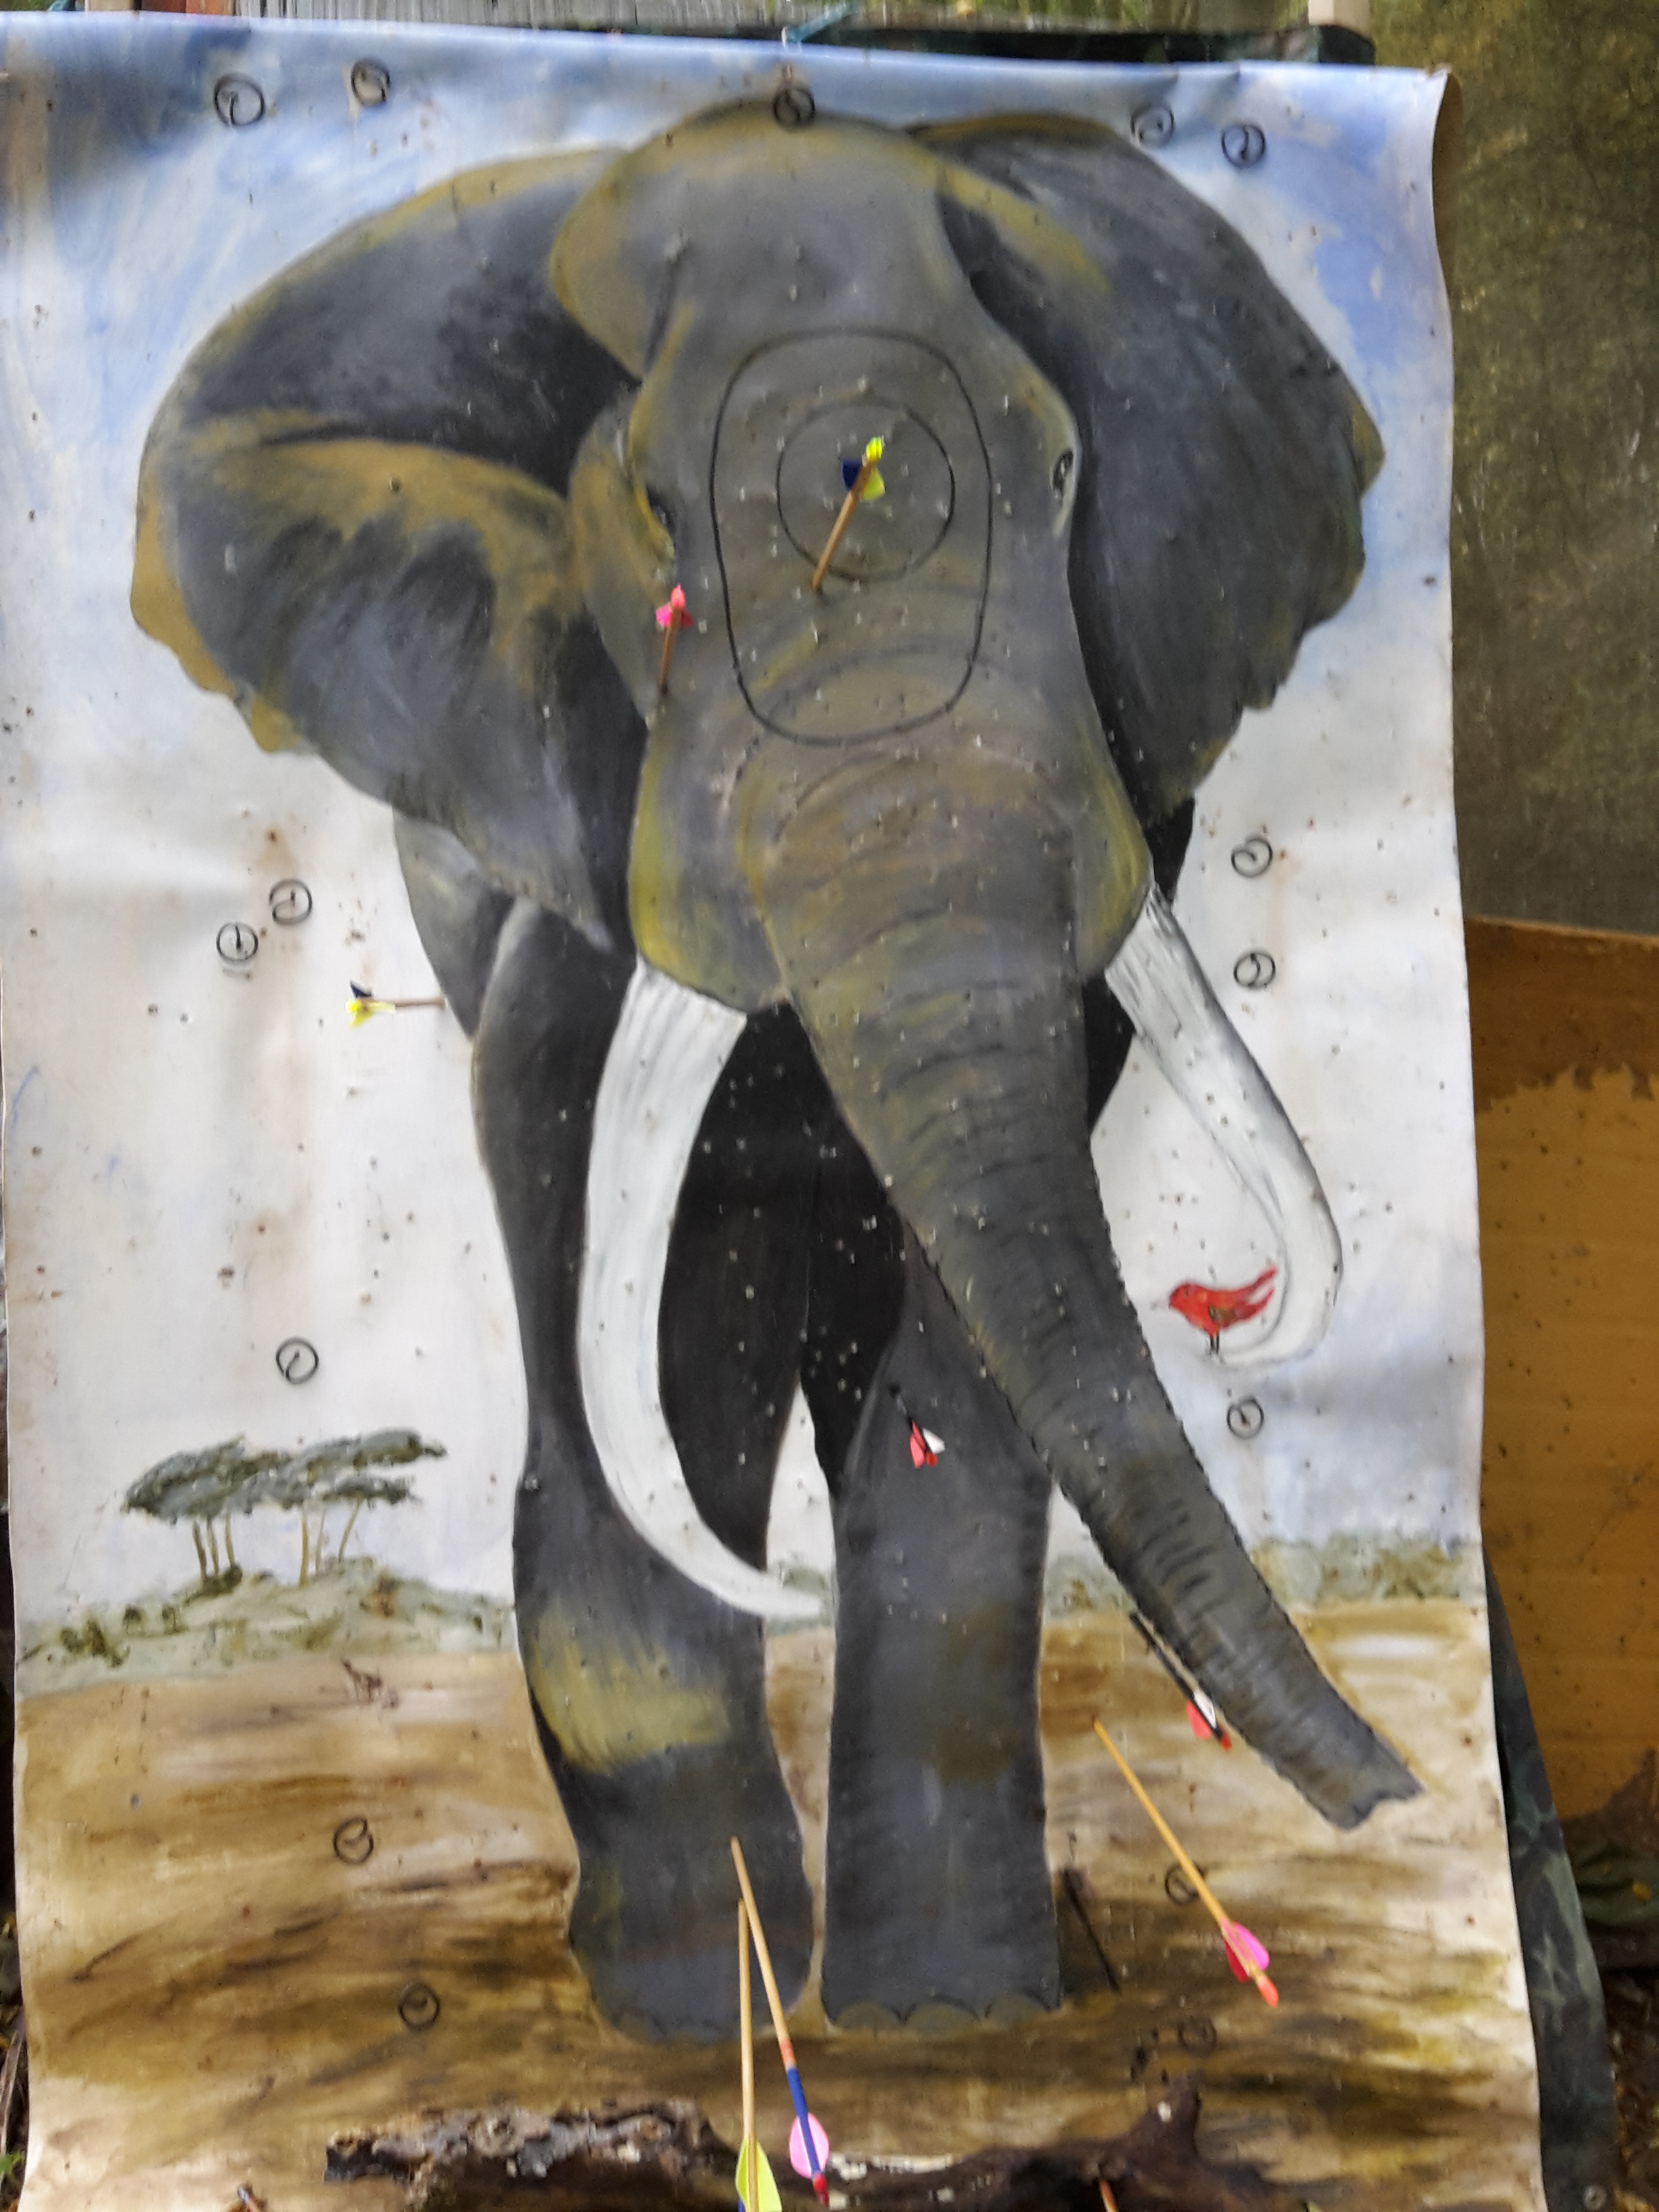
The elephant target up close
The club set a good course with some deceptive shots, maybe a couple were at the edge of the normal distance, not stretched as such, though others might disagree. I don’t think it was an easy course but nor was it overly difficult.
The 3d fox returned complete with the dustbin (see the previous shoot report for details).

3D owl – nicely framed
Overall it was a good day, my only slight criticism is I think they repeated one target face on the course 3 times. A deer on a dark green background tagged as Broken Arrow designs painted on foam matting. Whilst the picture was nice I don’t think we needed to see it three times.
Painted deer target
Thornbury obviously have same artistic members as another home made target was a cracking painting of a wildebeest, almost too good to shoot.
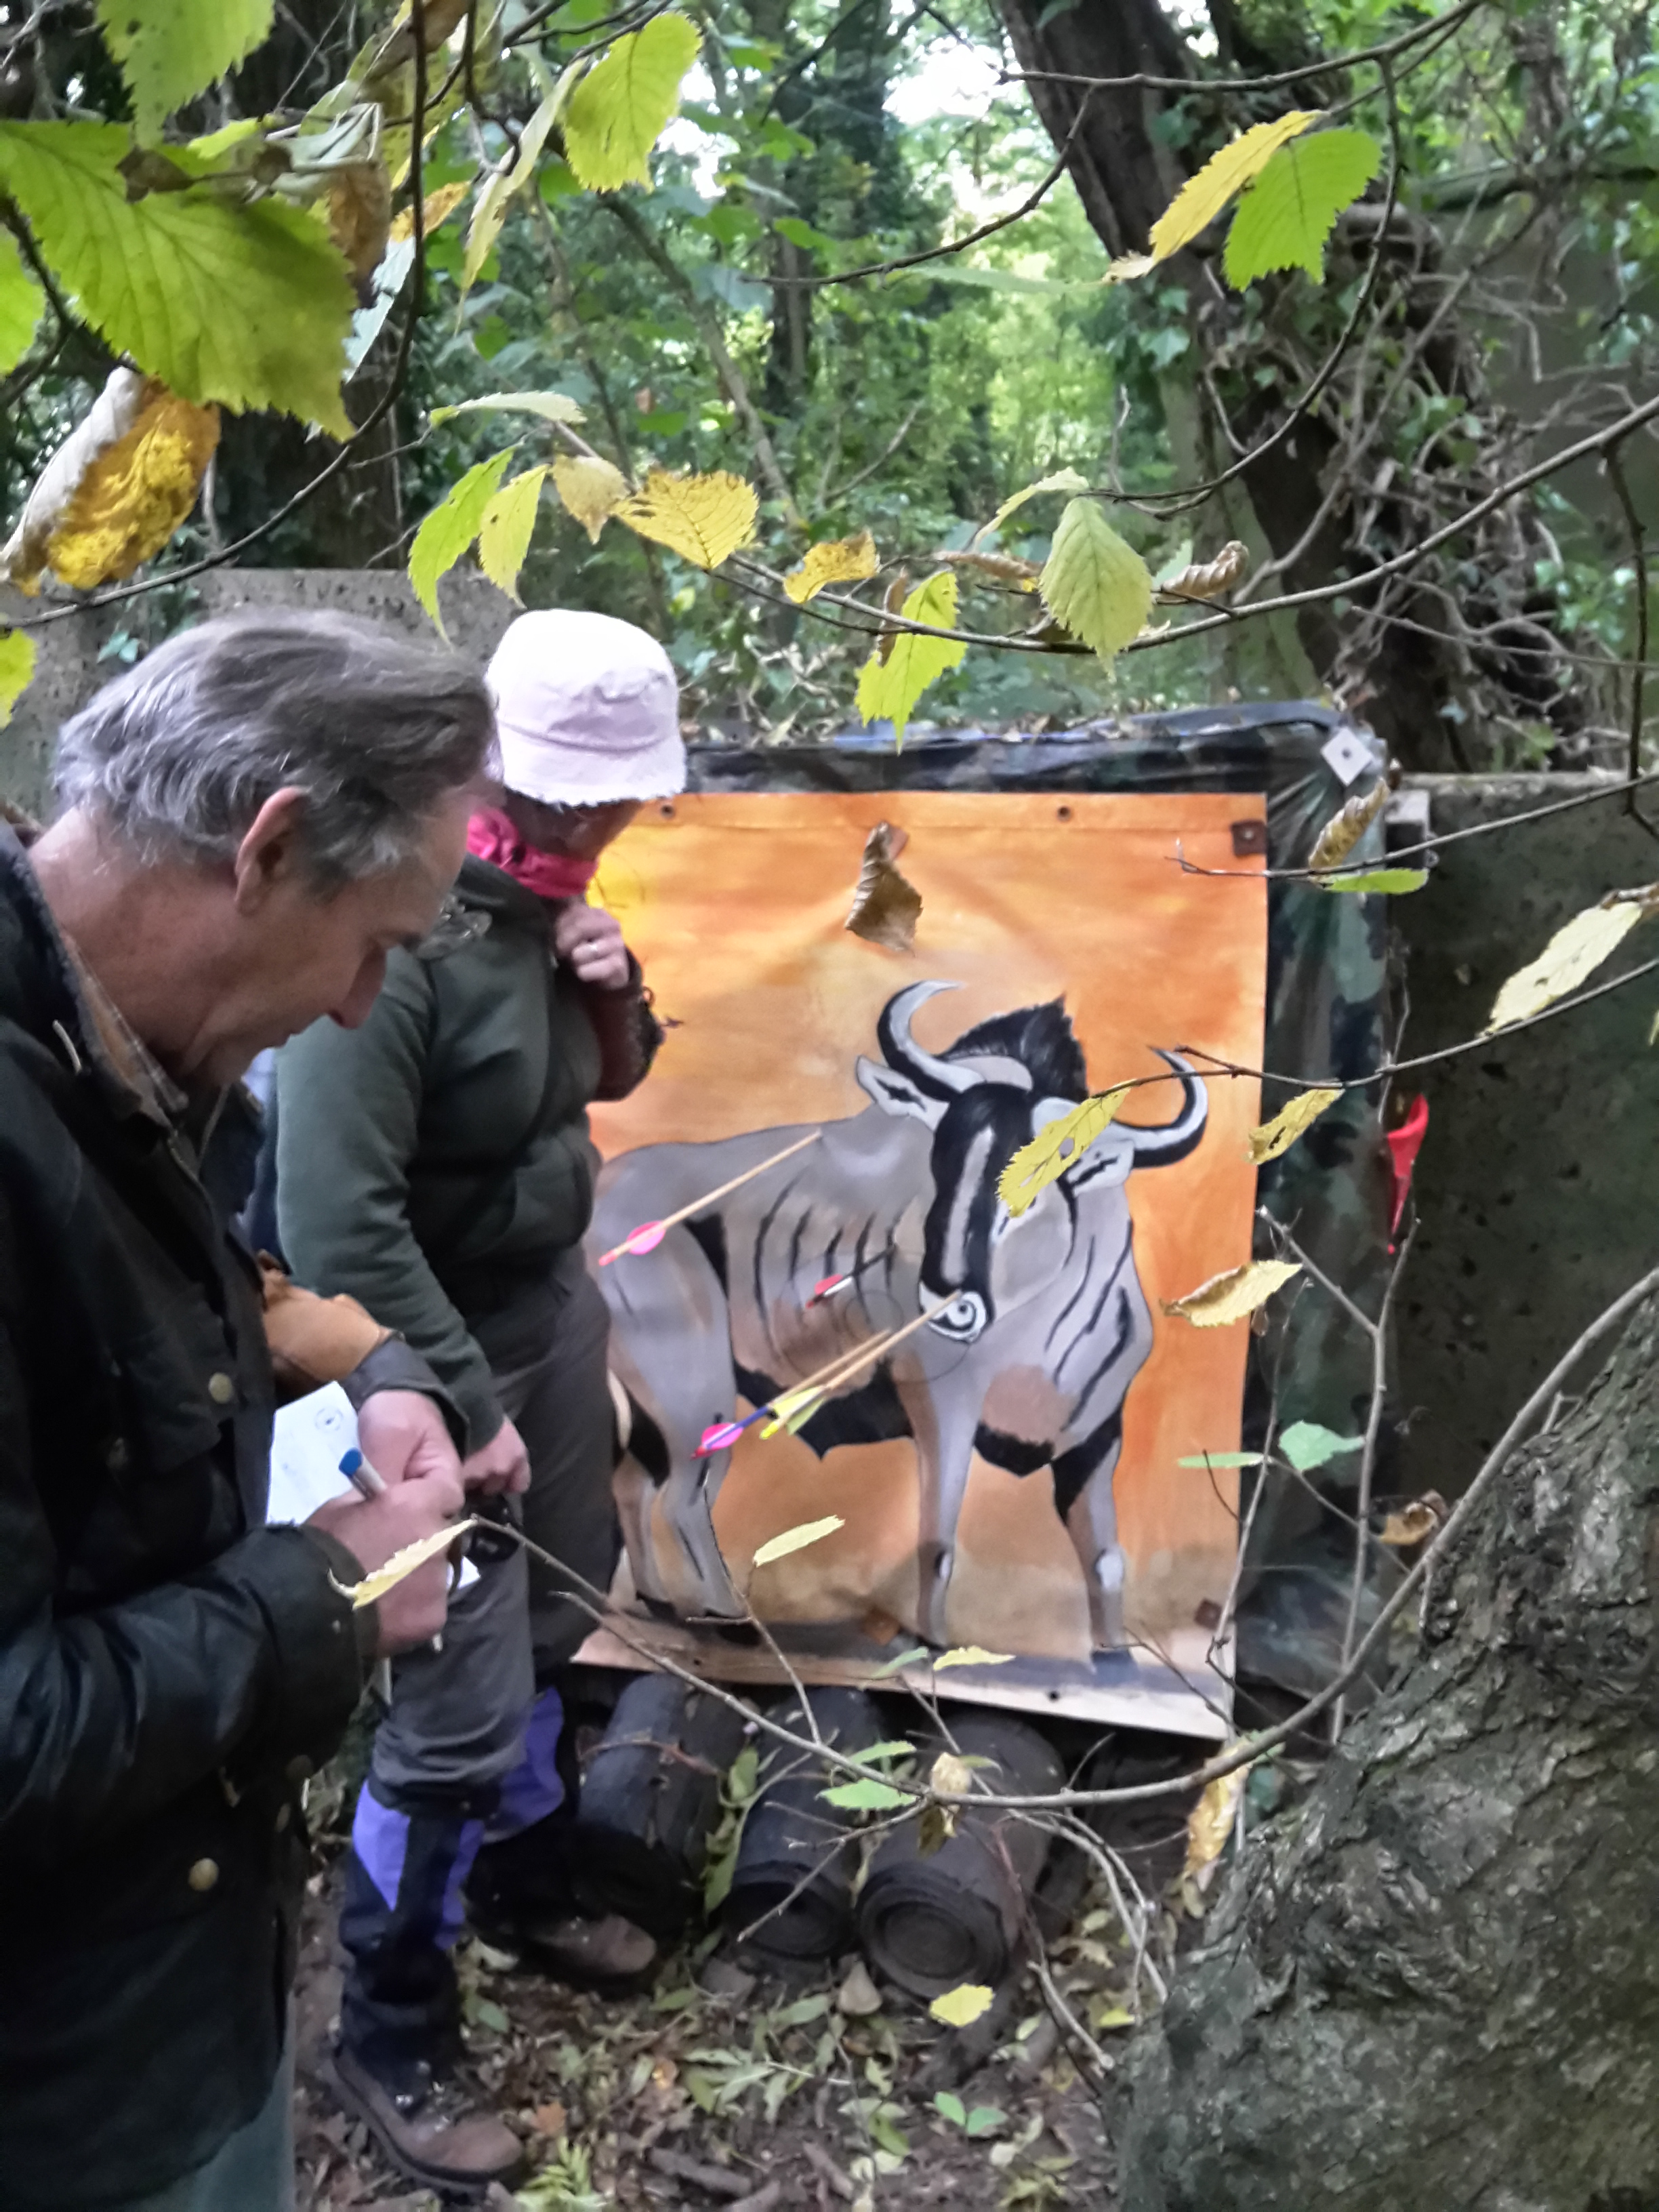
Nicely painted target
We were very lucky with weather staying dry and in the charity raffle winning a bottle of wine and a four pack of mixed ciders. Sharon came away with first in ladies hunting tackle and I was surprised to win gents afb. Congratulations to fellow Severn Valley members including Mary who won ladies afb.
Thanks for reading.