Course laying – consider target faces

In the previous post I wrote of the importance of feedback to course layers. In this post, I’m looking at some of the preparations that an event organising team should consider. These being both in time and the expenditure clubs have to fork out in advance before the event when it comes to target faces, 3Ds, shooting pegs, etc.
I think a logical way to begin is with a few questions, based on whether a club has the necessary stores to host an event. This is even more important for newly formed clubs or a small clubs that have fewer funds to draw on and resources to draw on. So here goes with a simple question, or do you have enough…

  • Have you got enough target faces for the course? Remember you are going to need spares and replacements.
  • What about shooting pegs? Do sufficient in the right colours for all the shots?
  • Do you need to repair/replace any target bosses?
  • Are there enough scorecards for all attendees?
  • What about your 3Ds doe they need repair or replacement? Have you got enough securing pins?

The above is just a brief list, which can go on and on. So, I’m going to explore a single element in more detail, that of target faces and the preparation of these.

The Prep

Long before the day or even the weekend of the event, there is work going on at the hosting club and club members homes.
Some of you may be familiar with the work in setting the course out, clearing paths, staking target bosses, etc. Away from these physical aspects of the course laying process, there is the planning for what faces are required? Where to source them from? Whether they are in stock or not at your preferred suppliers?.
To give you an idea, we had to paste up over 70 target faces for our shoot ranging from small ones (group 4 ) to large ones that just fit on a 1300 mm square boss.
This was for only 24 targets out of the 36 targets on the course in question, the others would be 2D or 3D targets. So why did we need so many? I will cover that a little later.

The club was hosting an NFAS open shoot, which means all targets were set on unmarked distances, ranging from 6 yards to over 50 yards. It would be a big game round, so all targets would be animal paper faces, 2D or 3D targets.

Pasting up

Mounting the target faces in itself takes time and ideally good weather; read warm, dry weather. We paste all the faces onto corrugated cardboard, so they last longer. We also paste an extra piece of card behind the highest scoring area as this tends to prolong the life of the target.

Card on the back

This means the first hurdle is sourcing sufficient cardboard to mount the target faces, which can be an uphill struggle in itself when you think of the sizes of some of the larger target faces. For our last shoot, we were very fortunate. You could say we hit gold twice thanks to a local Halfords branch and a couple of club members who secured loads. We’ve tried lots of different glues and found Hobbycraft PVA to be the most cost-effective if doing small numbers. The other alternative is to use diluted builders sealant PVA. You really need to factor in the time it takes to do this too.

Not only are you sorting suitable size cards, glueing the faces to the card. You have to trim the card down afterwards. Sort them to ensure you have the right ones for the right targets. This is where getting club members involved and helping can make a huge difference. We were very fortunate to have some great volunteers in the club who came around for several days.

How many faces are needed?

Scoring faces that are severely damaged by other archers arrows or have deteriorated to mush due to wet weather is not easy or fun. So to be fair to all competitors, you want to provide decent target faces that are easy to score.
Add to this that small faces get shot out quicker due to the very nature of numerous arrows impacting into a small space.
Wet weather and paper faces don’t mix. Carboard becomes sodden, ripping easily, glue gives up its adhesive properties, and so on. All this means you will need to replace them more regularly. Much as you hope for dry weather, you have to plan for all eventualities. This means for a shot that would be a group 4 target face, we wanted 6 to 8 copies. That may sound a lot but think of it this way. We capped the numbers of archers at 120 competing, all shooting at least 1 arrow, often 2 for some faces means probably 120 to 180 arrows. Divide 180 by 6 and you get 20 arrows into a small piece of paper. Factor in possible wet weather and the effect this has on paper. You begin to realise why you need multiple copies
For group 1 faces (the largest), we ensured we had a spare on the day.

JVD Red Squirrel target face

Spares were stored either in bin bags behind the target bosses to keep them dry or back at the admin hut, so they were there when required.

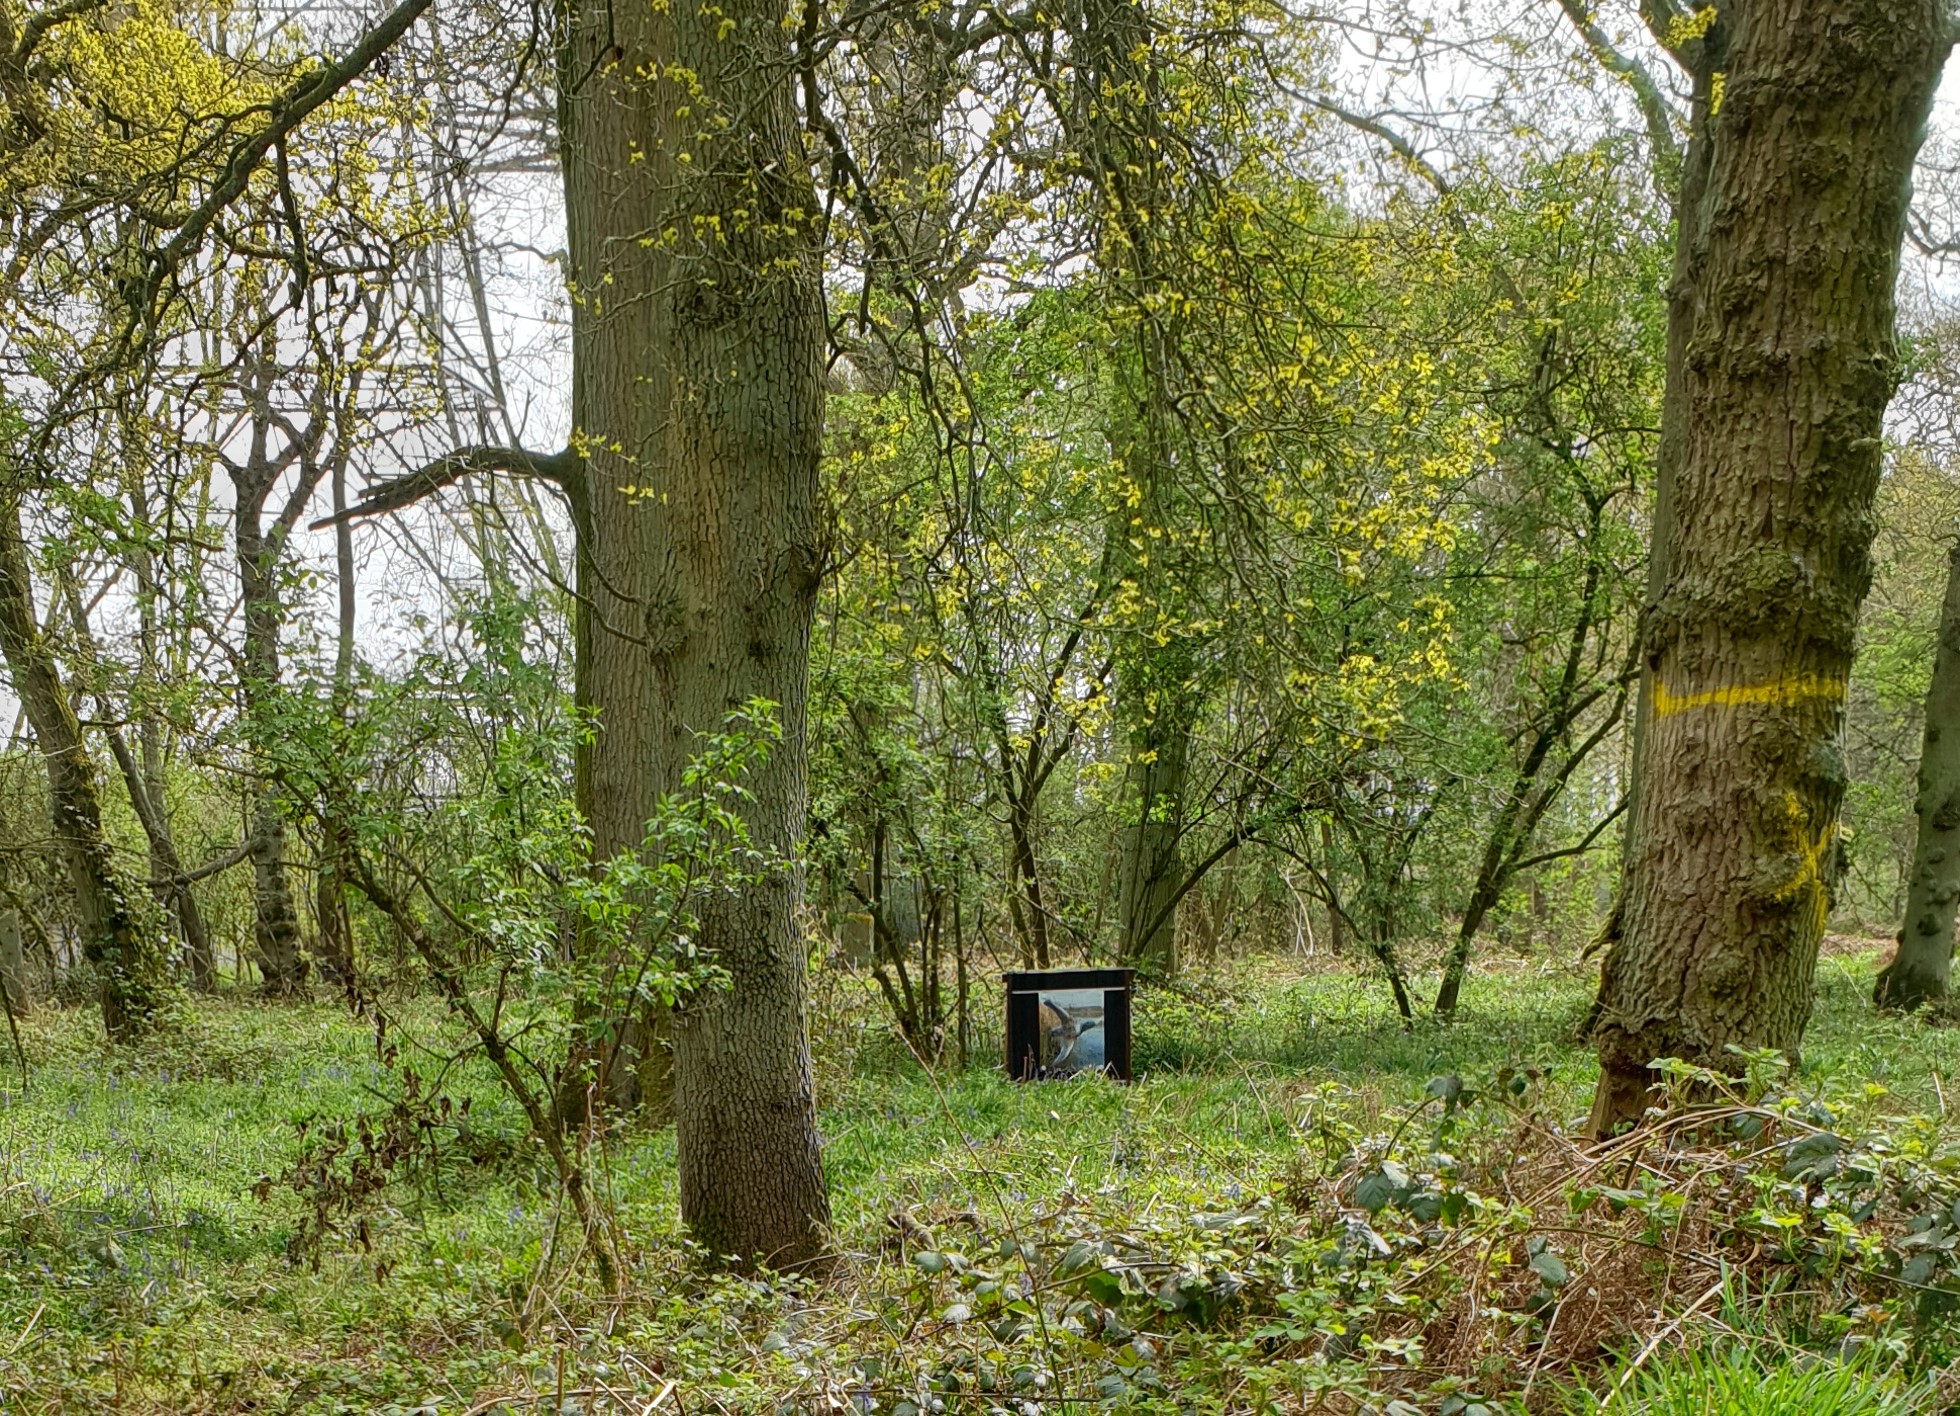
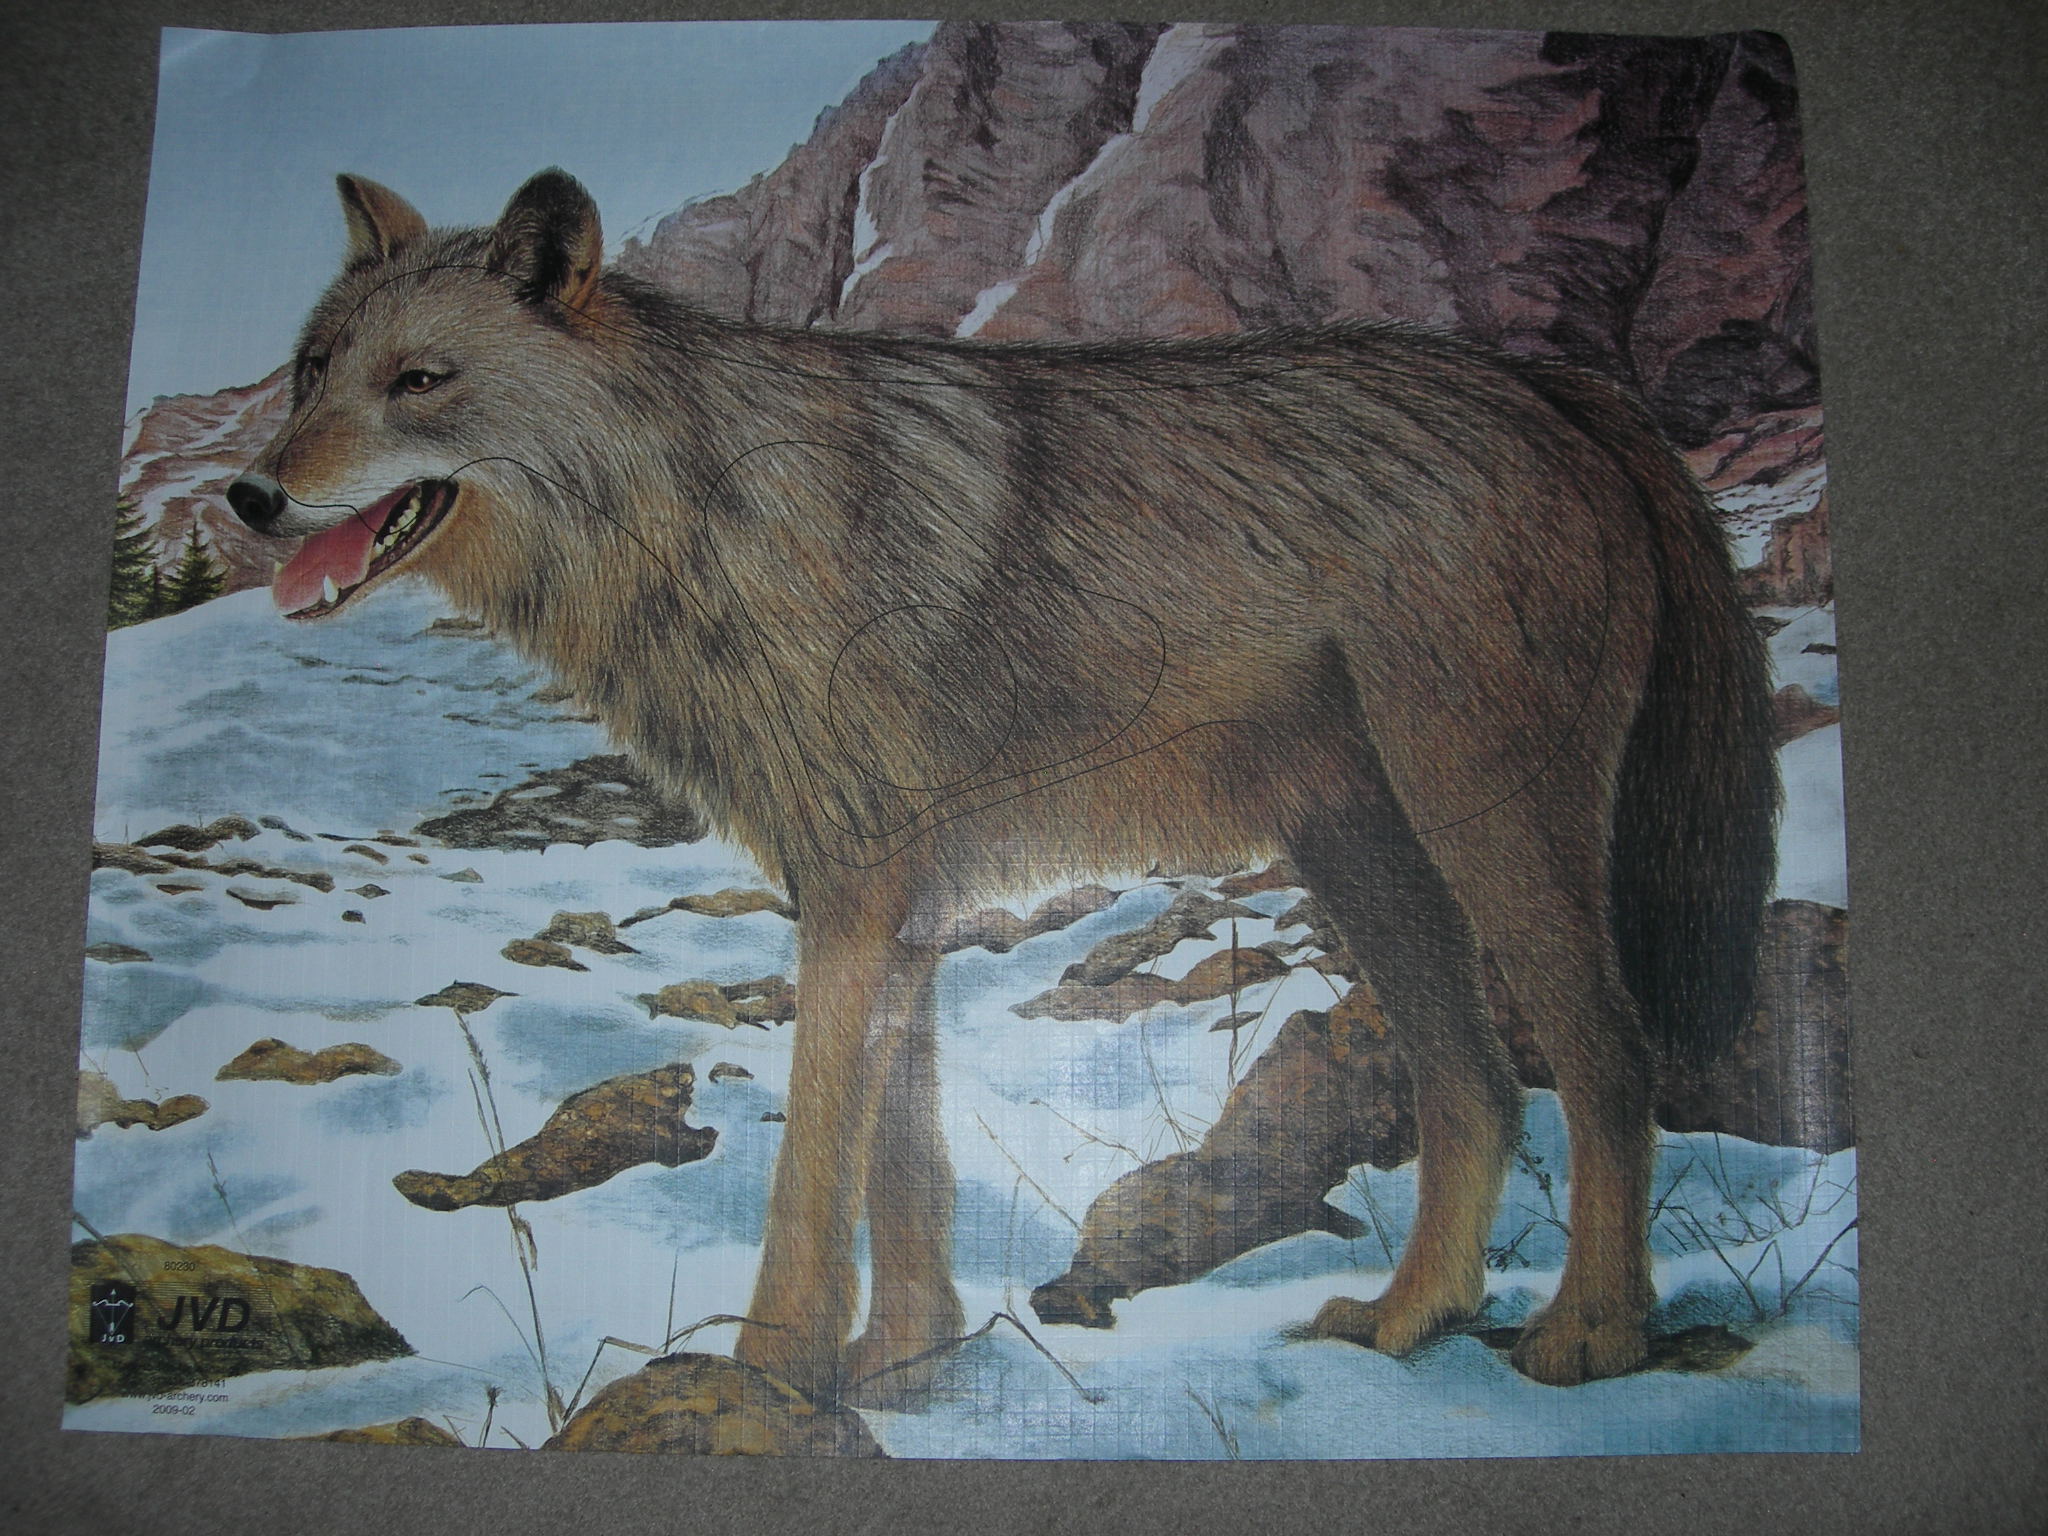
One quick tip or advice I would offer is if the budget for the event can afford it, buy a few spare different target faces of the different group sizes. It means on the setup day, usually the day before the shoot, you can tweak shots. You might find a JVD wolf would look better than, say a Delta ram on a particular target. One thing to remember is, that setting a shot that looks good, adds to the enjoyment for the competitors.

Wolf picture

So that I hope provides you with an insight into the preparation and time required when it comes to target faces.
In the following article, I’ll look at some of the physical aspects and considerations in respect to shooting peg positions to allow with all bow styles.
In the meantime, please keep safe and well. Thanks for reading.

Course laying behind the scenes

Archery target in the woods
Course setting

In this and my next few posts, I’m planning on exploring some of the behind-the-scenes activities that go on for a National Field Archery Society (NFAS) shoot. Those activities which attendees may not be aware of unless they have been involved in hosting or running such events. Though this will be focused on NFAS shoots these activities are common to most organisations.

You might wonder why am I doing this, well personally, I feel it is beneficial for all archers to gain some knowledge of some of the activities that go on before the event so they have a clearer understanding of the process which are otherwise hidden on the day. In doing so I hope the attendees can offer constructive feedback.

The concept of feedback will be the focus of this post. This in itself may sound a little strange. Starting with the very thing that is provided after the event, but it is something which has an impact on all parties and can be both positive or negative, constructive or damaging, supportive or hurtful.

Many people love to offer their views and more often or not this used to be via conversations in the clubhouse. Now in the 21st century, countless social media platforms offer people the ability to post their views, thoughts and more. You are currently reading my views.

Reading all this can be difficult especially if it’s not positive pr constructive. Filtering through these reports is not always easy if you are a course layer. I often wonder whether as course layers you have to develop a thick skin. I mention filtering as people will post their feedback based on their point of view or perception of the shot, organisation of the event etc. The style or shooting class will play a part here too, so remember that.

There is an old saying which seems very apt.

You can please some of the people all the time. All the people some of the time, but not all the people all the time.

Feedback positive and negative is equally important.

Whilst it’s great to receive positive feedback from archers on your course laying abilities, sometimes the less positive feedback is more important. That may sound a strange thing to say as, after all, you are wanting to experience the feel-good emotion about all the work and effort you’ve put in. So, I will try to explain it and the logic behind this statement.

So here is the Why?

Well, negative feedback if constructive provides you with the opportunity to develop and improve. I firmly believe that learning from your mistakes is vital. Too often in today’s society, people are focused solely on the positive for self-esteem or promotion etc.

Constructive negative feedback should stop you from becoming complacent with your own ability and perspective if you choose to explore the reasoning and facts presented.

The first step is to listen to the feedback, ideally with a clear head and evaluate whether there is justification for what is being said.

Some will present feedback that is, let’s say flawed or not entirely accurate. An example might be a statement that’s a 35-yard stretched shot for the target face. Well, if you know the distance is actually 28 yards and then their justification is possibly flawed.

Admit when you screw up.

Course layers are not perfect, all are human and therefore can and do make mistakes. Sometimes you have to put your hands up and say you got it wrong. In fact, I believe it is very important to do this if you have genuinely made a mistake. To steal a phrase from one of my favourite podcasts, “Don’t be that guy.” Don’t try and cover it up or worse still, blame the archers. It is not fair on them nor is it the right thing to do. If you have to make a mistake accept and learn from it.

For those interested here is a brief shoot report on our clubs website https://briarrosefieldarchers.wordpress.com/2021/08/19/briar-rose-field-archers-shoot-report-15th-august-2021/

Thanks for reading.

Equipment Review – Hawke 400 rangefinder

Those who follow me on Instagram will know I have recently bought a range finder.
Now many of you might think this a strange thing for someone who has always said they are an instinctive archer at heart. Why purchase one if you don’t gap or use sights? Also why buy one when the NFAS is the home of unmarked distances?
Well this purchase is more to do with course laying than my own shooting.

I have found that when you are setting a course, whether 3D or using bosses it is beneficial to be able to range each shot accurately. This helps to both ensure a good mix of distances but also aids safety, as you can use it to check distances of overshoots etc.

Having done some research or rather that should read lots of research on numerous Google searches and a few postings on different sites asking for advise and guidance I was pretty sure of a couple of things.
The mix of different options was huge.

The prices ranged from £50 to £300 plus

I was fortunate to have a couple of fellow archers who were kind enough to lend me theirs to have a play with and the entry level ones seem to work pretty well. Quite often archers will use a golf range finder as opposed to one designed for shooting, as shooting ones tend to range over hundreds of yards at times.

I also popped down to our local gun shop to ask their advice and to see what options they had. (Shooting Supplies Limited http://shootingsuppliesltd.co.uk/ ) I have to say they incredibly helpful going through the different options and what’s available, along with practical advice, thanks guys.

I ended up buying a Hawke 400 from the shop in question and it was a choice between the Hunter and Professional unit. As it was I went for the Professional in the end as it was only slightly more expensive and offered a couple of features I thought might prove useful, more on these later.

Taken from the Hawke website

First impressions are very positive

The unit is light and easy to carry, though the only criticism I have so far is the carrying pouch which is a little small, making it difficult to stow and retrieve easily. I have managed to get the lanyard caught in the pouch zipper a couple of times. The unit measures approximately 3 inches high x 4.5 inches long and 2 inches thick so small enough to store in my jacket pocket.

The unit can be set for measuring in yards or metres, through the instructions don’t explain how to change between them. I had to Google it.! Where would we be without Google. Maybe including this in the user manual and if it is already then making it more obvious for fools like me.
Clarity through the viewfinder is pretty good making it fairly easy to locate targets. It has a x6 magnification through the unit and ways only 180g / 6.3oz so nothing really. Full manufactures breakdown can be found here https://uk.hawkeoptics.com/laser-range-finder-pro-400.html
Like many range finders the unit displays details through the viewfinder such as yardage. this is shown in black text over the image so it’s a little hard to view with a dark background.
I am yet to check the accuracy against a measured distances. Distances I have used it on so far are from 5 yards to 90, but I need to check the calibration.

Update – I have now tried this on my range finding it very useful and more importantly accurate. Distance wise it matches the long measuring tape I have and the marked distances on my range, which is 40 yards, however if I factor in my garden I can easily got back over 60 yards and I’ve tested it at this distance too.
One thing that this unit has already helped me with is the judgement on height difference. I knew the range was on a slight incline and with the Pro 400 I have bene able to identify the incline over 20 / 40 / 60 yards.
Hawke state there is +/- 1 m and I think that is true as I have found ranging in on the top of the boss and then at the bottom can sometimes give a difference of a yard.

The different modes are described by the manufacturer as

“Beeline mode measures the horizontal distance to a target.

Height mode measures how high the target is in relation to the range finder.
Angle mode measures the angle of projection. It will be measured to the nearest half a degree.”
One feature the unit offers over the Hunter is in giving you the angle to target. This was one of the reasons I went for the Professional over the Hunter. I wanted to know the elevation to or from targets to the shooting peg, something that I felt would be very useful if you are setting shots on hillsides or across dips and valleys.

Having used this now to range in targets on uneven terrain I can confirm it is very helpful when setting shots or for your own shooting. The only thing I have not tried is using it in wet weather so I can’t testify to how water resistant or accurate it is on a rainy day, though knowing the UK I expect this will be tested at sometime in the summer.

Overall I think it is a great bit of kit, useful for all archers who want to improve their distance judgement or like myself want to continue to develop their skills in course laying. I’d give it a 9.5 out of 10. The only reason it’s not a 10 is the pouch and I haven’t tried it in the rain.

Thanks for reading.