Shoot report – Wolverine – April 2014

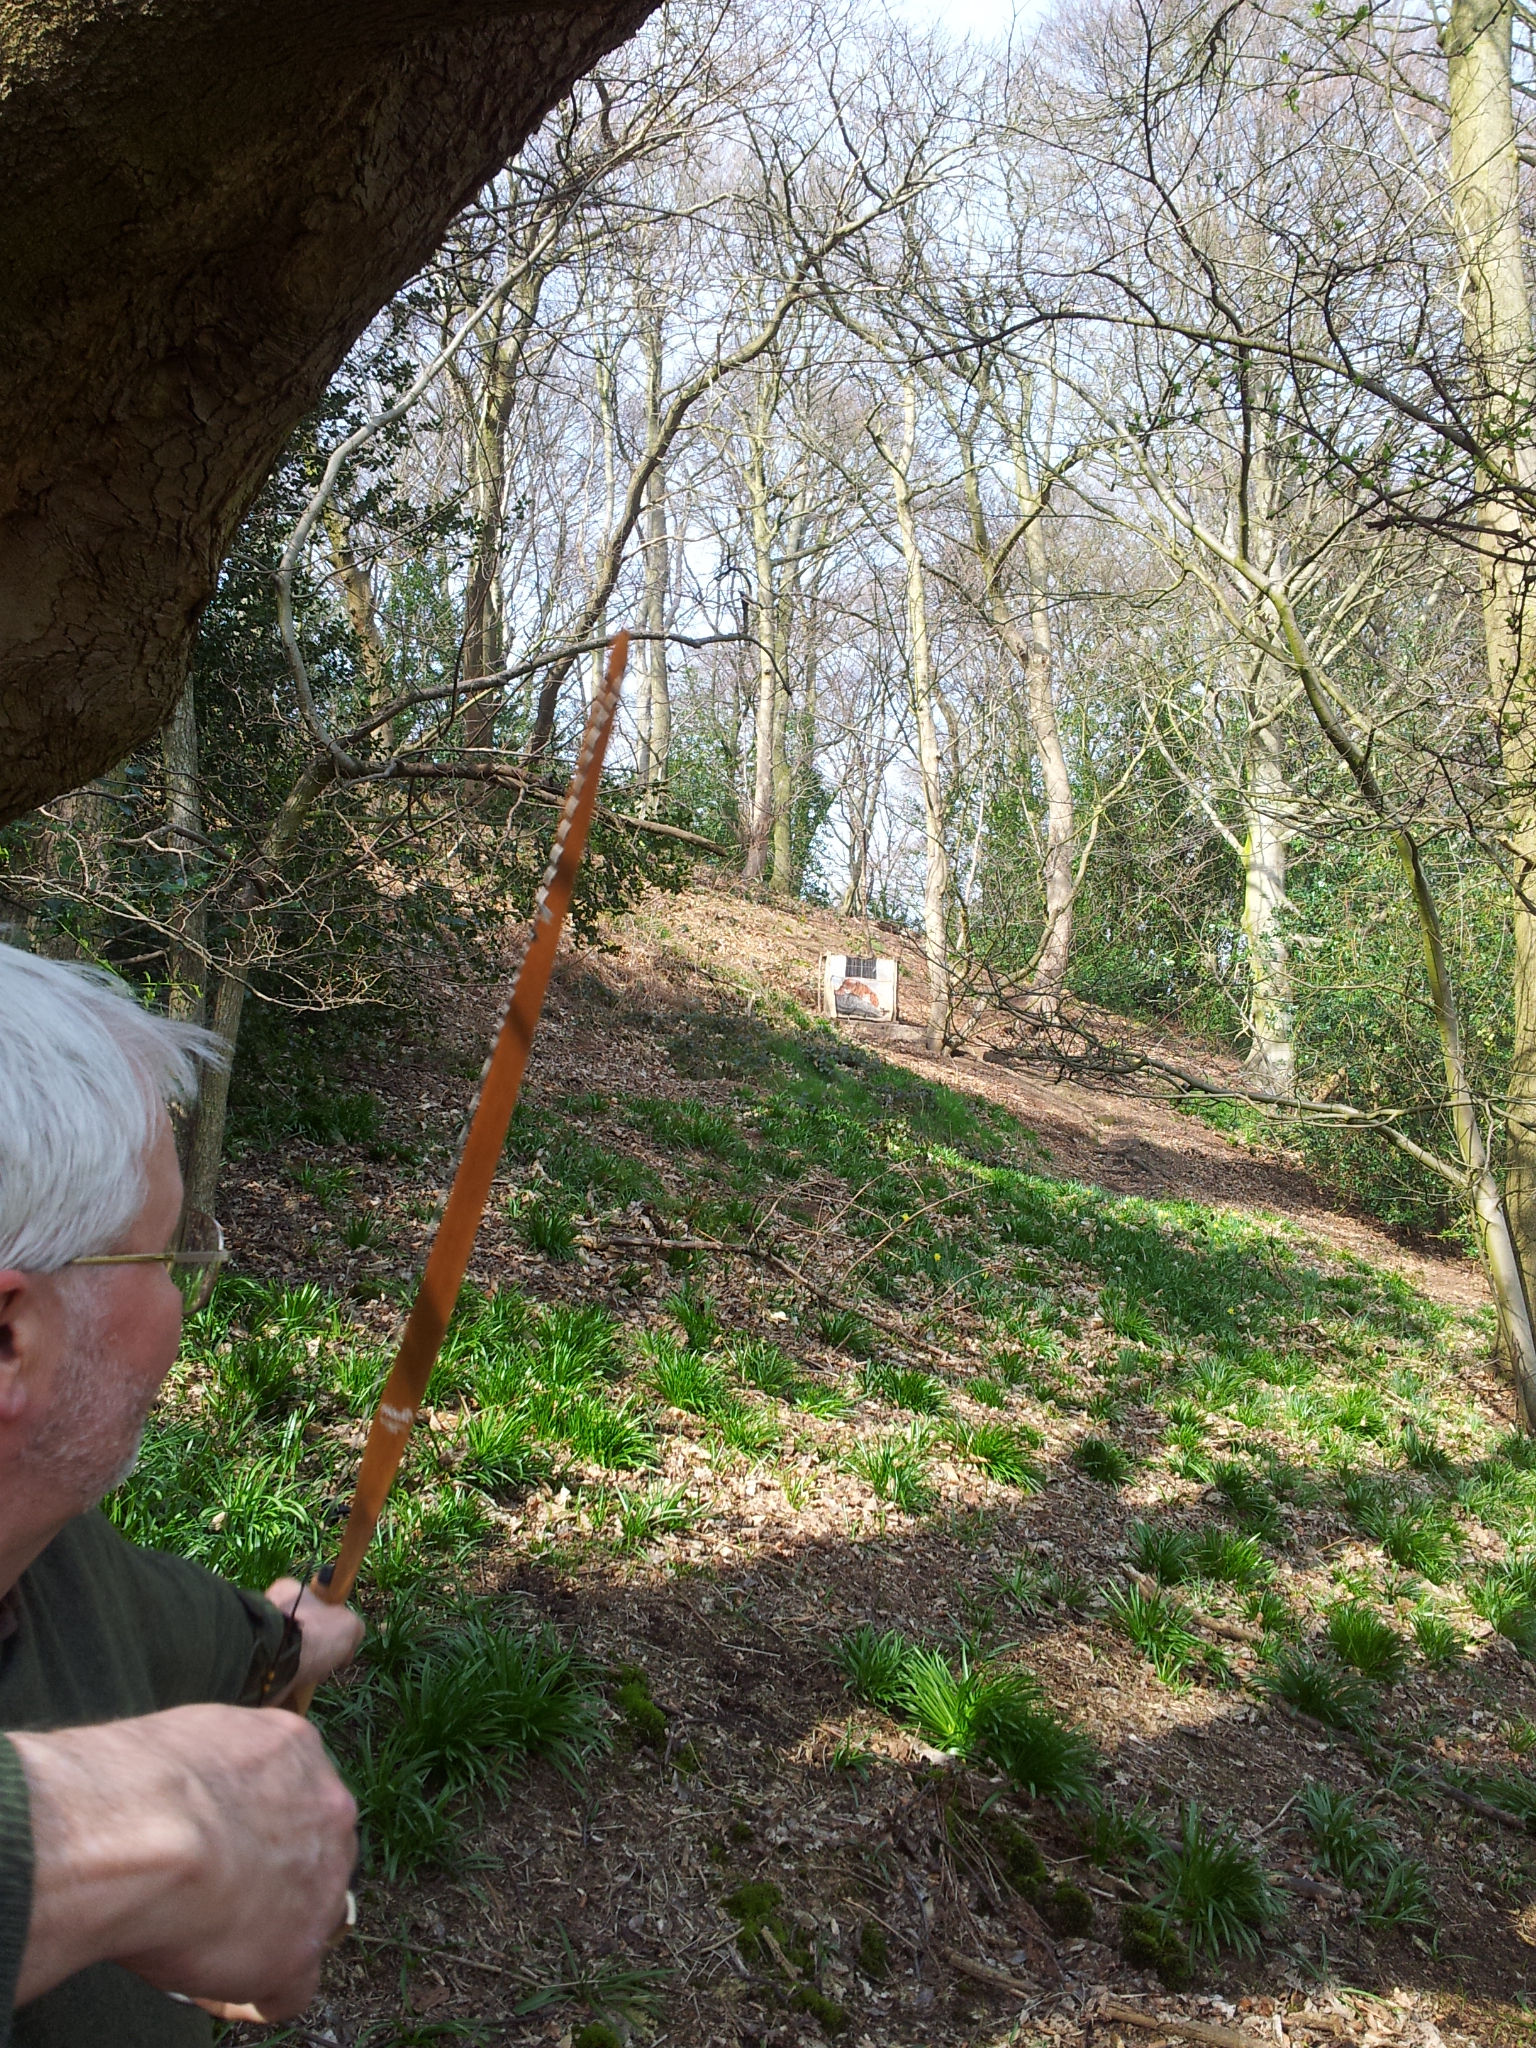
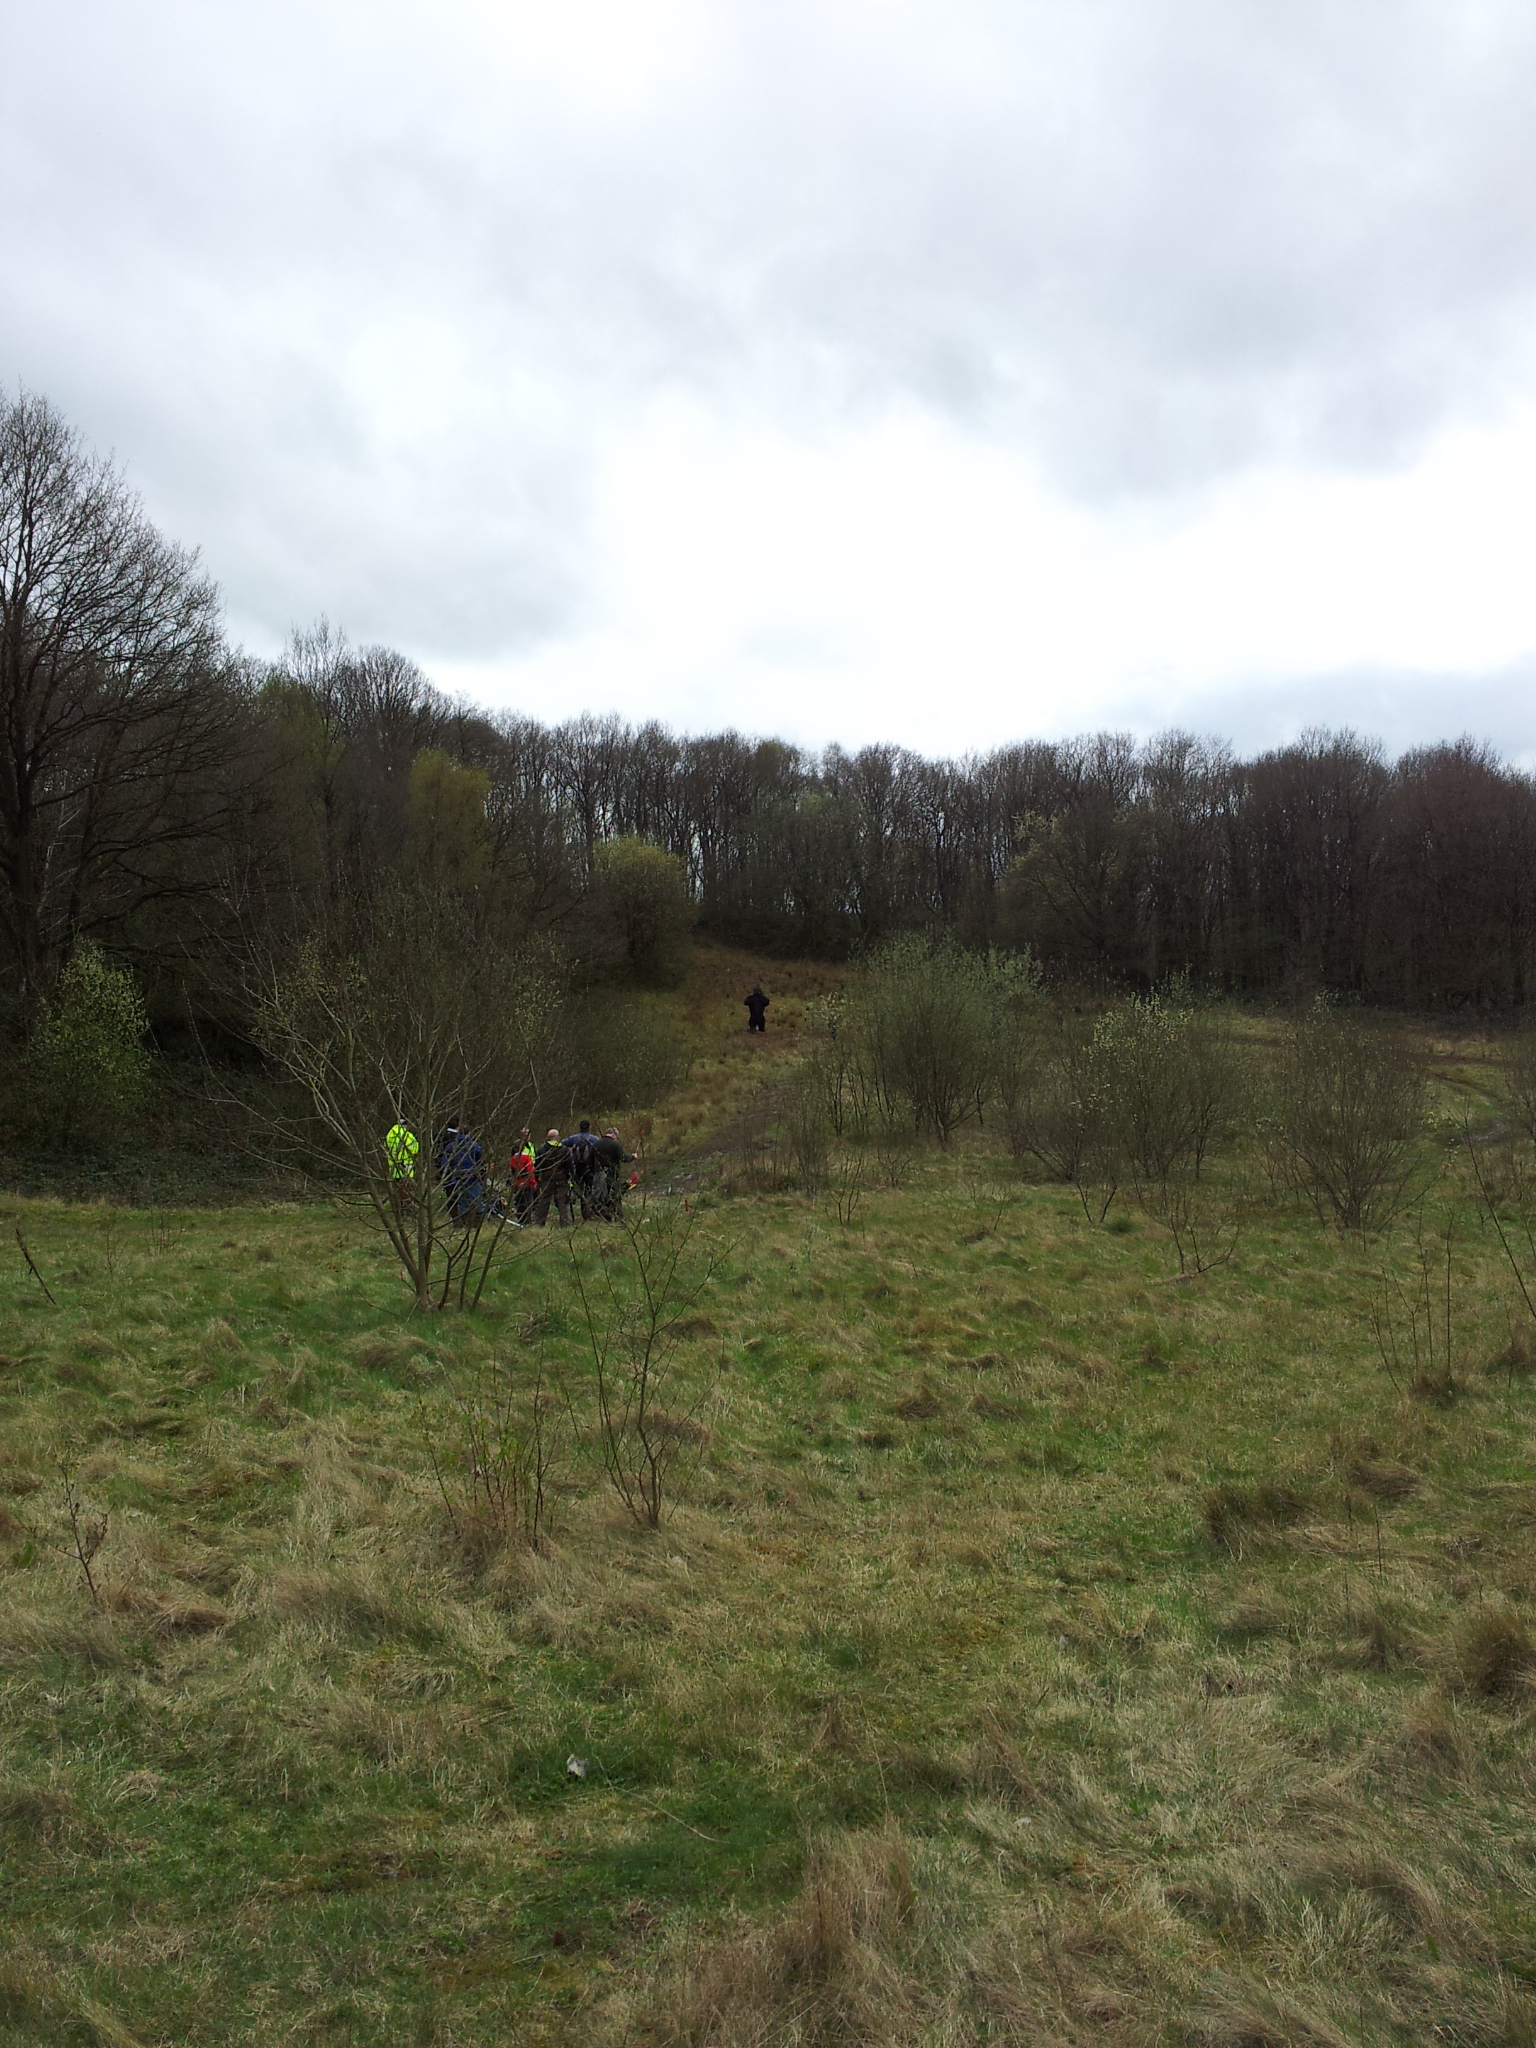
Kong from a distance

Kong from a distance

It was an early start on Sunday as we packed the car and headed north up the motorway. No bright spring sunshine instead we had a grey start to the day, though the heavy showers forecast stayed away until our journey home.
We were heading to the Wolverine club which is based not far from Stoke-on-Trent and is a club we have visited a few times (previous shoot reports can be found here 2013, 2012)
Indirectly we did suffer a little from the heavy rain which had fallen overnight as the parking field got very slippery and provided an interesting experience to get out of. The course paths too were very slippery under foot with a few people falling, fortunately no one was seriously injured.
The club had laid on a 40 target course with a mix of 3ds and paper faces. Of course Kong was out in the field.  Even managed to hit it this time, although it was with a third arrow.
3D crocodile in the grass

3D crocodile in the grass

There were over 150 archers braving the weather and hillside climbs that made the Sunday trek.
3d wolf in the bush

3d wolf in the bush

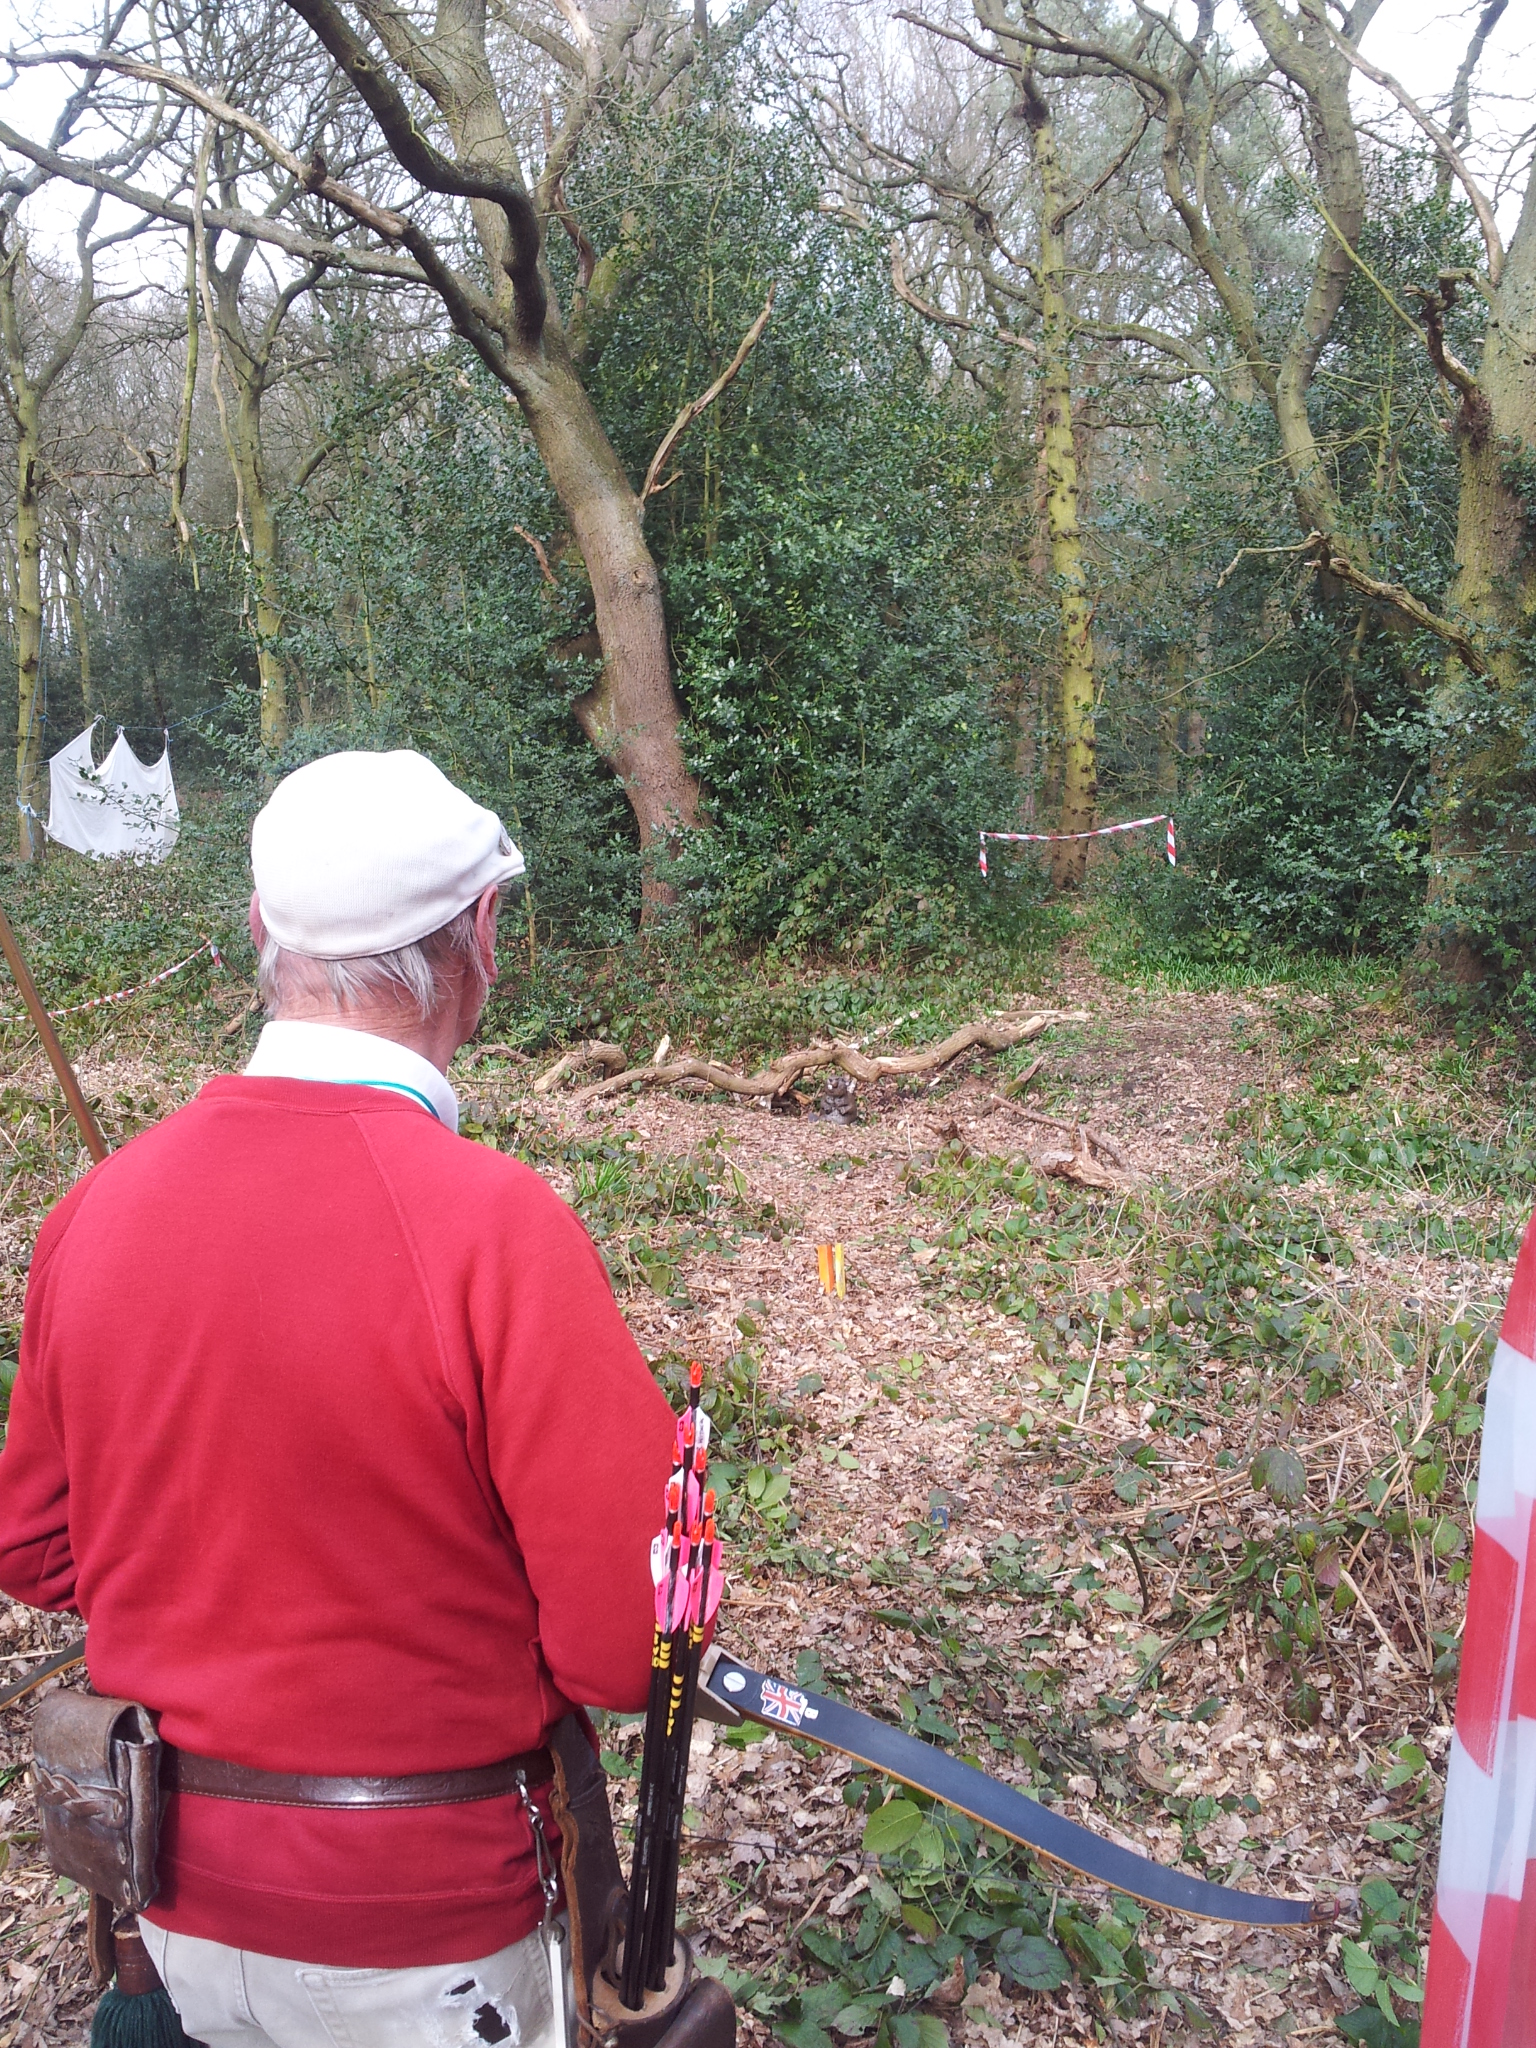
Our shooting group on the day included myself, Sharon, Sue from Long Eaton club who we had shot with before and Rich from DW longbow who was only on his second open shoot.

wolverine shooting group as we trekked up the hillside

wolverine shooting group as we trekked up the hillside

Wolverine’s grounds are in 2 woods on a  hillside with a small field half way down. This made for lots of walking up and down the hillside which left everyone tired by the end of the day. It also allowed the club to set up some very nice up and downhill shots. If you have read my past reports you will know that Wolverine always have a lunch break for their shoots as the course ground doesn’t allow for a shoot through. This meant lots of archers trekked up the slope for lunch and then back to start the second half.
3d bear at wolverine

3d bear at wolverine

My only criticism of the course is they had a few targets with the boss frame on the top and bottom. This resulted in us and others spending time digging out arrows which had missed the target but stuck in the wood frame.
Sue shooting

Sue shooting

The course was a challenging one with the mix of uphill and downhill shots, with archers working for every point. Targets were hittable so long as you kept your focus. The only hold ups we encountered were down to the group in front having to dig out stray arrows on a couple of target so in all it flowed well.
Bedded deer at wolverine

Bedded deer at wolverine

My shoulder is definitely playing up as I struggled a bit with back twinges in the latter half of the day but in all had a good day. Probably not helped by helping at our club on Saturday to shift heavy stuff before our shoot next week.
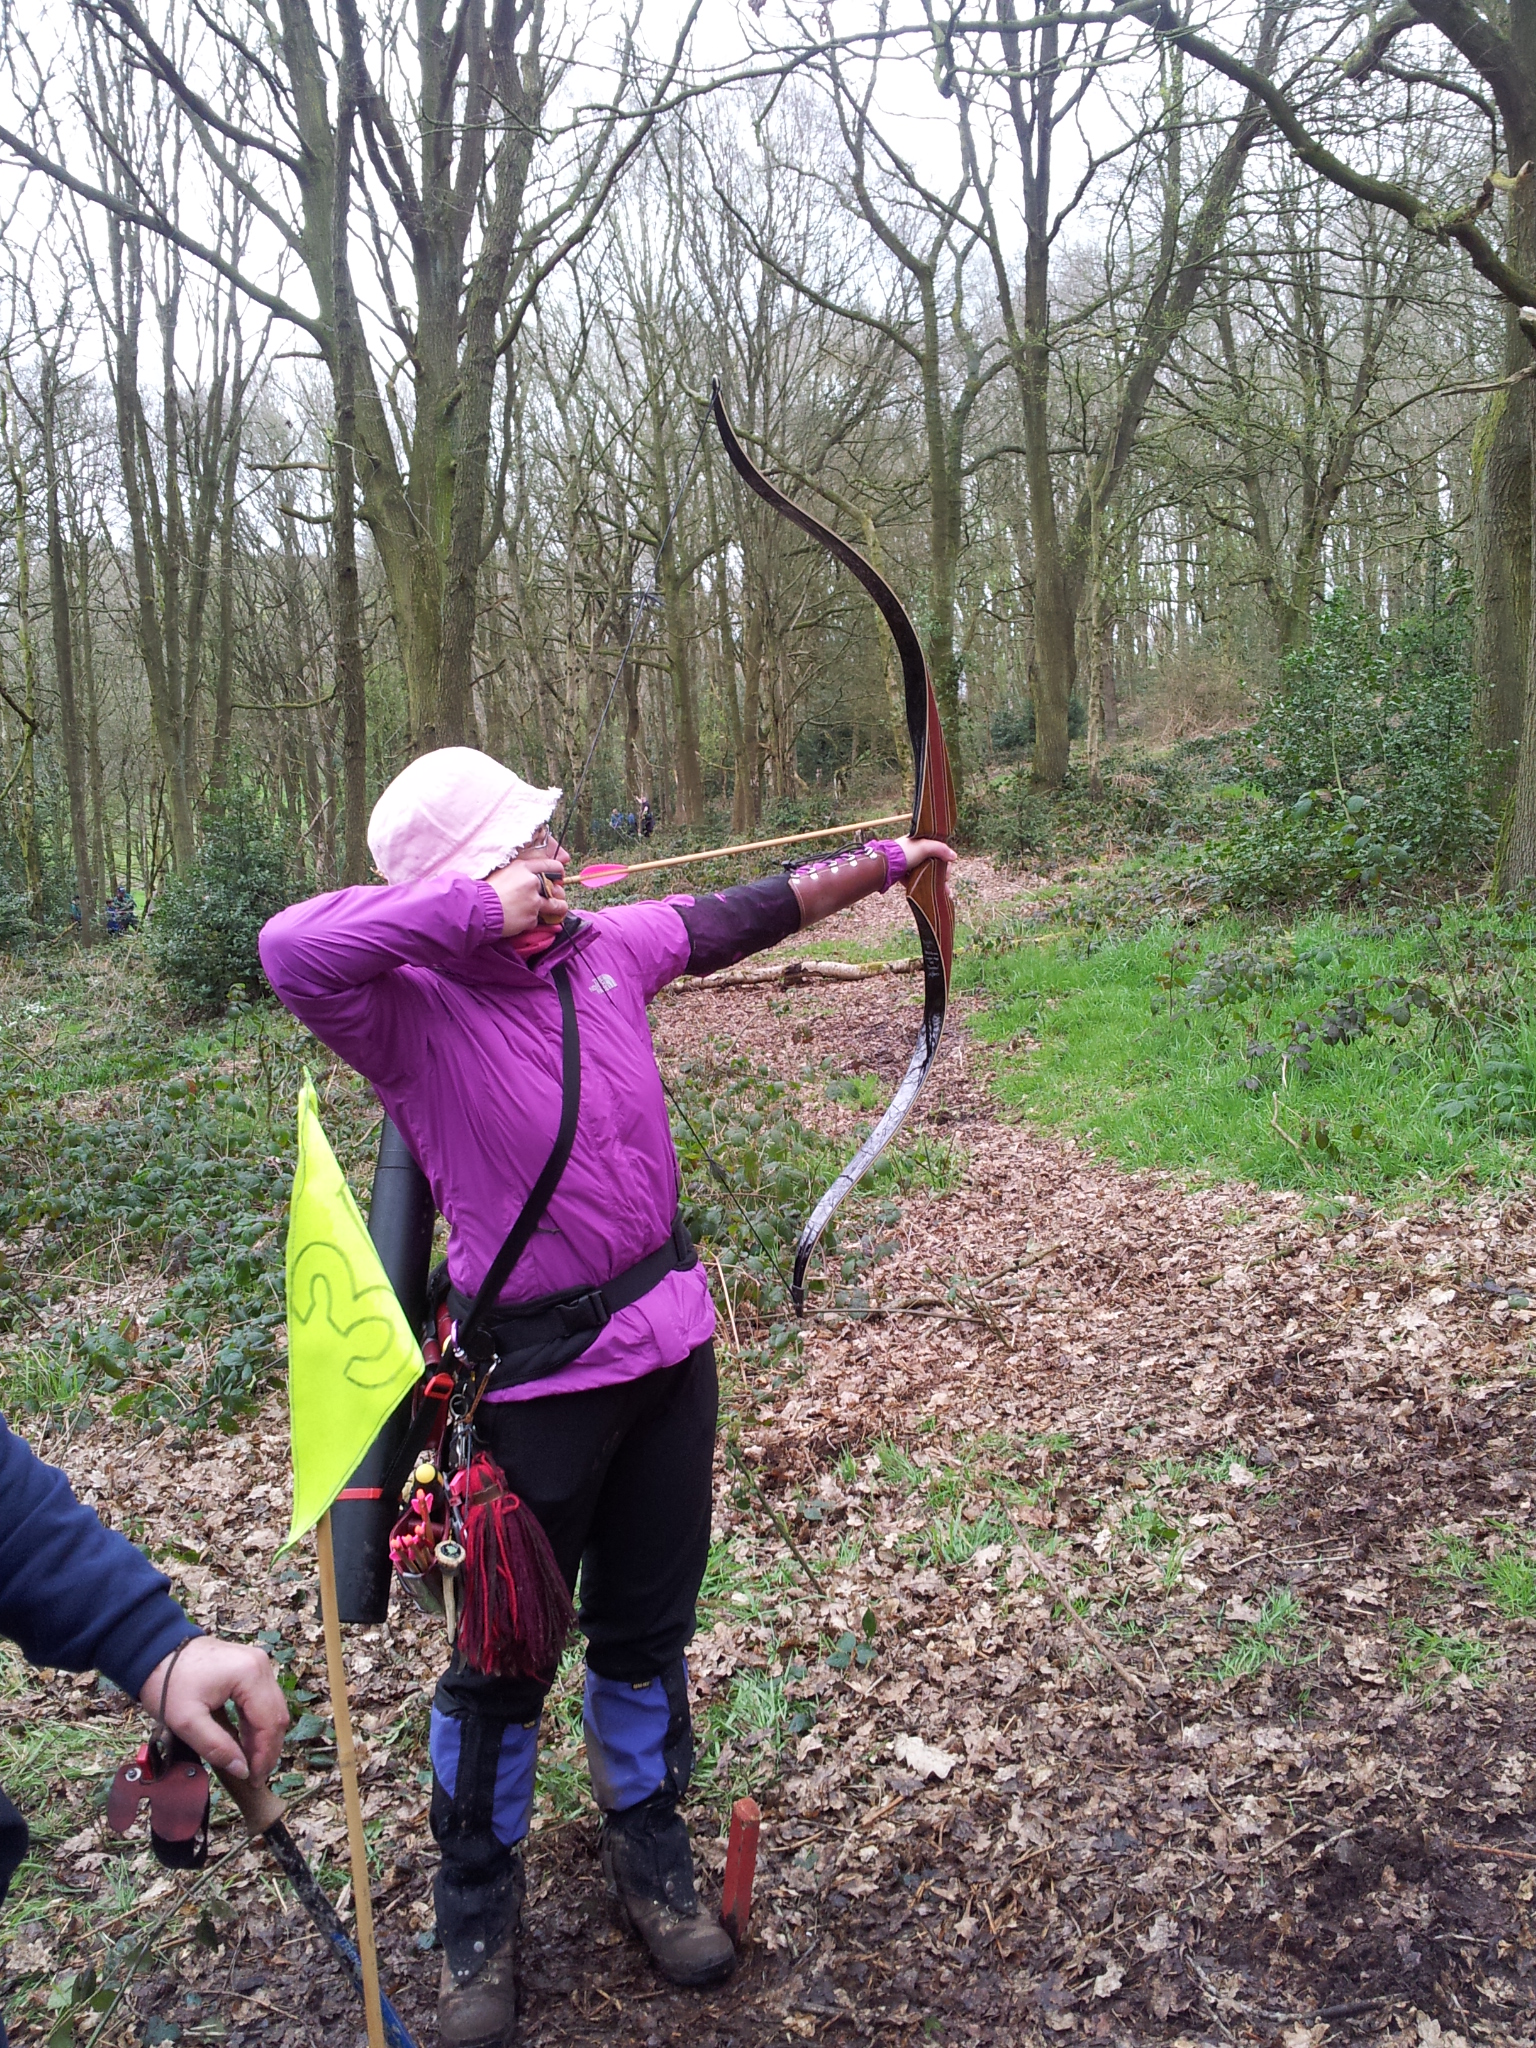
Sharon at full draw

Sharon at full draw

Sharon came away with a first in ladies Hunting Tackle (HT). I managed a second place in Gents HT.
Thanks for reading. Next weekend we will be helping to marshal our club shoot.

Shoot report – Hanson March 2014

Hanson shooting group Steve, Sharon and Barry

Hanson shooting group Steve, Sharon and Barry

Last Sunday saw the Hanson club outside Derby organise a shoot which we attended.
With the clocks changing this past weekend to BST (British summer time) we decided to not have the even earlier start on Sunday morning and went up Saturday and stayed over in Derby.
The nice thing with staying over in Derby was it gave us the opportunity to call in at one of our old clubs Black Arrow, allowing us to catch up with friends we hadn’t seen for a while and shooting round the course.
Kevin at black arrow

Shooting with Kevin at Black arrow on the Saturday

As always with Hanson the food was great and reasonably priced. We were also very fortunate with the weather, with it being a bright early spring day.
Sharon preparing to shoot

Sharon preparing to shoot

The challenging course was a mix of 3Ds and Paper Faces made up of 38 targets not the normal 36/40.
There were some well set shots including this 3D beaver.
3D beaver set in wood pile.

3D beaver set in wood pile.

My one criticism of the course which I didn’t have chance to mention to the organisers was with their target placement on a few shots. A number of 3d targets had either no boss behind to catch stray arrows or small ones that would not catch many. Maybe I’m sensitive to this as on one target which lacked a boss I snapped an arrow in the tree directly behind the target. There is ample space on there ground to avoid this.
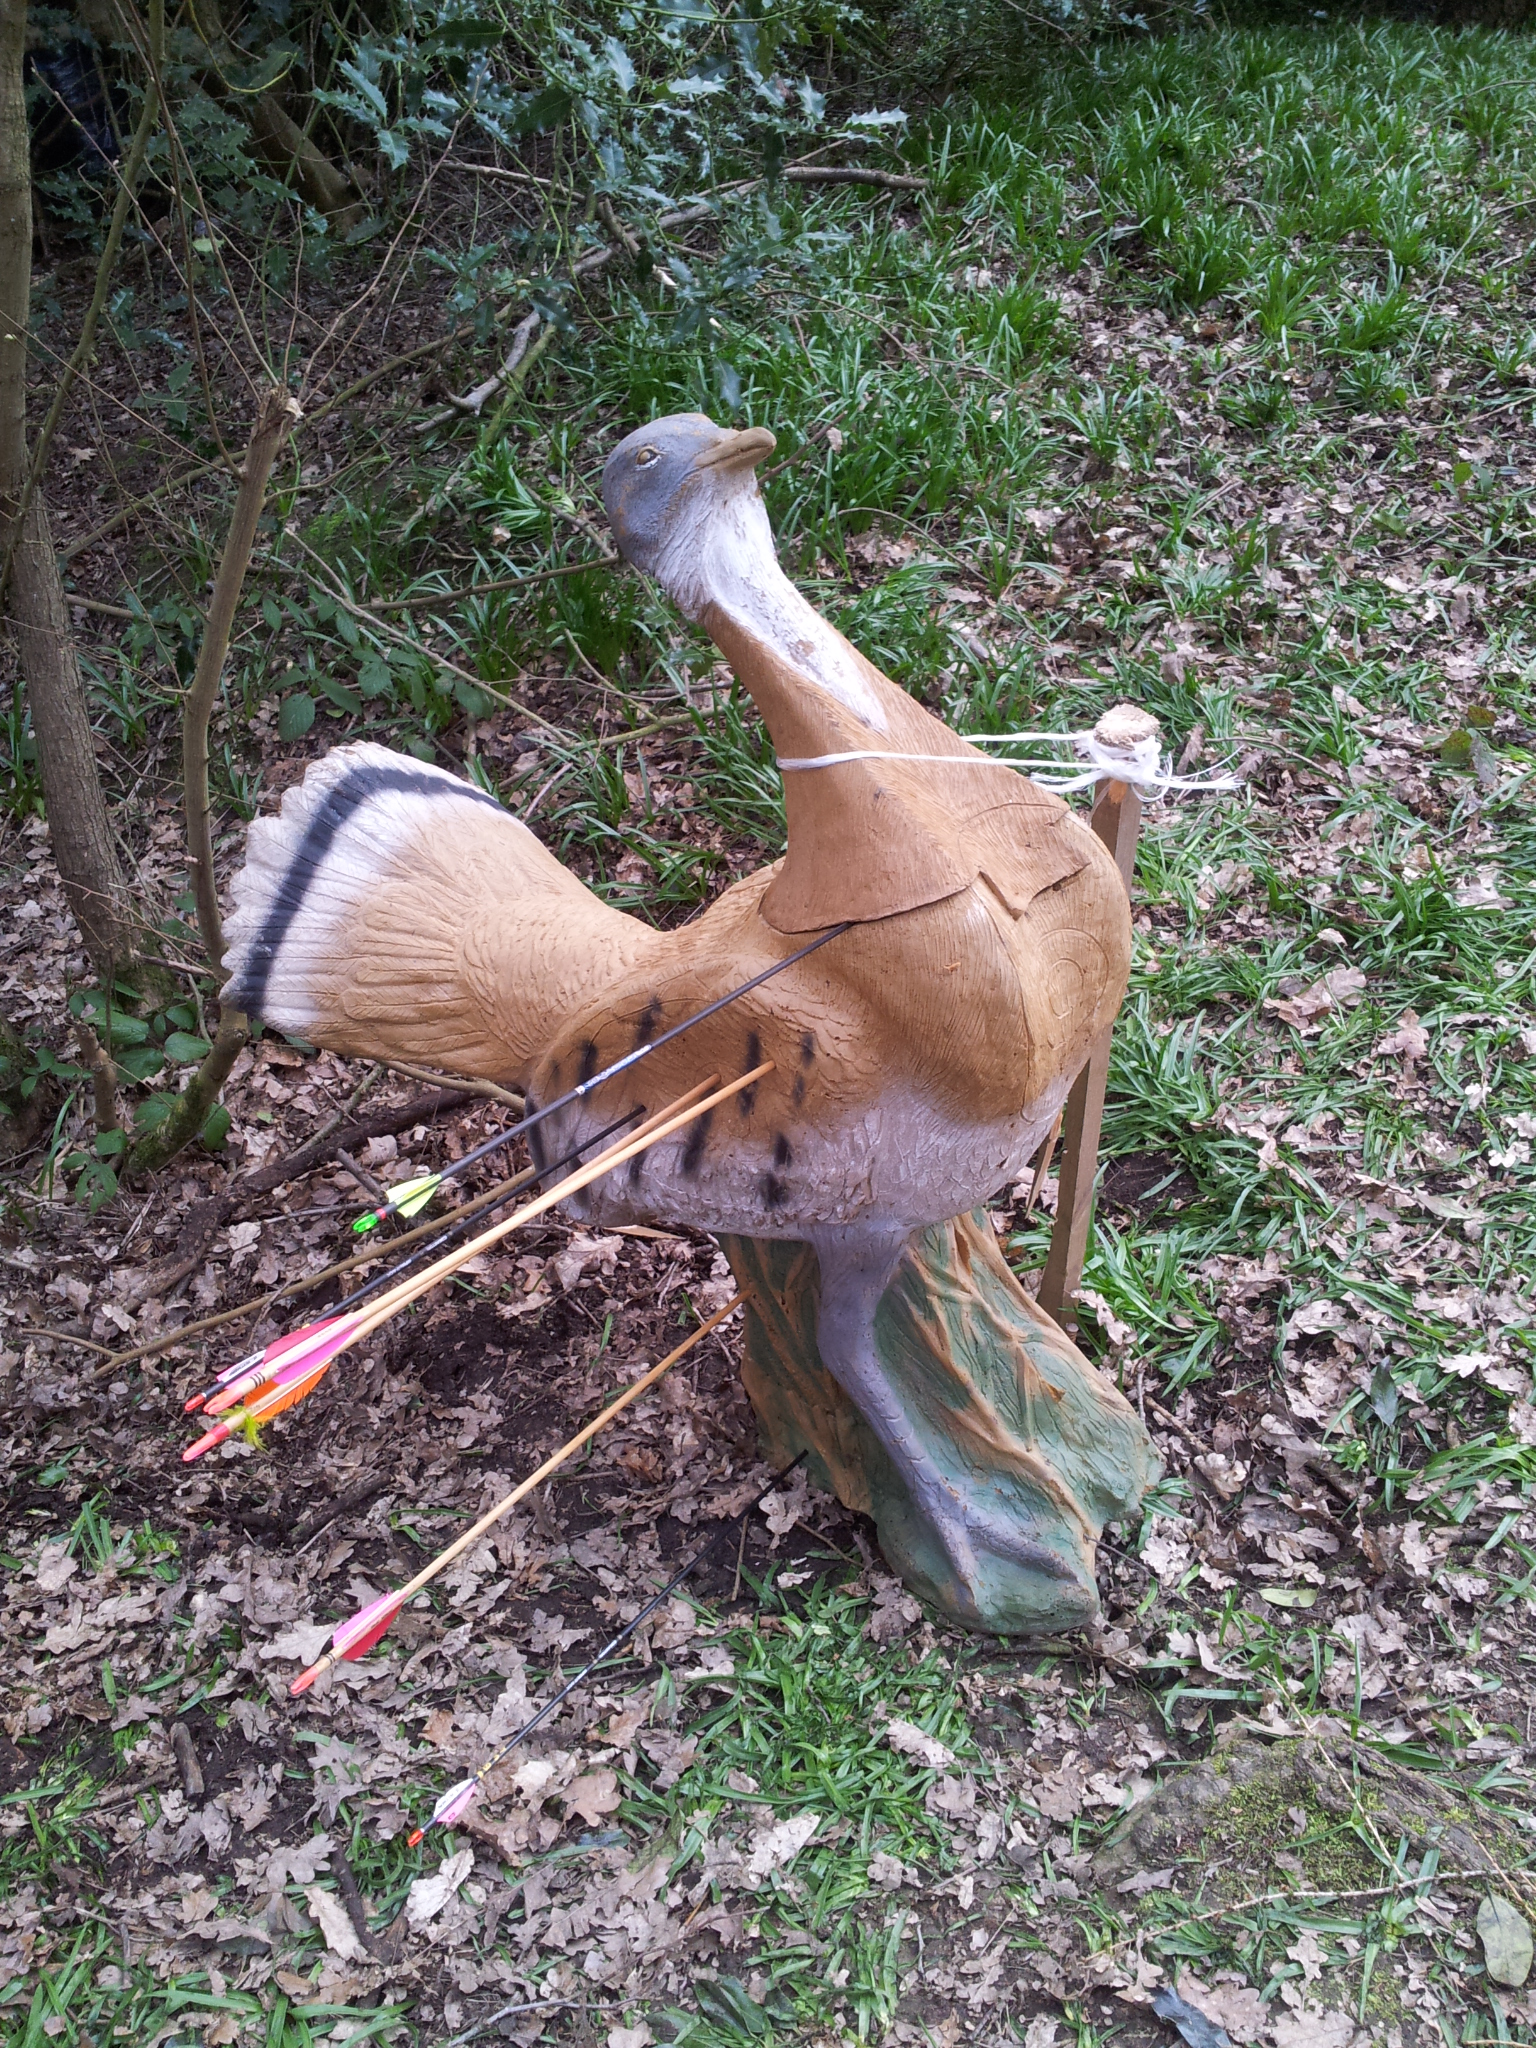
3D bird though not sure what bird?

3D bird though not sure what bird?

I think it would be fare to say I didn’t meet the needs of the course. I came away very disappointed with both my score and performance. Didn’t feel right or comfortable all day. Shoulder and back aching almost from the start, just hoping it’s not my re-occurring shoulder problem.

Thanks for reading.

Course and Target Laying – A clear picture

So in the last post on course laying ideas I made reference to distances addressing a few things to possibly consider. In this post I’m going to look at target size and choice. I know in some societies they always shoot circular targets of varying sizes and over marked distances.

In the NFAS we shoot printed animal shapes and pictures, with marked scoring zones or 3D targets. Both over unmarked distances, so this is what I will cover in this post.

So it might seem obvious. Large target is easy to hit, right? Well maybe not, so lets see if I can debunk a couple of myths concerning target faces.

Myth number one – A large picture = large target

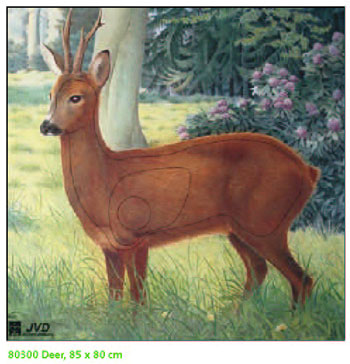
Not always, so to start here is a word of warning on target faces and face selection. Just because it is a large printed sheet of paper doesn’t mean the target is large or scoring zone is equally large. There are a few targets where the picture is large but the target animal itself in the picture or scoring zones in the animal aren’t. A good example of this is shown below and is what I tend to call the rhododendron deer because of the bush shown in the background.

Deer

Deer

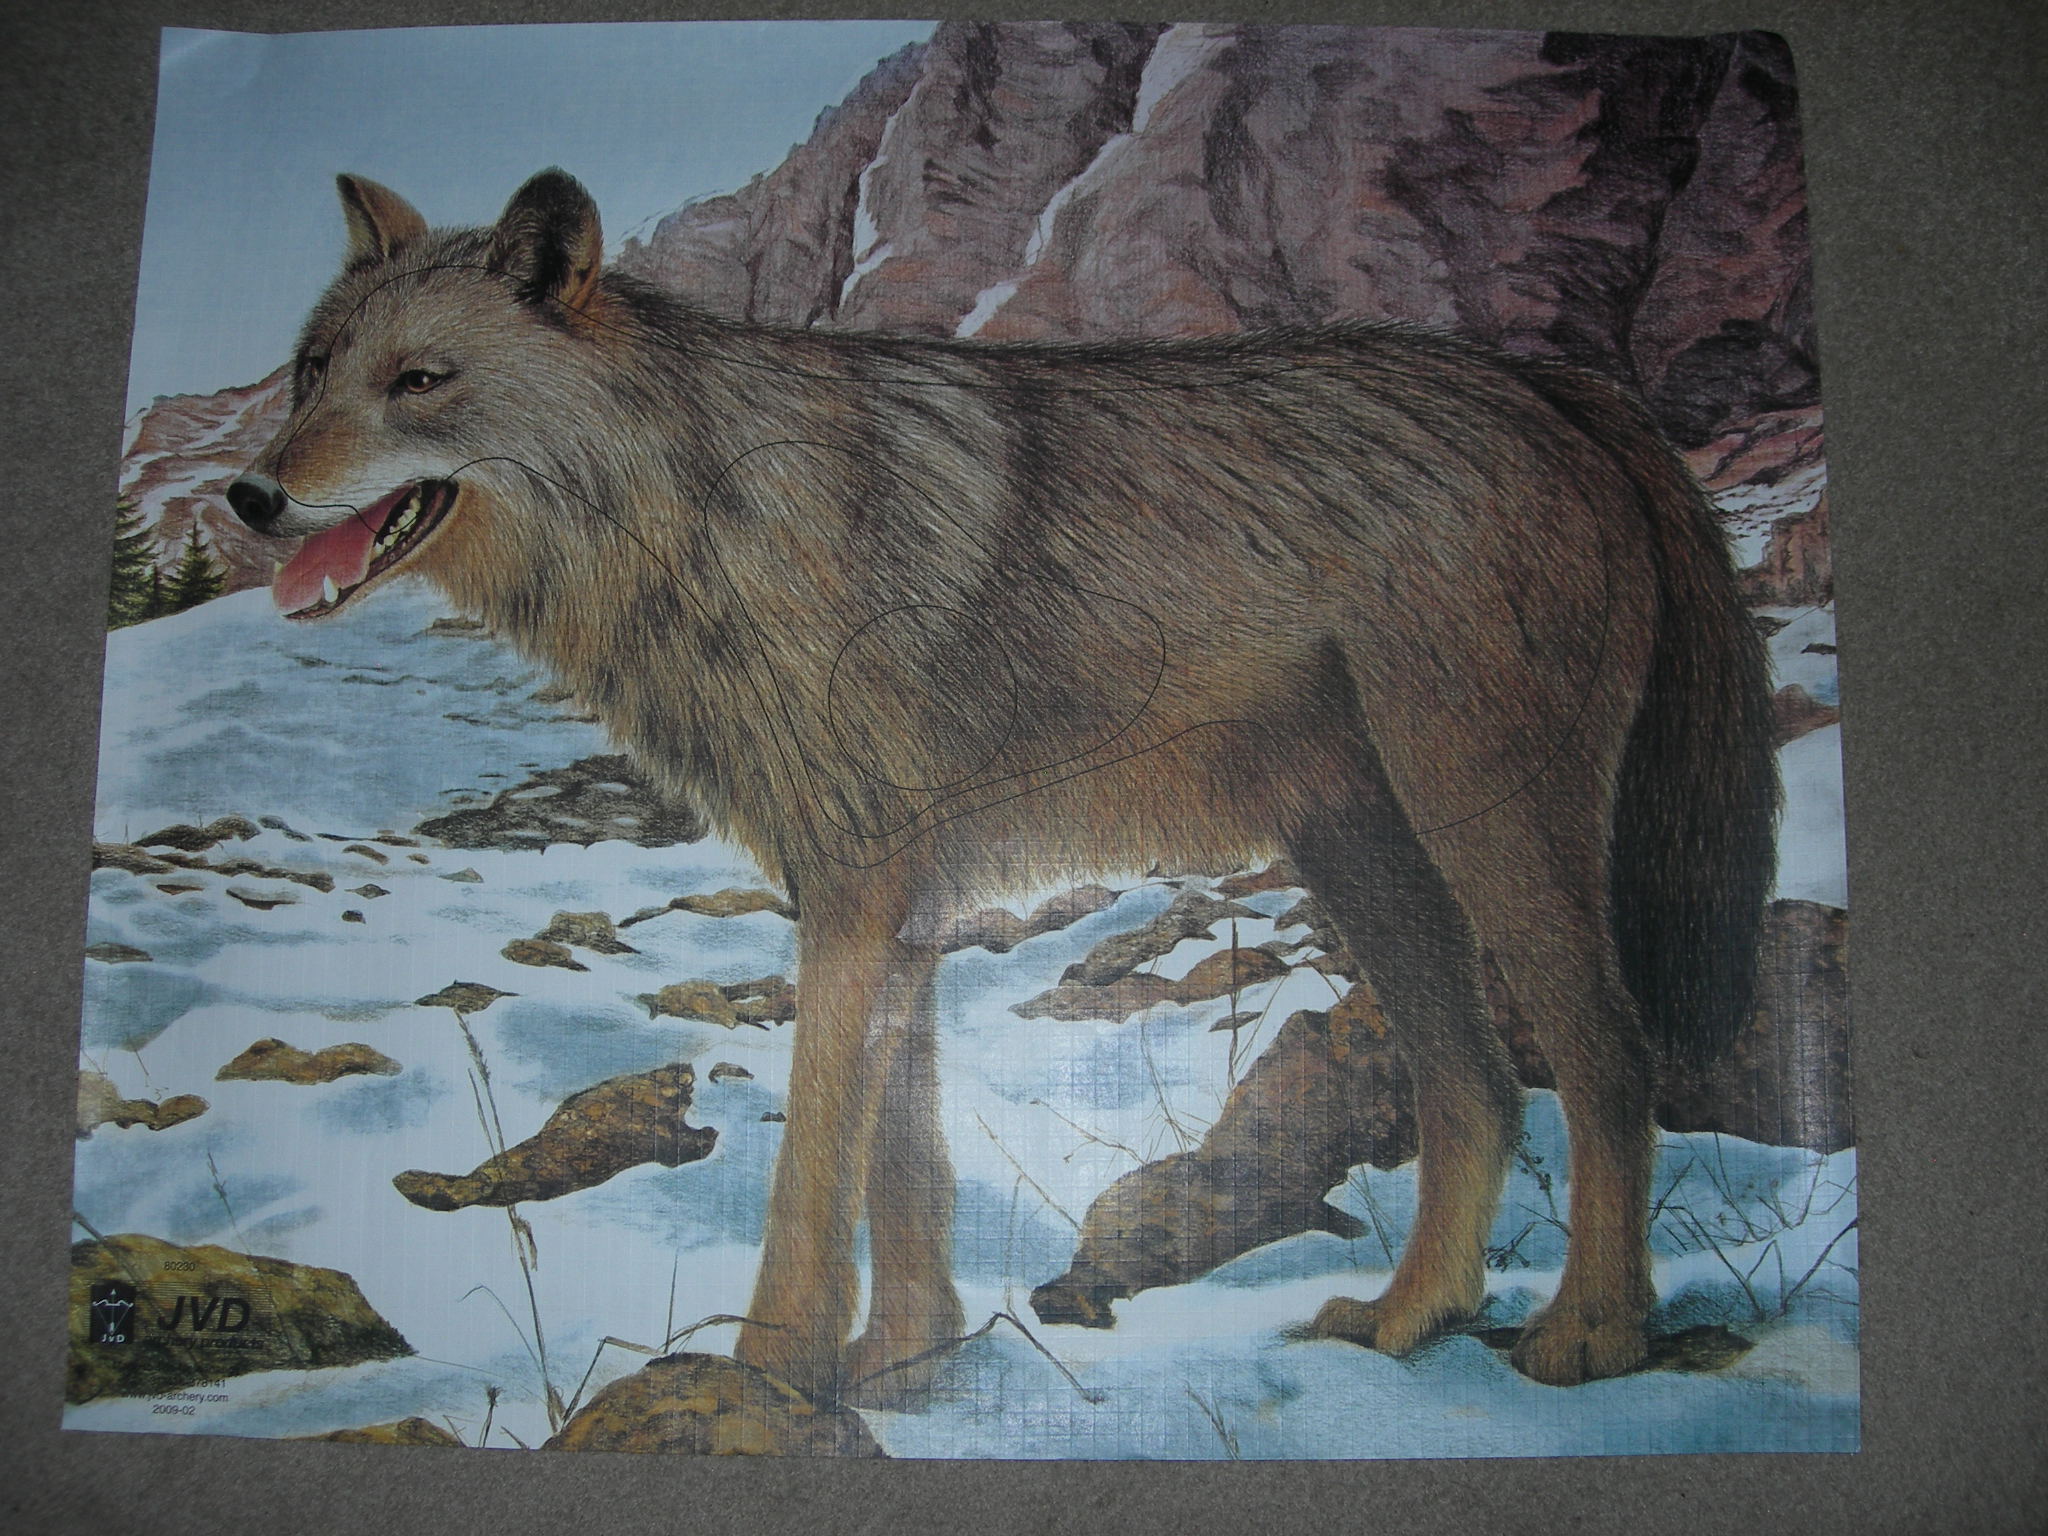
The target face is quite large but the first thing to note is the animal is not that large on the face, secondly the scoring lines are some distance in from edge of the animal. This wolf image is another example.

Wolf picture

Wolf picture

Myth two –  all targets have the same scoring zones.

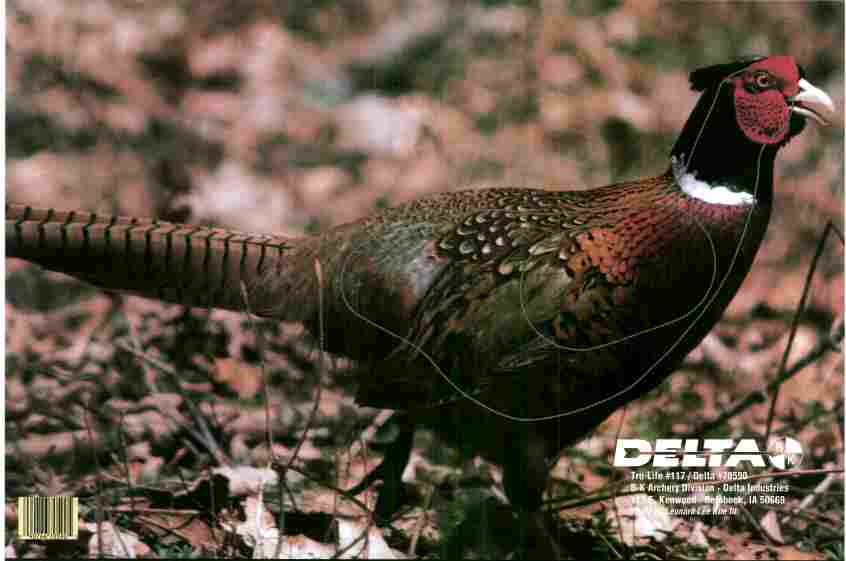
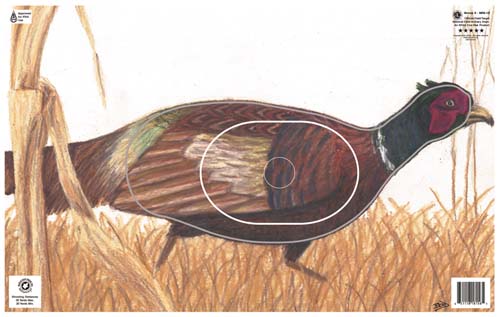
There are probably thousands of different target faces out there (Merlin  JVD Delta Maple leaf etc) and hundreds of 3d targets. Here are a few Pheasant images

Delta Pheasant

Delta Pheasant

JVD Pheasant

JVD Pheasant

Mapleleaf Pheasant

Mapleleaf Pheasant

You can have a dozen images of deer or rams and each has slightly different scoring zones, some following the line of the animal others have the scoring line much further in making the face look larger while in fact it’s not. So you might like to consider this when setting up the target and selecting a suitable target face. If you want to make a shoot easier choose targets with larger scoring zones.
3Ds are the same with each manufacturer being slightly different and if they have been repaired by the club then chances are the scoring zones maybe different.

Simple Plea

Please, please, please don’t repeat target faces on a course. There is no need on a 36 / 40 shot course to repeat any target face or 3D.
There is nothing more depressing than walking up to a shot and going oh it’s 16 yards so must be a racoon!
I’ve shot courses where in 36 targets there were multiple repeated target faces of raccoon (3) deer (twice) ground squirrel (2-3). It reflects badly on the club and can spoil the day.

Size of target face or 3D

Well this is kind of obvious or is it? You don’t put a small target at long distance as you’ll be accused of stretching shots or being in the target preservation club.
But put a large face at comparatively short distance can confuse people as they look for the trick. Others will relax and not concentrate and end up with a 16 rather than the 20 they were expecting or even worse having to take a second arrow. We saw this with our last shoot where we put a multiple shot in (see posting). Another example is the old Rhino shot shown below.

Our Target 4 Paper face Rhino

Our Target 4 Paper face Rhino

This rhino paper face is just about 34 yards away from the first shooting peg for an adult, well within the normal distance you see it at. Yet many misjudged it on our recent shoot.

Merlin Rhino

Merlin Rhino

Possibly because they were expecting it to be further than it was.

Managing faces on the day

When replacing a target face because its shot out make sure you position the replacement face exactly where the old one was so all archers are shooting the same distance or height. (I’ll do a later post on how many faces you might need for a shoot, and preparation and mounting them)

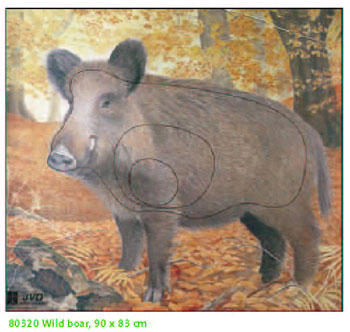
Useful tip – There are a few target faces which have great ground cover or settings. The JVD boar is one that works well if there is leaf cover on the ground as it merges with the target.

JVD Boar

JVD Boar

You can see how good it looks from the red peg.

First view from Red peg

First view from Red peg

Targets at an angle

There have been a few shoots recently where targets whether paper or 3D have been angled.
The result of this is it reduces the scoring area but it tends to increase the damage to both 3Ds and bosses as the foam is torn or ripped.
I’m not a fan of putting 3Ds at an angle promote tearing of 3d as arrows glance off.

Sharons arrow

Sharons arrow is the top one.

In my view Small 3Ds are not always worth while as they have a smaller area so hits are concentrated into one area. I know some manufacturers are looking at this. See the long life targets link a friend posted a while back.

If you find this useful or have any questions then please contact me.
As always thanks for reading.