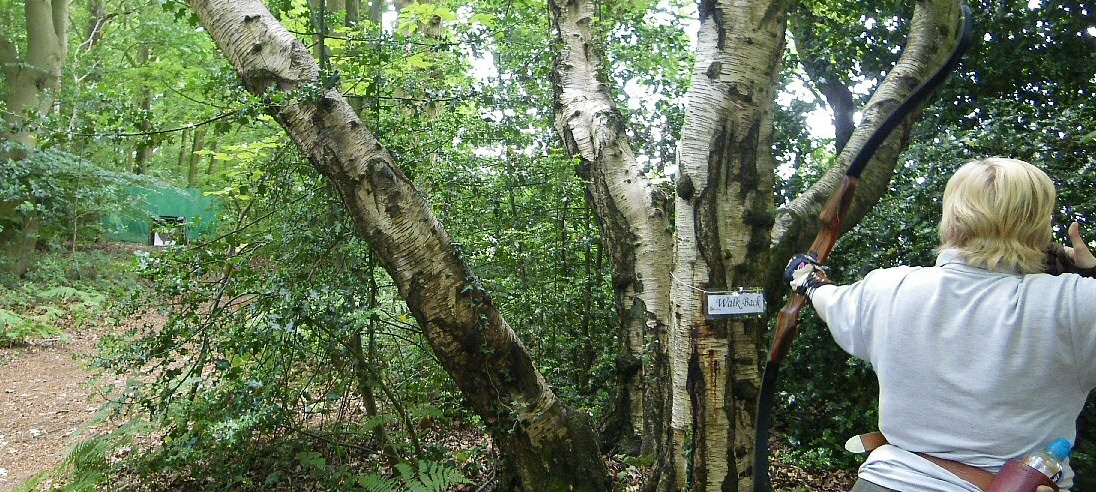
First view from Red peg
When I started trying to setup targets and shots I realised there was a lot to remember, from setting up the target, to how you get the archers to the shooting peg, whilst not forgetting about the overshoot for the shot and always remembering the safety elements.
For this reason I tried to analyse the process and come up with something that would help me remember all of these steps. My answer to this was using an acronym ARROWS – somehow this seemed appropriate. So these are my thoughts on target positioning and locations . Please remember I’m no expert at laying courses or targets but I hope you find it useful.
Before starting here are a few things to familiarise yourself with. Consider your society rules. Do you have to have clear shooting lanes, marked or unmarked distances.
Style or Class of bow. Are you setting for an open where any and every bow styles might compete or maybe a wooden Arrow only.
Useful Tip – When scouting for a new shot I will often use my camera phone to record the view or angel of prospective shots so I can discuss it with others. I know others have used a gps system to track the target position on to a map of the course.
Anyway back to the acronym.
A – You can read this as approach or arrival at the first shooting peg. It covers the route to the first shooting peg and standing area when there. Is the route clear? Where possible at no point should the archer walk forward of the shooting peg as this might give them an advantage in distance judgement. What do the archers see as they arrive? Is there space for a group or maybe two to stand safely without endangering themselves or causing distraction to other archers. Are the paths to the peg clear of obstructions? Brambles are a course layers worst enemy and I’m sure the wood elves go out at night and lay bramble trip hazards across every path.
The idea is that as they approach they shouldn’t get a clue as to distances etc from peg to target.

View from the red peg
R-Red peg (the first shooting peg for an adult in NFAS field archery courses)- but really this covers all the other peg positions too. We have mentioned the approach to the first peg but archers will need to get from one peg to another.
Think of the route they will have to take. A straight path to the boss makes a corridor for distance judgement or do you set a twisted path so harder to judge distance?
Pegs need to be driven in well as longbow and afb archers won’t thank you if their lower limbs catch the peg.
R – range – not just ranges to boss from each peg, but range of height of archers, range of bow weight and dynamics.
Longbows need overhead clearance of branches etc.
Think target size here too. Don’t spoil a shot by putting too small a target face on. Remember juniors pegs too, if placed too close to the target boss they run the risk of bounce back.

Consider the tree cover and branches
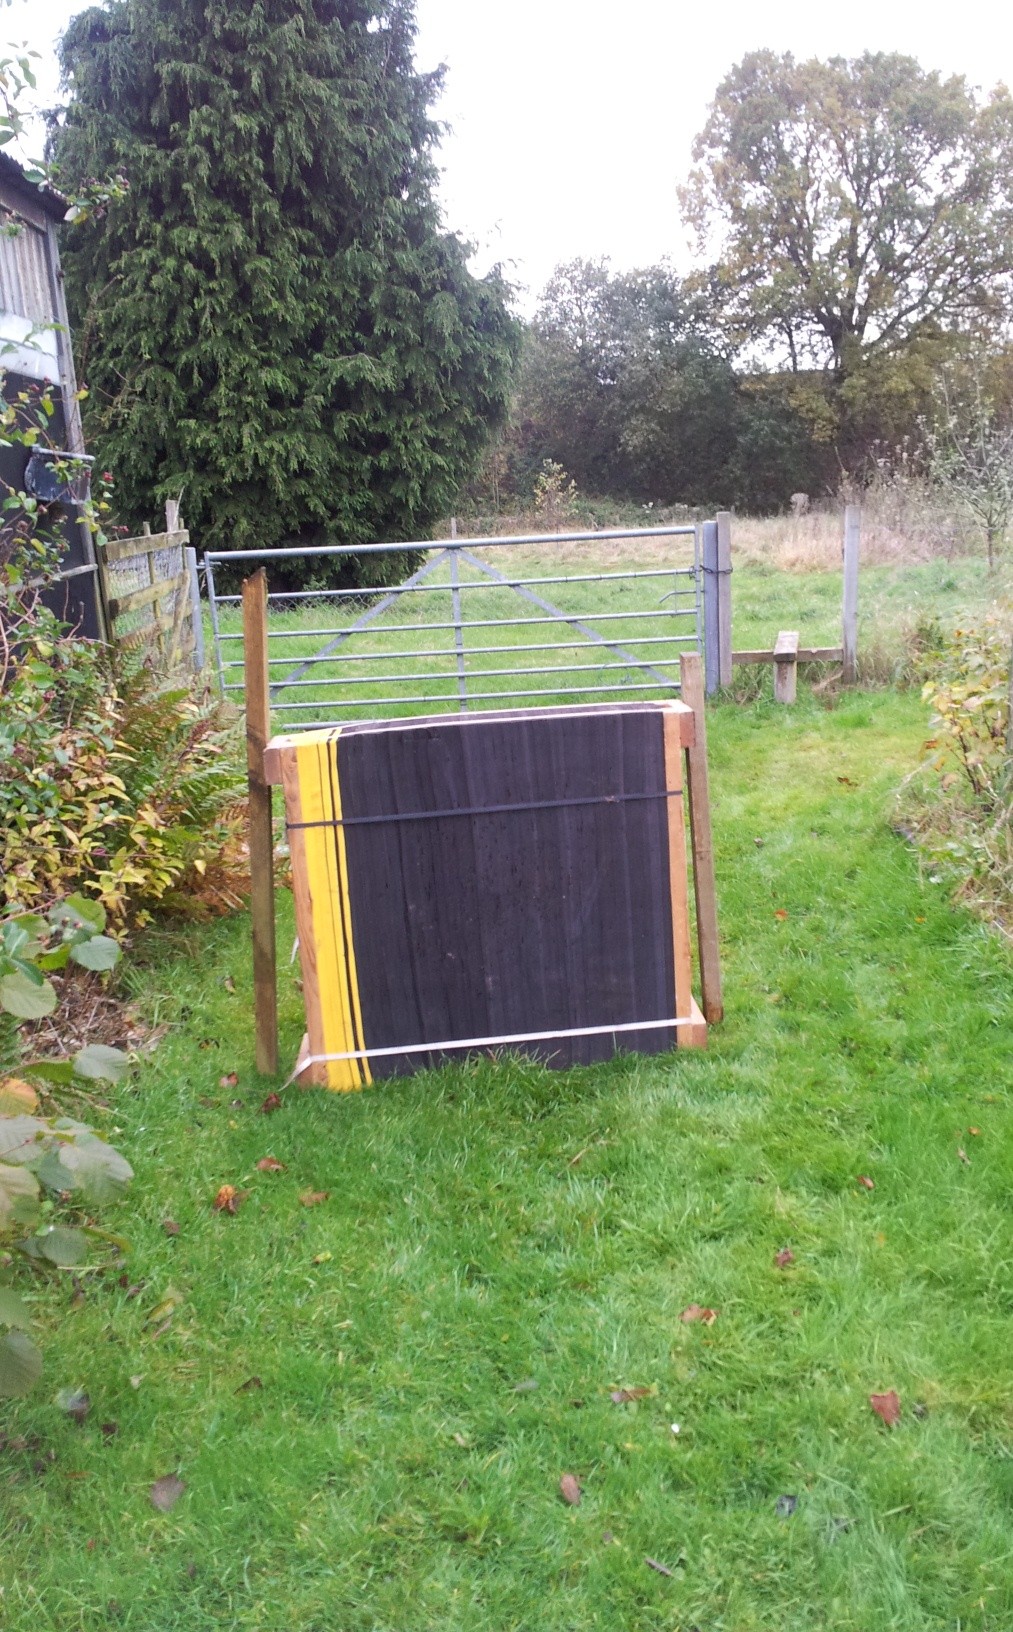
O – overshoot – What is behind the target location or to the side etc in the event of a glance off from trees.
Do you need a back stop or netting? Are there trees or bushes behind the target that arrows could bury themselves in?
Please remember that simply putting up safety netting does NOT make an unsafe shot safe!

Over shoot with netting
W – walk off – safe route out. When the archers have collected their arrows how do they leave the boss and make their way to the next target?
Is it a walk back to the original shooting pegs or heading to a path. Is it clear to see navigation or are direction arrows needed?
S – Safety – last but not least. Review the shot completely and in respect of the entire course. There are times when a shot can look perfect but when looked at in respect to the entire course safety issues could appear with overshoot, waiting groups or access.
Foot paths for the general public. Are there any bridal paths or public rights of way that effect the shot or the course. In the NFAS you can’t place any shot that is considered to be close to or has an overshoot towards a footpath.
Do you need special signs on the course or possibly on the course boundaries for the general public?

Target Boss
Some target bosses have strip binding and care must be taken with the metal fastening. These metal bindings should never face the archer as if arrow hits them it is likely to bounce back and has the potential of causing injury. (See setting up a target boss)
Once this is done for one target you need to repeat the process for all the remaining ones. A normal nfas course is 36 or 40 targets.
Hope you find this of use and as always thanks for reading.