
Setting up a boss is a common activity, but requires some thought and care to ensure it is done correctly and safely whether this be on a course or as in this example in the garden. In this article I will try and cover some of the things to consider.

Target set up and ready?
Here you can see a boss having been erected ready for practise. Looks good?
One commonly made mistake when setting up a boss is forgetting to check where the metal binding for the plastic strapping is located.
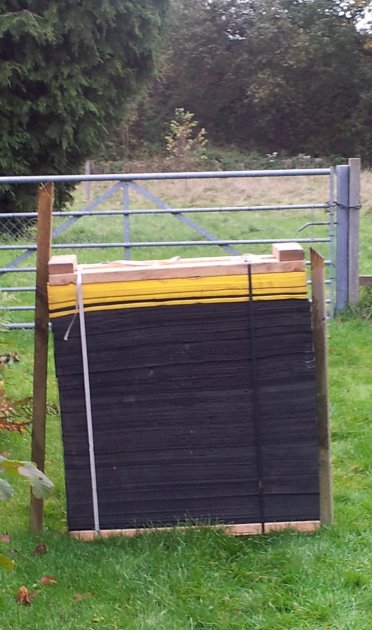
These should always be on the back of the boss and never facing the direction of the shot.
Why?
The binding can damage arrow tips if they are hit. I have also seen arrows shot from a compound bow hit one of these metal fastenings and bounce straight back some 15 yards landing at the archers feet.
You should also ensure the wood frame of the boss is always to the side and not on top or bottom.
Why?
If the arrow falls low, it will run the risk of hitting and embedding itself in the wooden frame, which is likely to result in some work to extract.
If the arrow impacts at the top of the boss it runs the risk of deflecting off in any direction . So rotate the boss to ensure the wood frames are on the side of the boss.
Target Boss
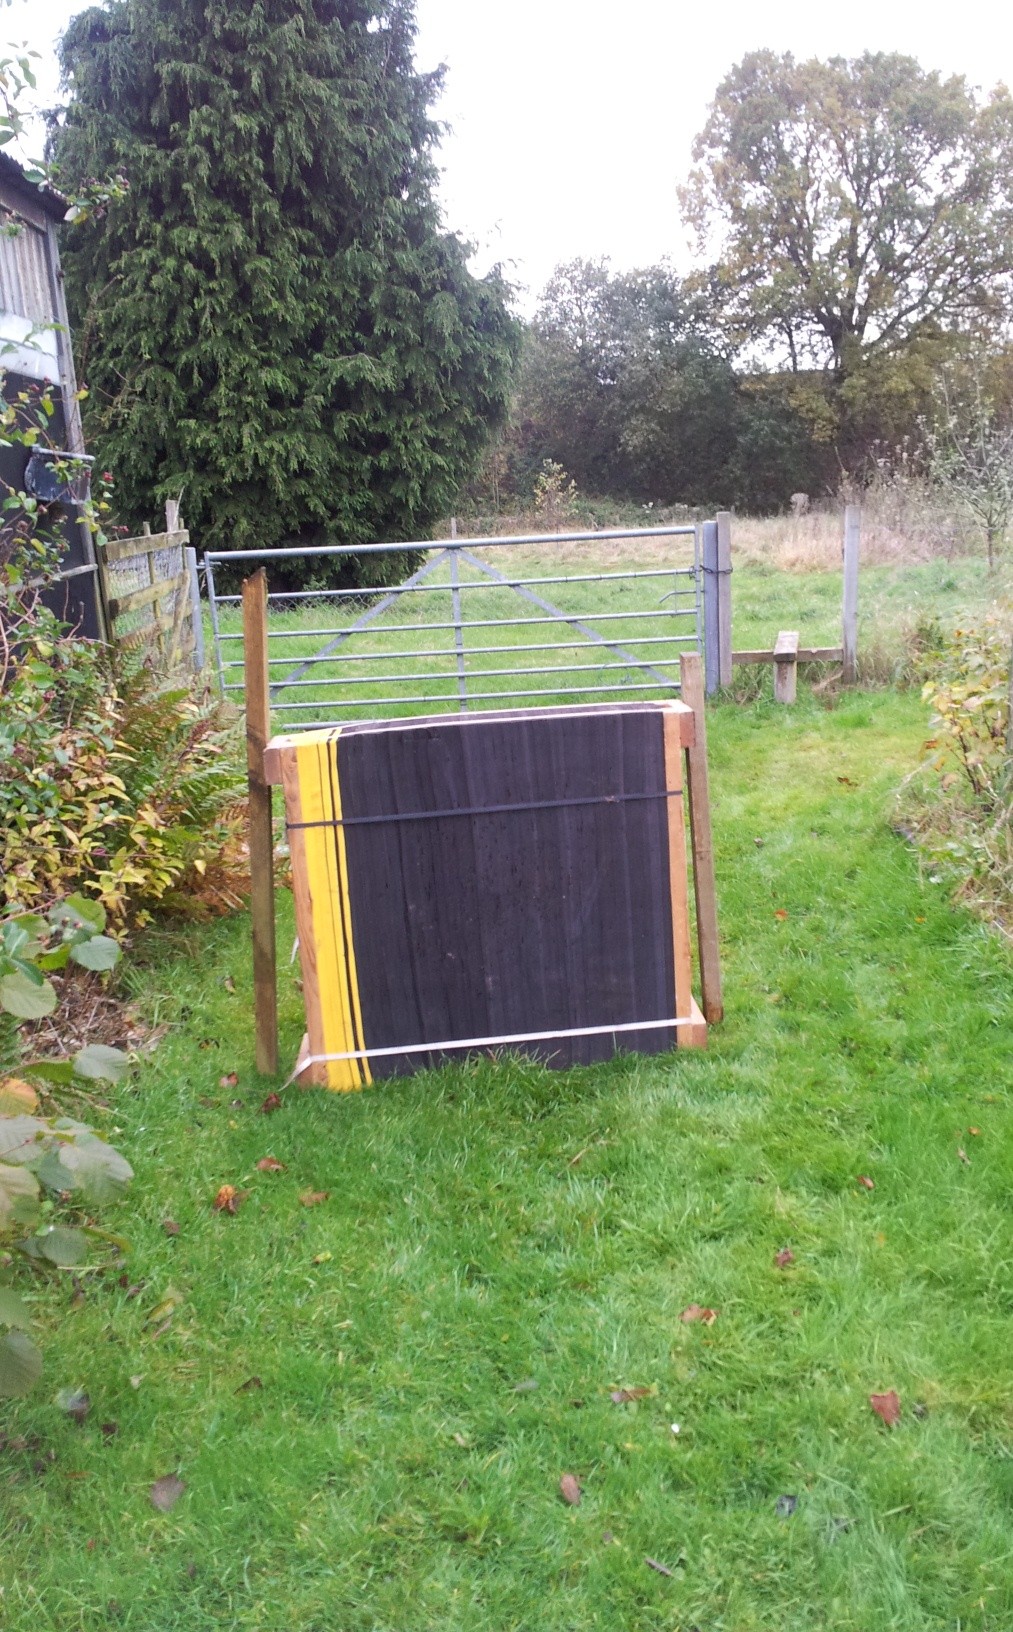
Location, location, location – no not the property program commonly seen in UK.
Look at the space surrounding the boss – there appears to be a stile behind and to the right of the boss, does this mean there is a footpath?
What about the space behind the boss with regards to overshoot. A safe over shoot area is vital for any target positioning.
N.B. we own the field beyond the gate and the boss usually lives in the field.
Any there any other risks?
Well yes there are. There is a building to the side so you wouldn’t be able to see people approaching from that direction.
The metal gate is also a risk as if an arrow misses the boss and hits the gate it is likely to deflect in any direction.
Securing the boss to the stakes is vital to ensure it doesn’t topple over when arrows are removed. It is worth considering whether the stakes need to be proud of the boss. Also try to put them to the side or rear of the boss frame so as to avoid or limit the number of arrows hitting them.
Those are a few thoughts and tips to consider when positioning practise bosses. Have you got any further advice or tips?
We are fortunate in owning the field and knowing there is no public access or routes to it other than via our boundary.
I hope you find this article of interest and if you have any comments let me know. Thanks for reading.


