Like many archers I have used bag targets at home to practicing my shooting and I have a a couple of these which have definitely seen better days.
One such is an old target bag that had been stored behind my shed for a couple of years since I had replaced it with a layered foam target. When I did retrieve it I realised how holey it really was.
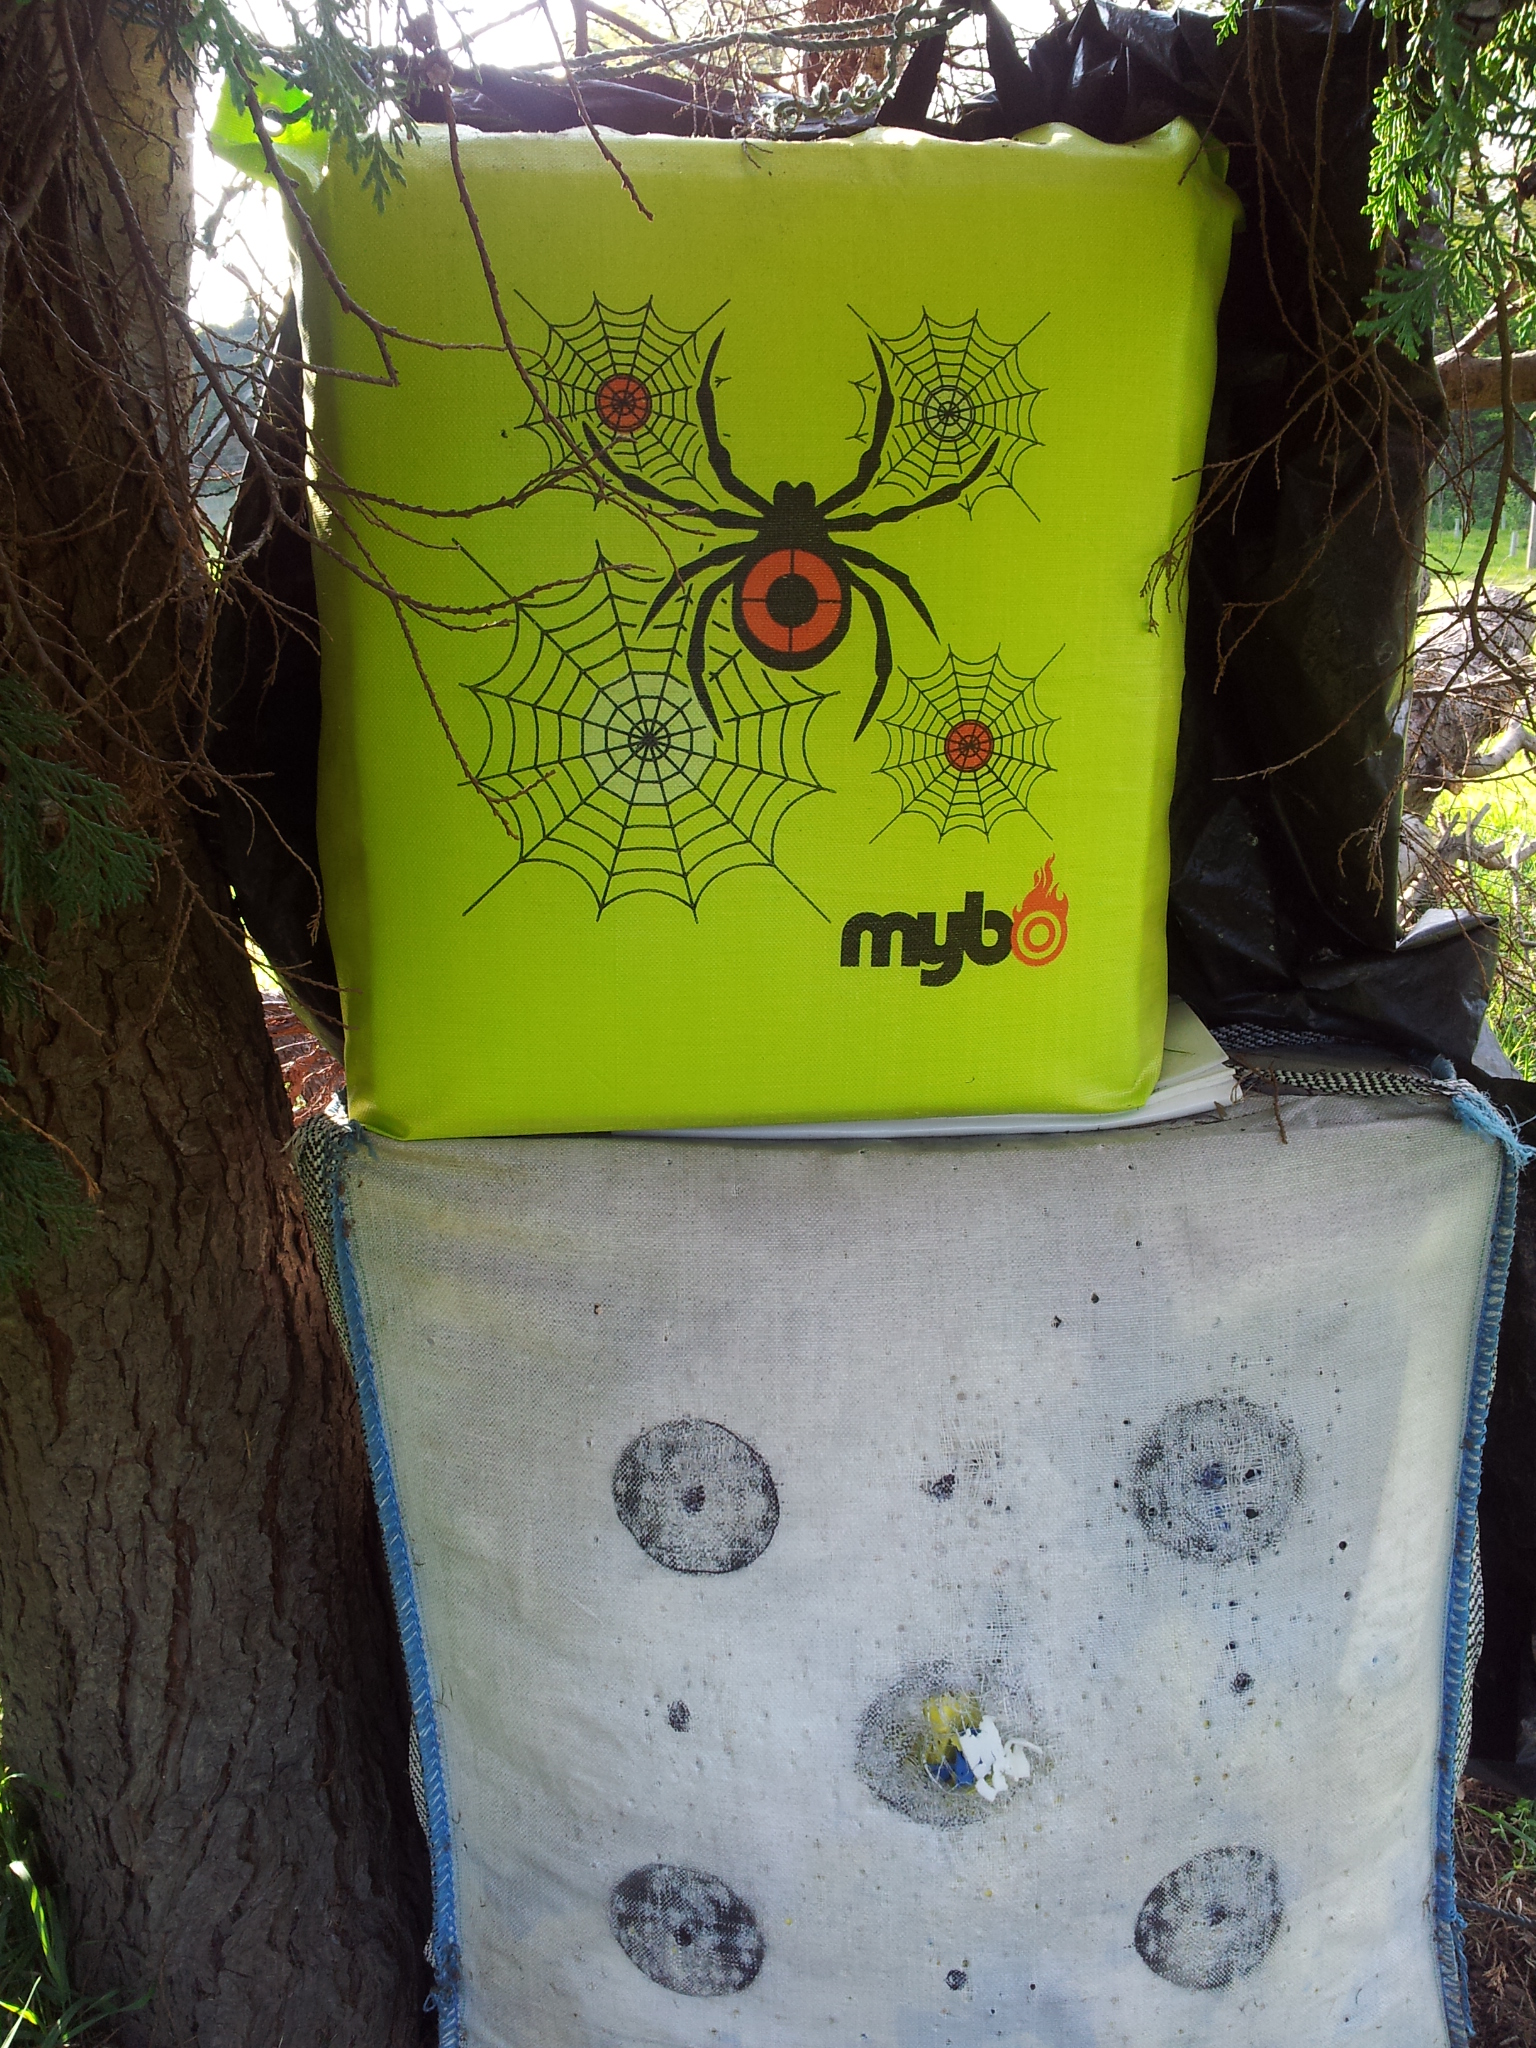
For this reason I decided it was about time to give it a new lease of life. Not as a primary target boss but to be what I termed a catching boss. I’d recently purchased some Wildcrete 3D targets and wanted to have a catching boss behind them. I figured this old bag target would be ideal and work well at catching any wayward arrows which decided to avoid the 3Ds.
The 3Ds I have set up on the unmarked distance area of the range. This was to offer an area where myself and club members could practise. My plan was for this catching boss to be there and would save me and others time in searching for arrows and hopefully keep the arrows in a healthier condition than disappearing in to the dirt and undergrowth. It would also free up a layered foam target which can then be used in another shooting lane I wanted to set up.
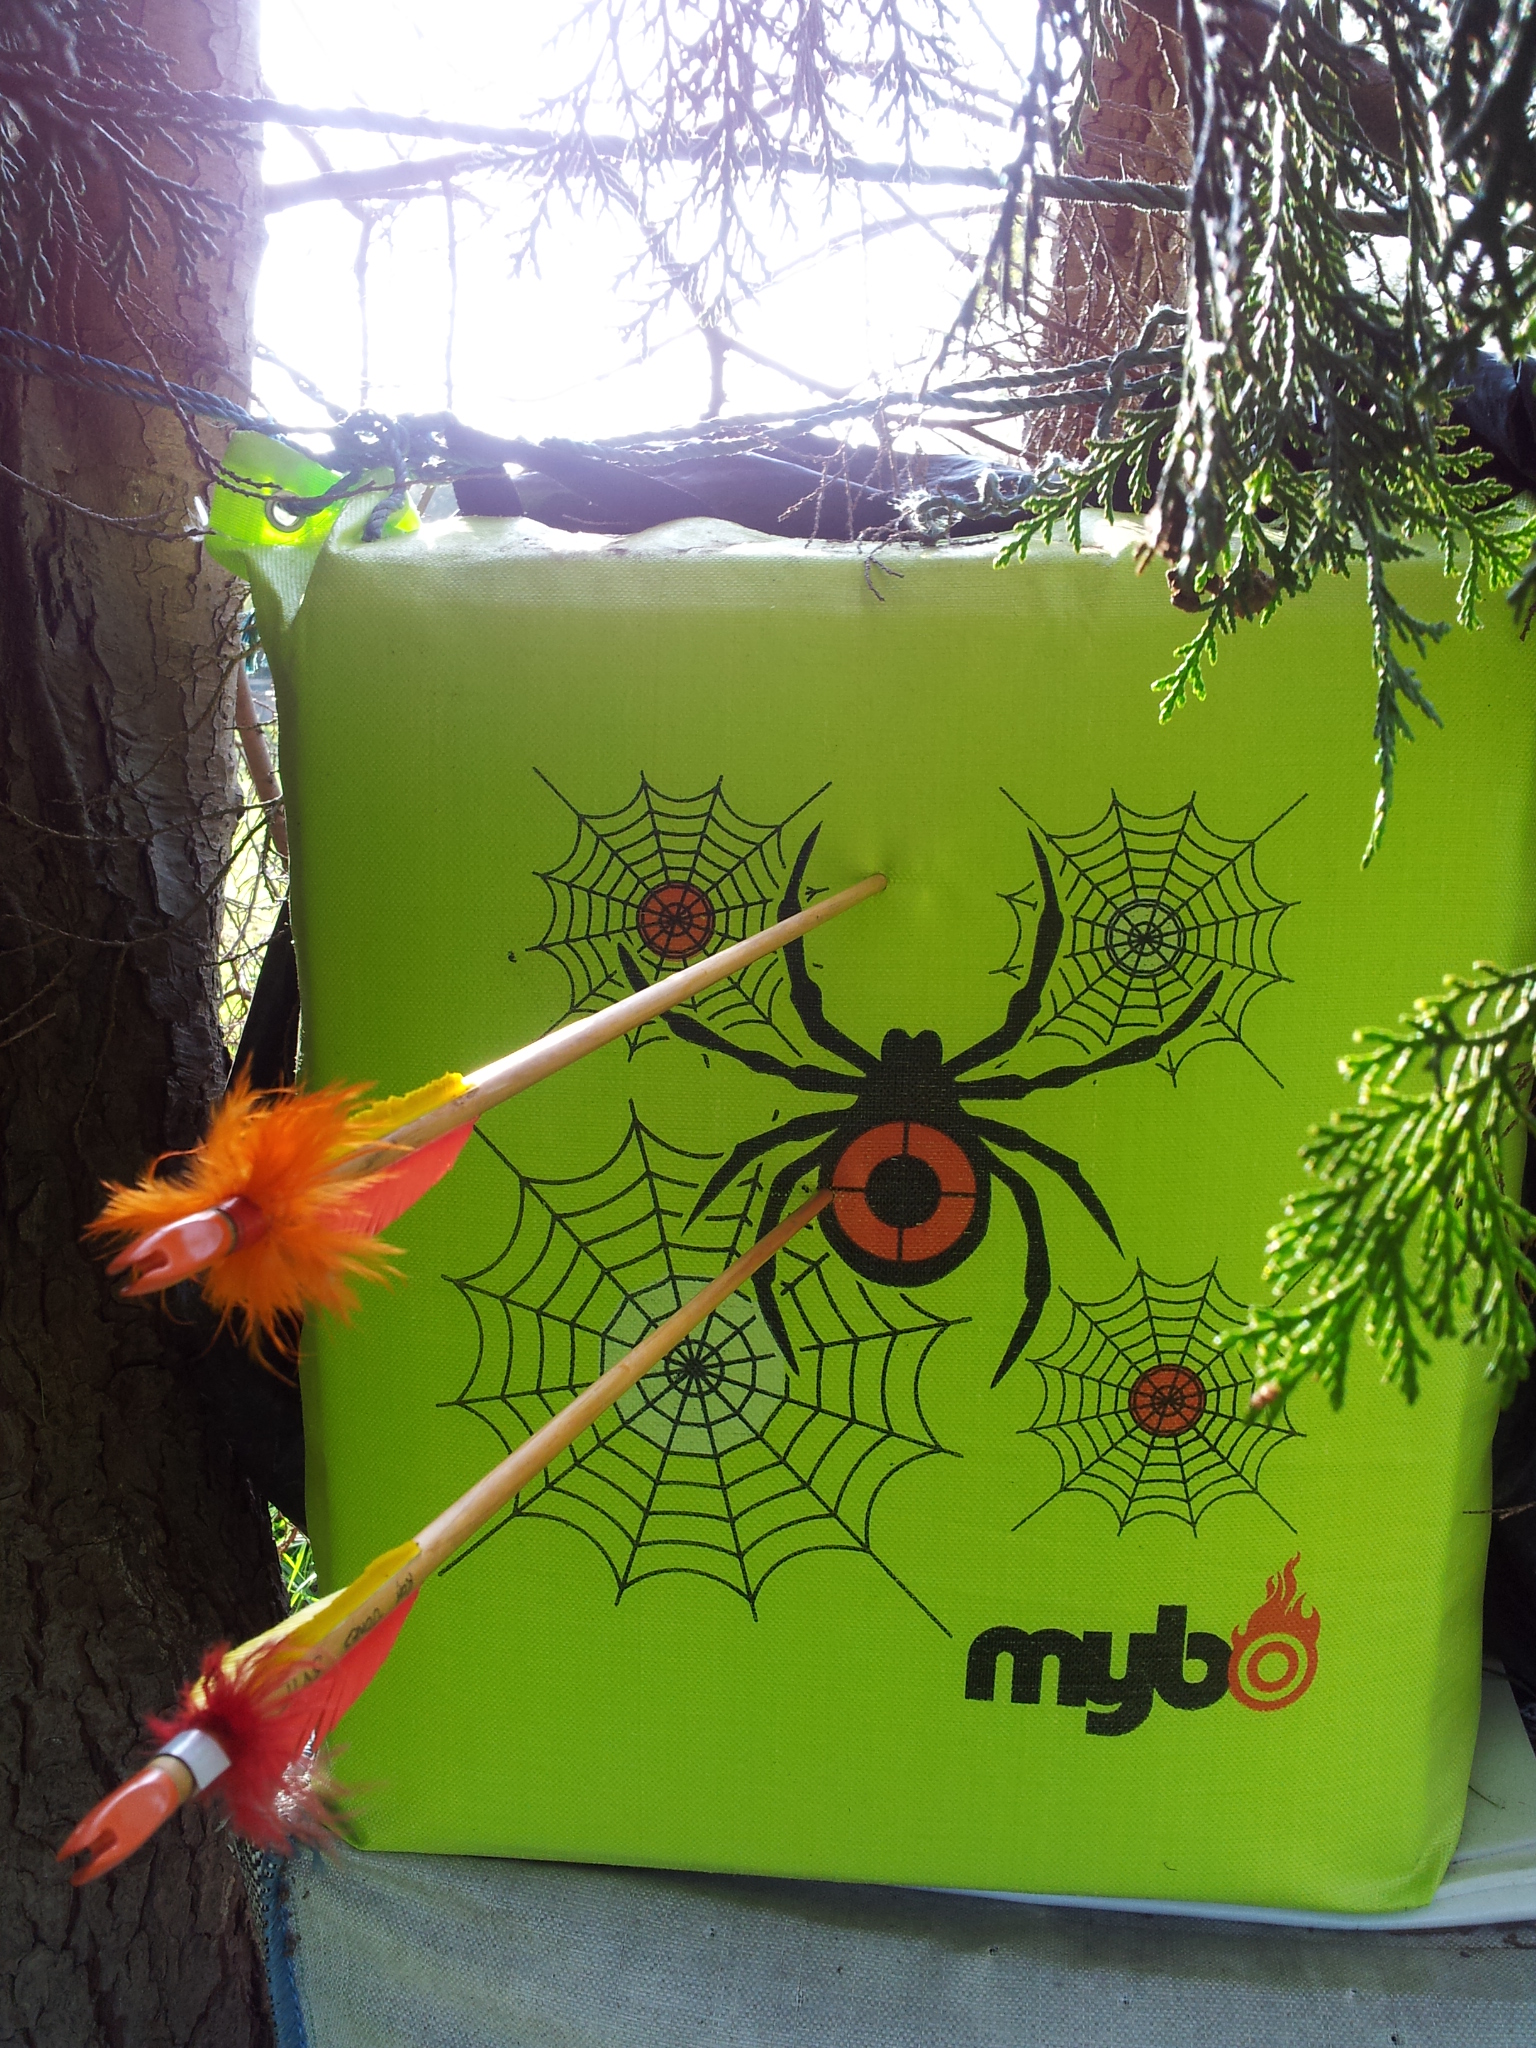
The problem was that in the current state the bag target wouldn’t stop much, if anything. The fabric on one side was in threads, having been shoot repeatedly. I feel it is important to remember that these styles of targets are not really designed to stop arrows from heavy draw bows. You can get bag targets which are constructed which will stop compound bows but this one wasn’t one of them. I had bought it when I was shooting a comparatively light poundage 38lb draw and used it for a couple of years.
My intention was to document the rebuild via a series of short videos and you can find these in a playlist on my YouTube channel.
In this post I’m going to break the process down a little more.
Stage 1 – I bought a replacement bag a year or so back I think from Merlin archery. I am wondering if I could have constructed a bag from a rubble sack and this might be something I look at in the future.
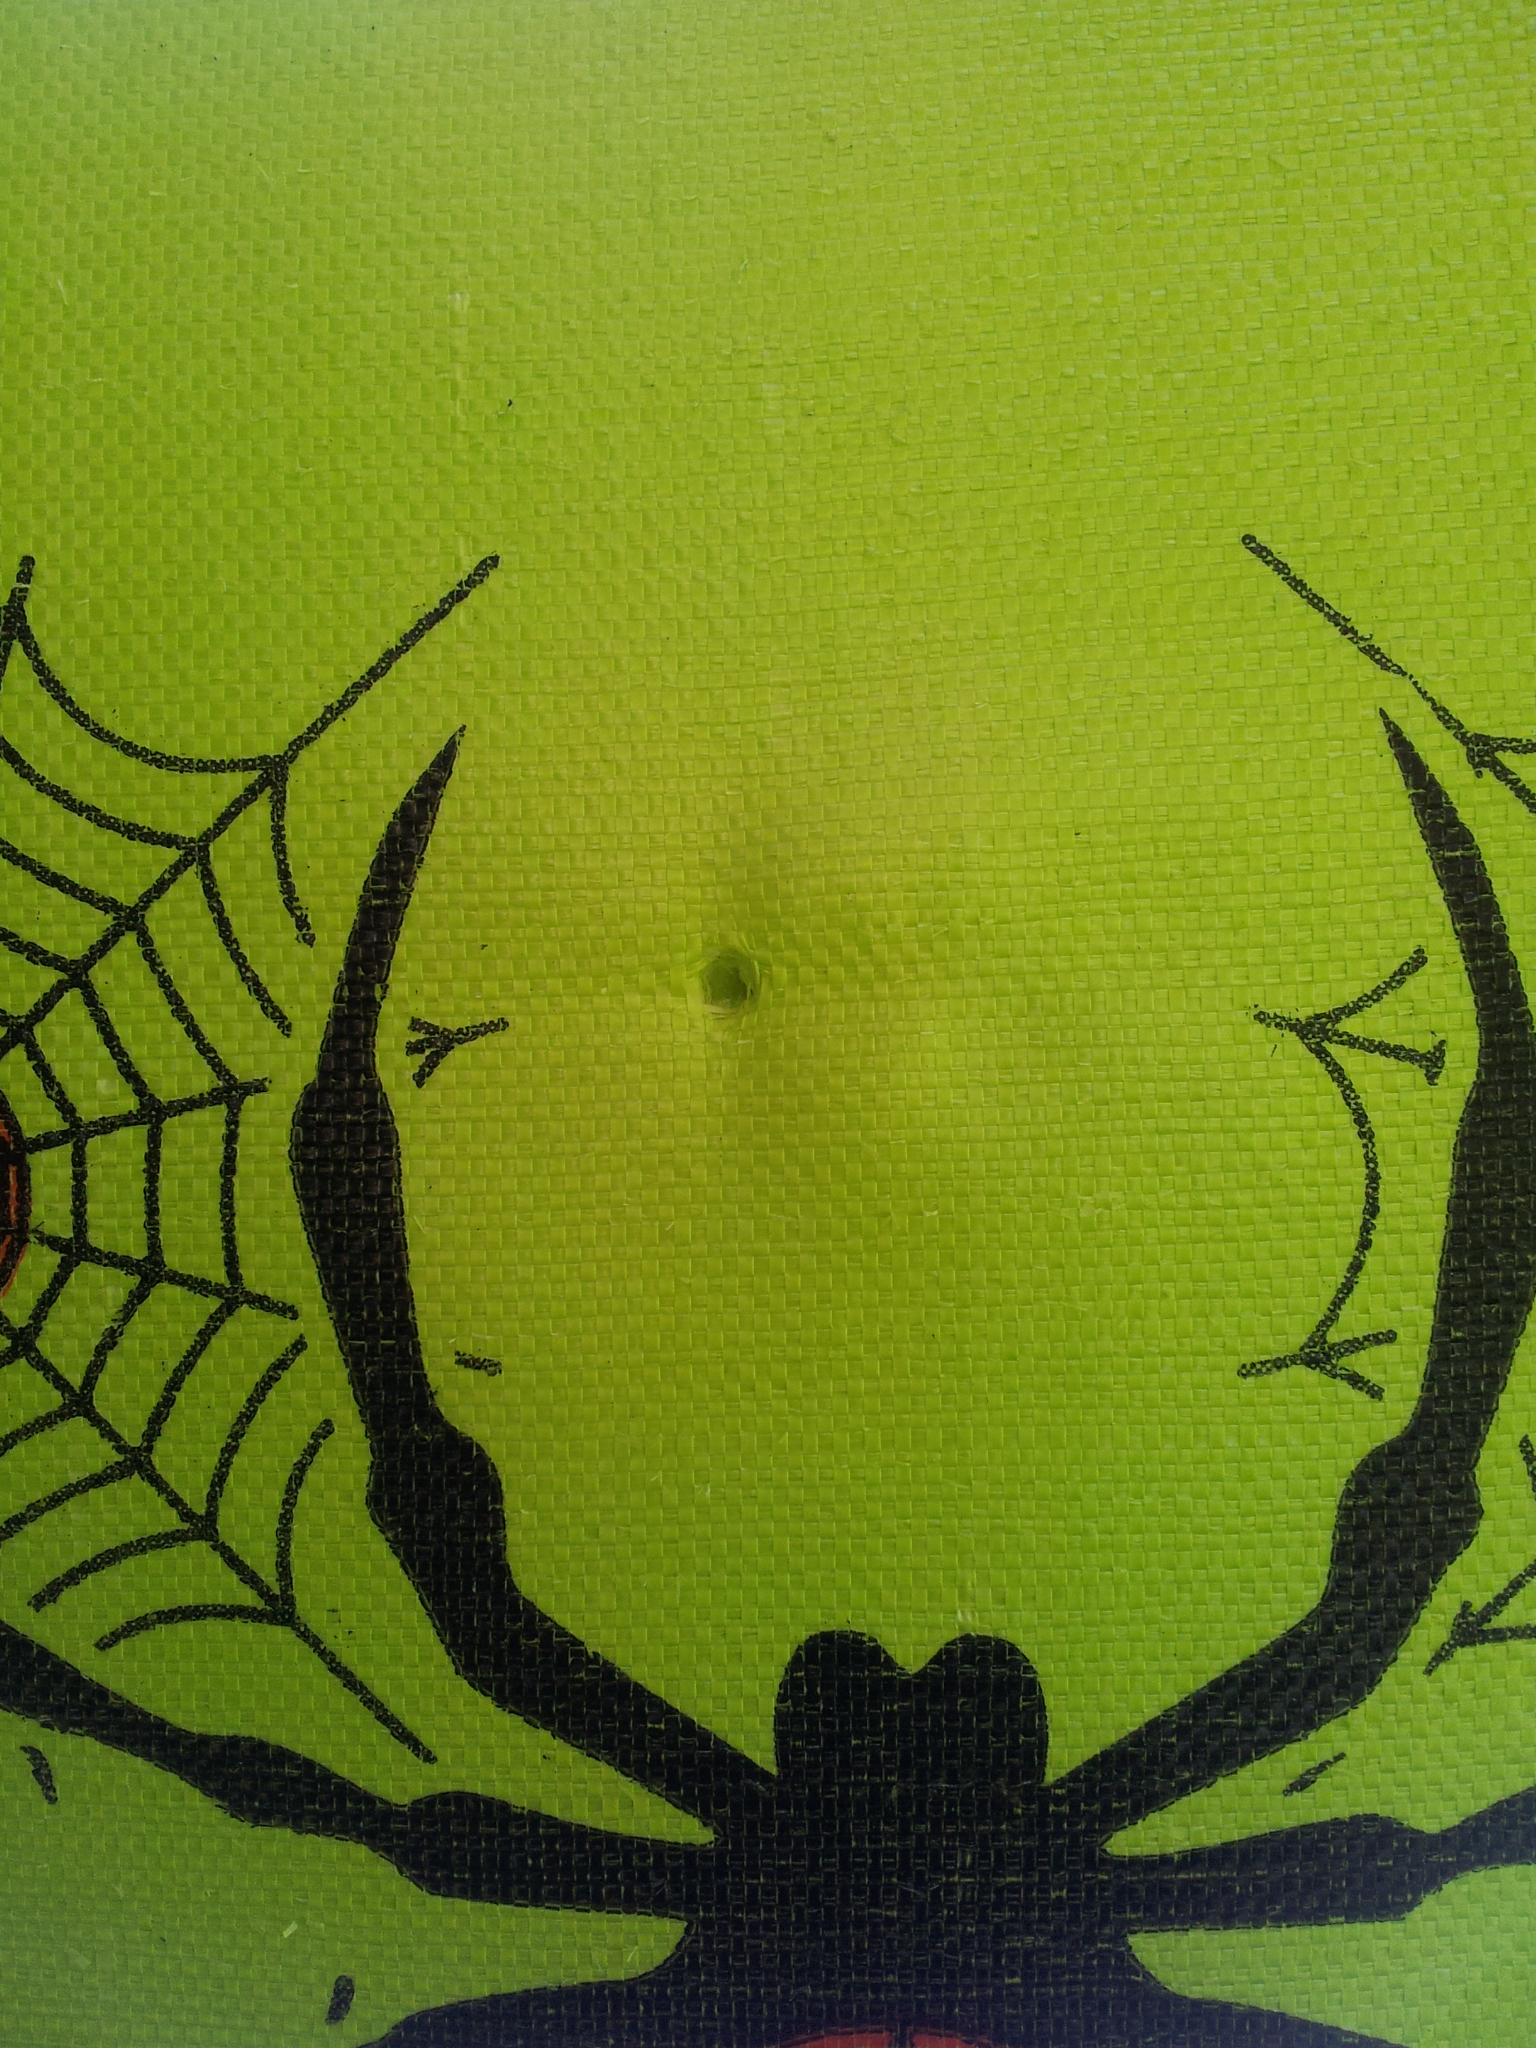
Step 2 – This is the slightly sad looking target with a a sizable hole in the centre,
Step 3 – Opening up the bag target I was a bit surprised to see the contents and what appears to be the remains of wood. I also realised it was going to be a messy job.
Step 4 – Lesson learnt. I now move outside to unpack the contents of the old bag after covering the floor of my shed with dirt and bits of rotten wood.
Step 5 – There is a lot more material in the old bag than I expected and I am so glad I did this outside. It’s quite interesting to see the amount of material that is stuffed in one of these target bags.
Step 6 – filled bag and I’ve included a wooden plank in the bottom of the bag to nail the fabric too.
Step 7 – Here is the finished product
Step 8 – Finally time to take the bag target out and test to see if all the work involved has been worth it.
Some tips I have learned from the process I intend to apply to the repair of the next target bag.
- Definitely empty the contents of the old bags outside and not in the shed.
- Using the boards either side of the bag when ratcheting up and compressing the bag worked really well as it kept the shape of the bag.
- Including a small plank of wood inside to nail the bag too has the additional bonus of making it easier to stand the bag up.
- Not overfilling the bag and pulling the fabric of the bag tight as this increases the chance of ripping the bag.
- Sitting the boss on a stand when outside so it is lifted off the ground a little keeps the wood inside form rotting (I hope.)
The foam I’ve used to refill the bag are the better bits from inside the bag target and other bits left over from repairing some layered foam bosses. If you are interested in repairing layered foam targets then check out my YouTube channel where I have a playlist documenting what I have done. There is also an article I wrote a while back on this site where I detail how to do this.
Thanks for reading and if you have any comments or questions feel free to drop me a line.