Ok so this is the third part to buying equipment etc. I hope you’ve found the other posts useful.
Hopefully you or your students have bought the basic bits and bow mentioned in the previous posting. What I want to cover now are things to consider after you have your bow and some advice on keeping it in good working order.
When you get it and afterwards.
Once you have your bow there are a few things worth remembering. Check the bow for damage – may sound strange but just because its new doesn’t mean it hasn’t been damaged in transit. If you have taken my advice you will have gone to an archery shop and tried a few out and they will have shown you how to set it up etc
Check the bow for damage – may sound strange but just because its new doesn’t mean it hasn’t been damaged in transit. Below shows a wooden riser that split after a couple of weeks of shooting.

Damaged riser
Use your phone camera – yes technology can help here. A camera phone is a great tool for monitoring bracing height, nocking points, possible damage etc.
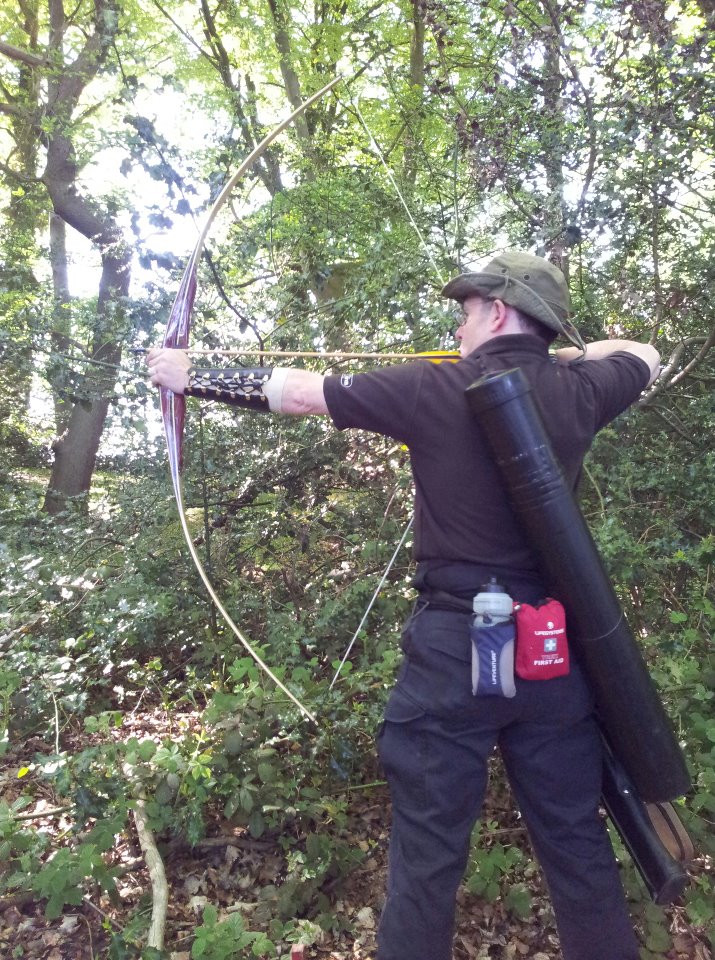
Protection – bow bag or cases. These come in lots of different sizes and shapes. Hard plastic cases, soft carry all style bags and backpack variants. What ever you choose get one that holds your bow and offers it protection. I have a simple soft case for my trainer bow, but for my competitive recurve I have a hard case with foam padding that holds my bow securely whilst in transit.
When putting your bow away make sure it is dry. I shoot all year round and in all weathers from baking heat to snow (there have been times I’ve shot an arrow and by the time I’ve walked up to draw it, there’s a layer of snow on it) But when you are putting your bow away dry any excess water off before putting it in the case. Then when you get it home open the case and double-check it is dry.
I use a Bazooka case, it’s a case originally designed for fishing rods, but is extendable up to 7 ft, for my flat bow. It means it doesn’t get knocked about in the car.
Bracing Height – Check your bracing height for the bow. This can vary depending on the style of bow, limbs etc. and may change over time as the string stretches slightly, so you will need to monitor it.
Another advantage of getting it from an archery shop is they should check and set this for you when you get it. Make a note of it and better still a photo so you know exactly what it is. Get a bracing rule / gauge.

Bracing on bow
String – make sure you get the right length string and some string wax. String wax is often forgotten in the excitement of buying your bow, but is very important as it protects your string and binds the strands together. I wax the string every other time I shoot.

check for wear and wax
Limbs – Another area that can see wear are the limb pockets.

Limb pocket and bolt
It is not uncommon for archers to be a little over enthusiastic when fitting in the limbs and over tightening the bolts or cross threading them.

Limb fitted into pocket
This is something to look out for if you are buying a bow second hand. Check the limb pockets aren’t warn or the bolt damaged. Also check the limbs for any scratches or signs of damage along their edge. A good way of doing this is to run a cloth duster down the llimb edge. If it snags on anything then it might show damage on the limb edge such as a split or splinter.

Check for wear
Also check the limb string grooves for any sharp edges or signs of wear.
Ok that will have to do for now. I hope you have found this useful, My plan is do write another one shortly on arrows.
As always, thanks for reading.and let me know what you think