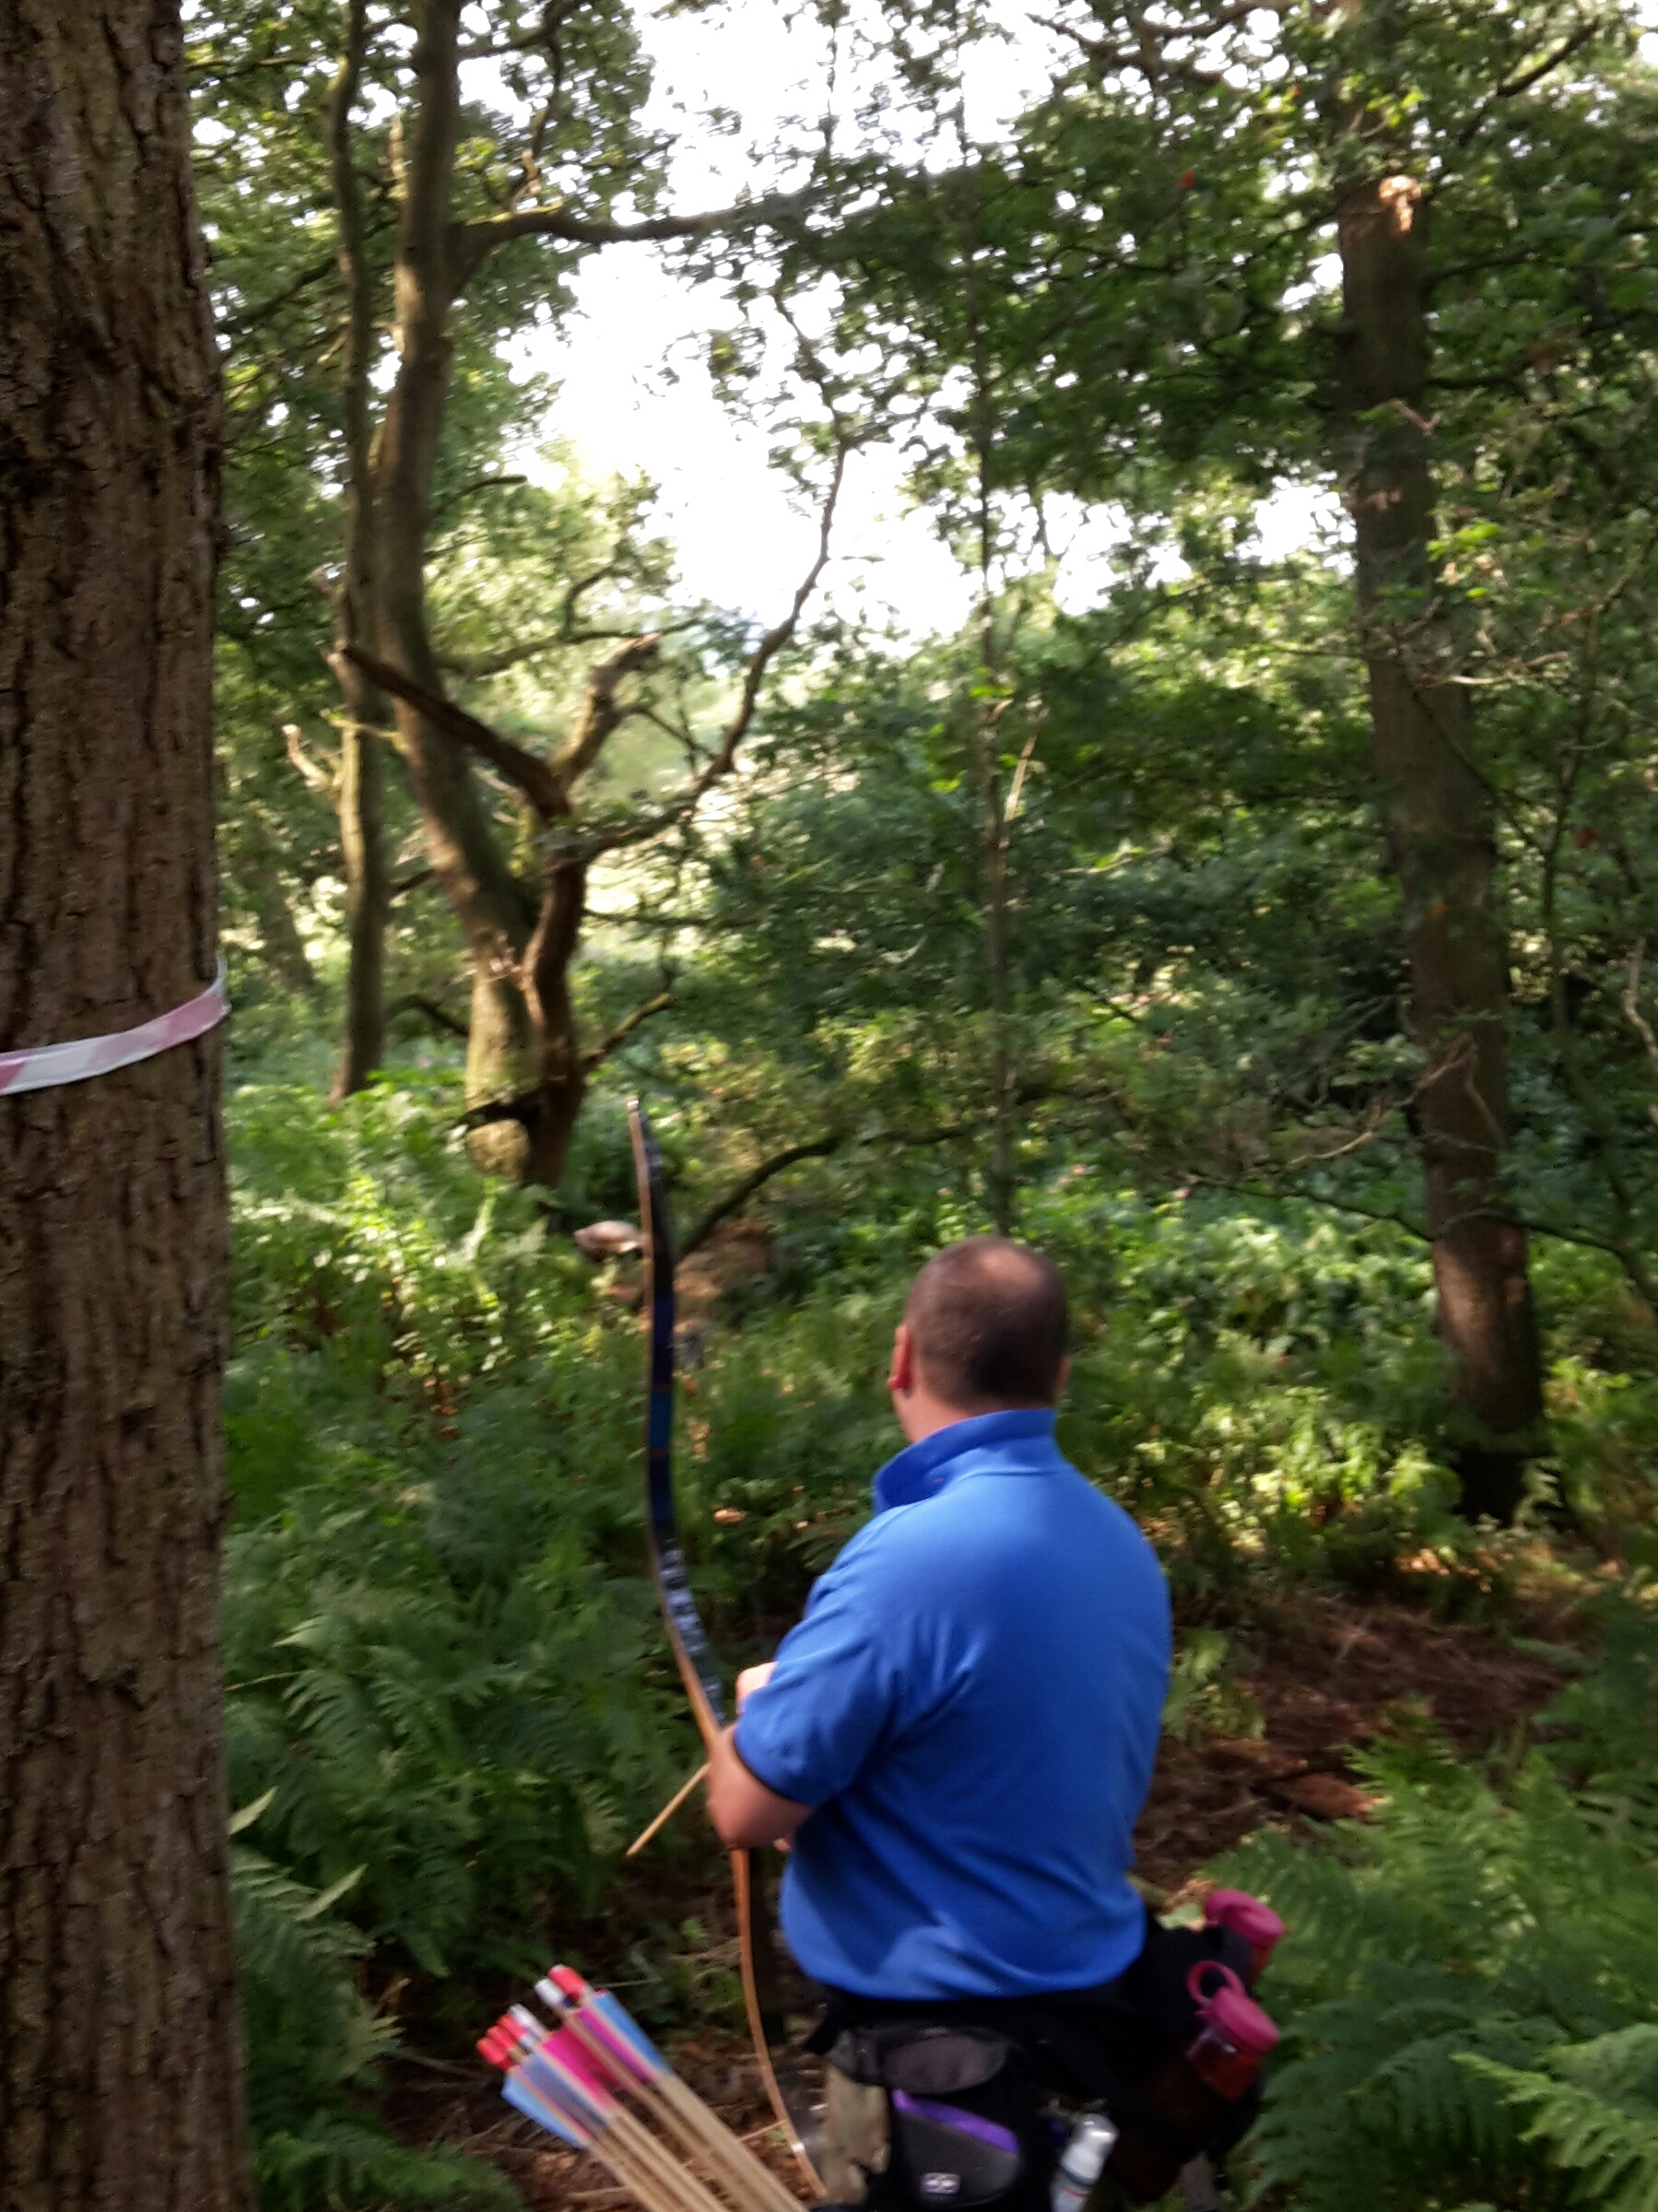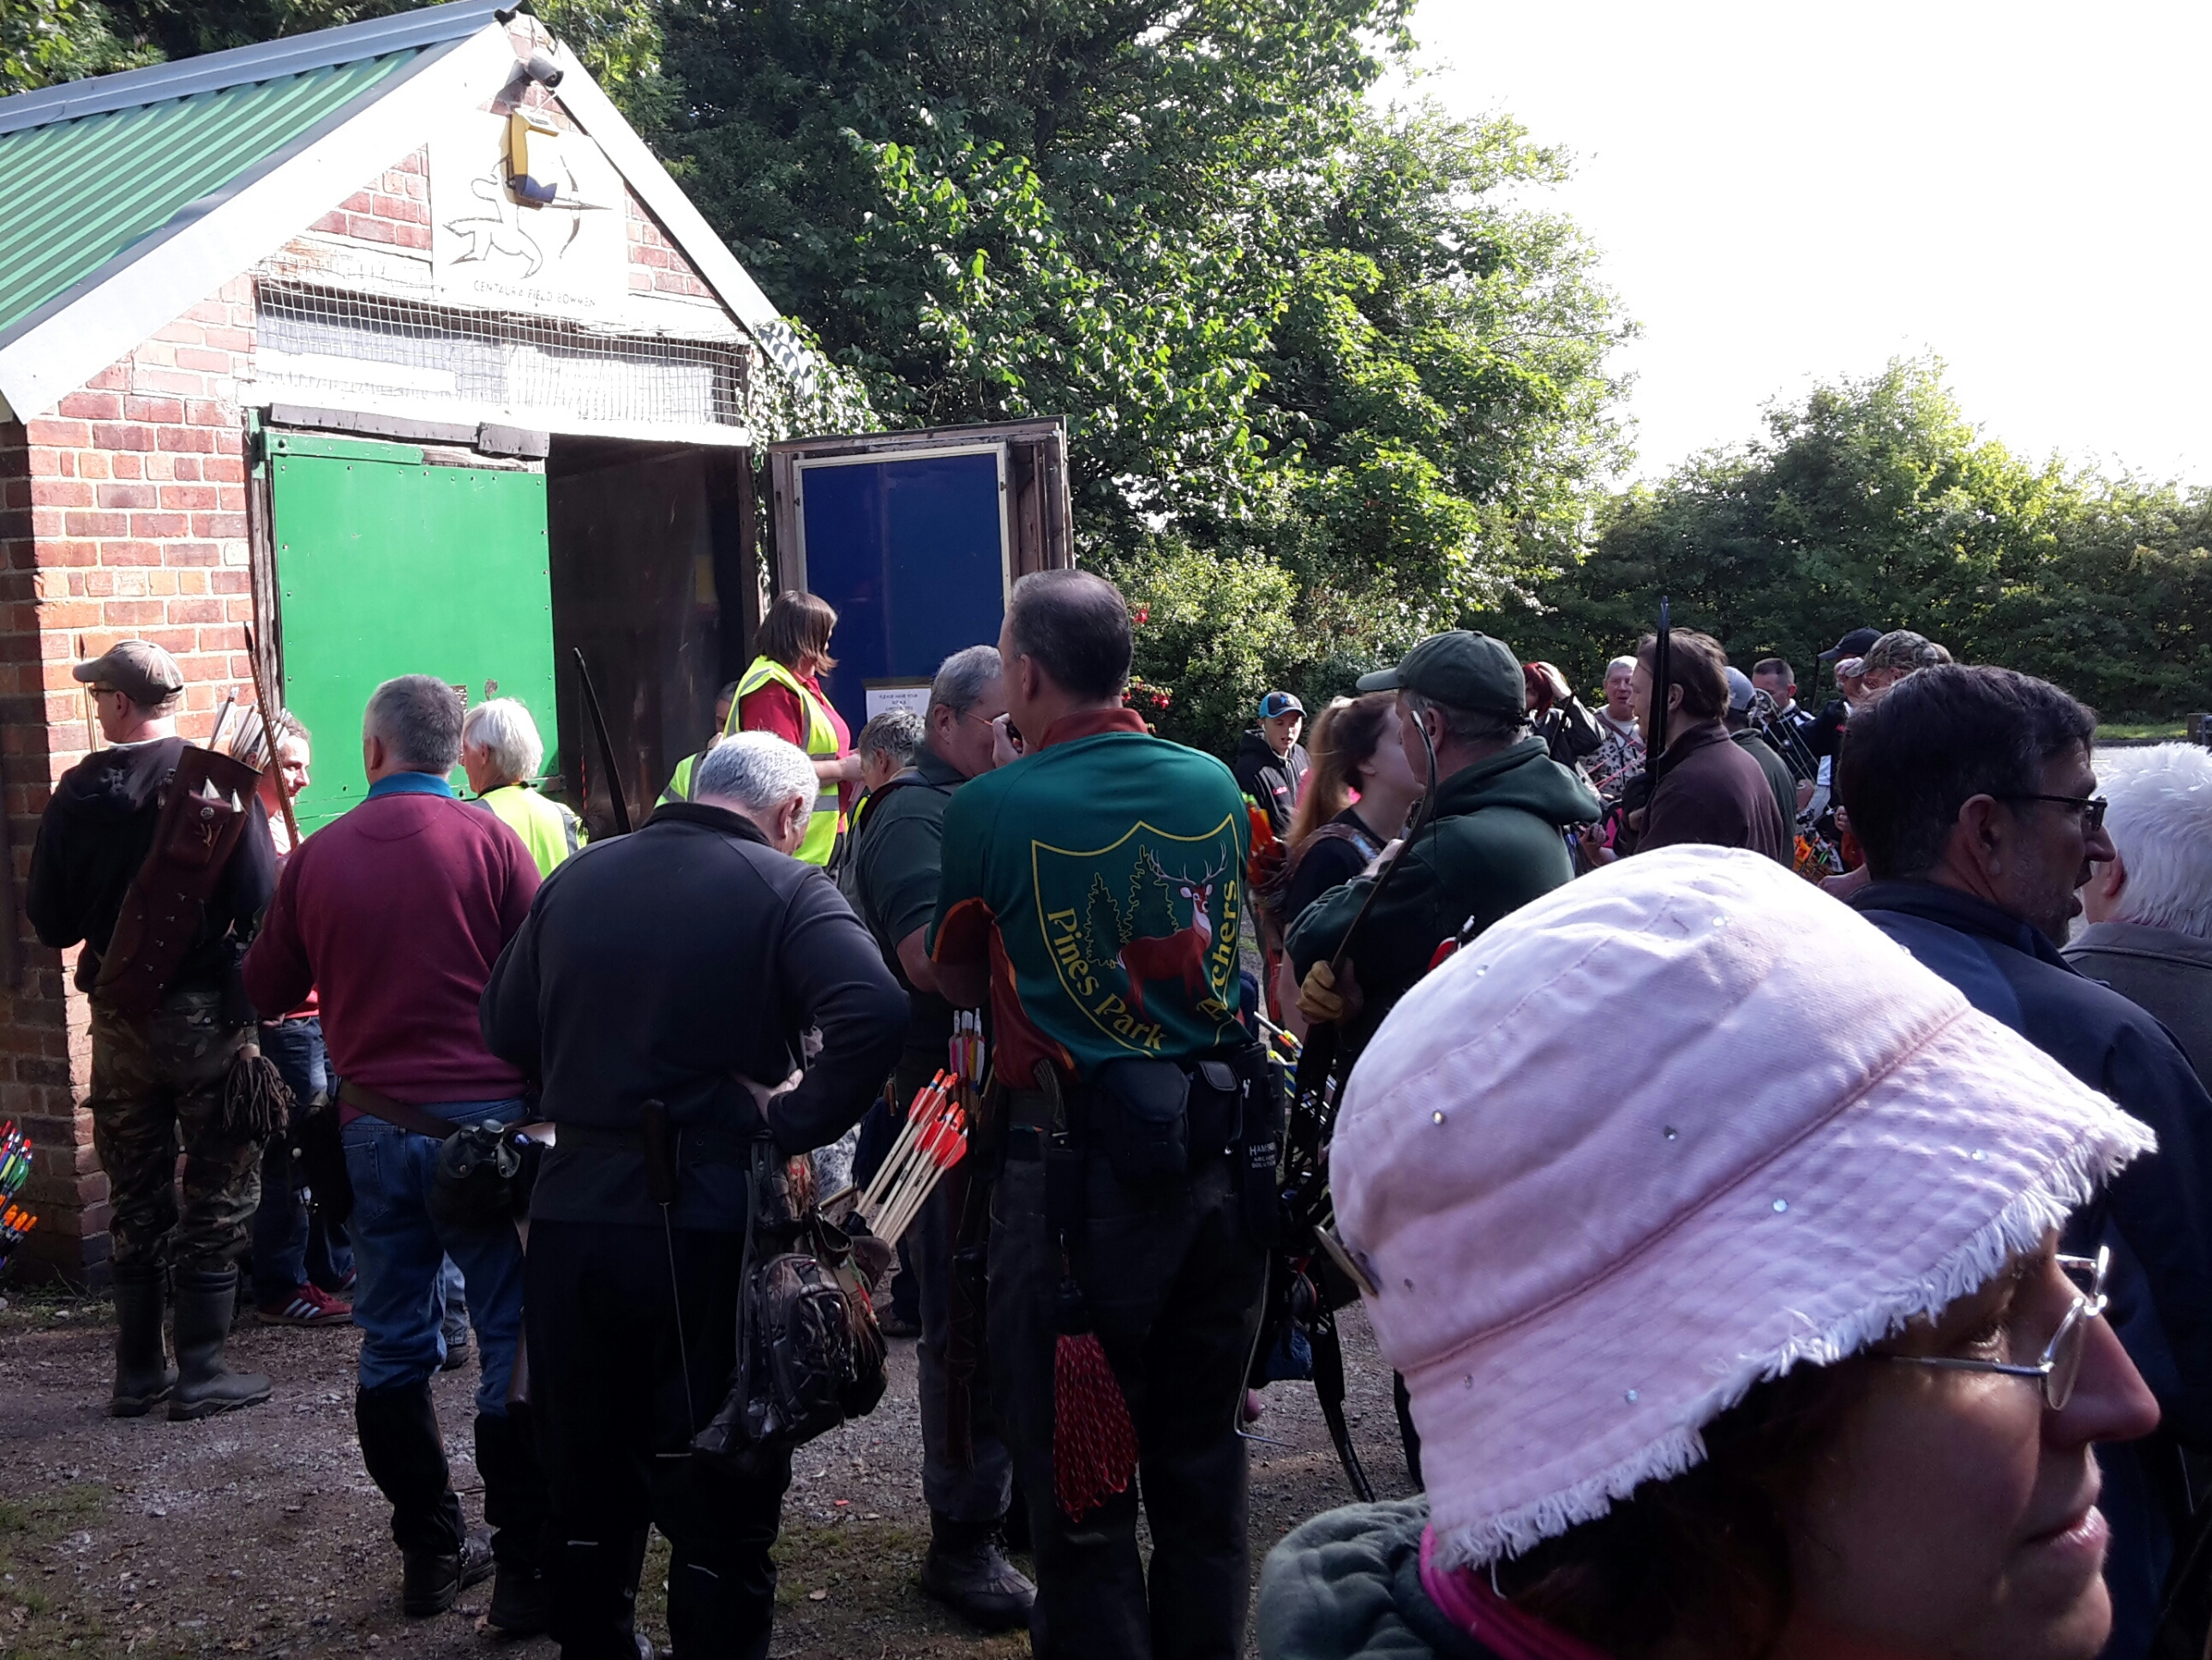
Archers gathering for the shoot at Centaura Bowmen
The nice thing with heading to Centaura is we have the opportunity to run into friends we haven’t seen since moving from the area. It was great to see Jon C, Jim, Chris and others.
The shoot was well attended, resulting in a very full car park by the time we arrived shortly after nine, with most pegs having 4 archers on them. In interested you can check out a past shoot report here.
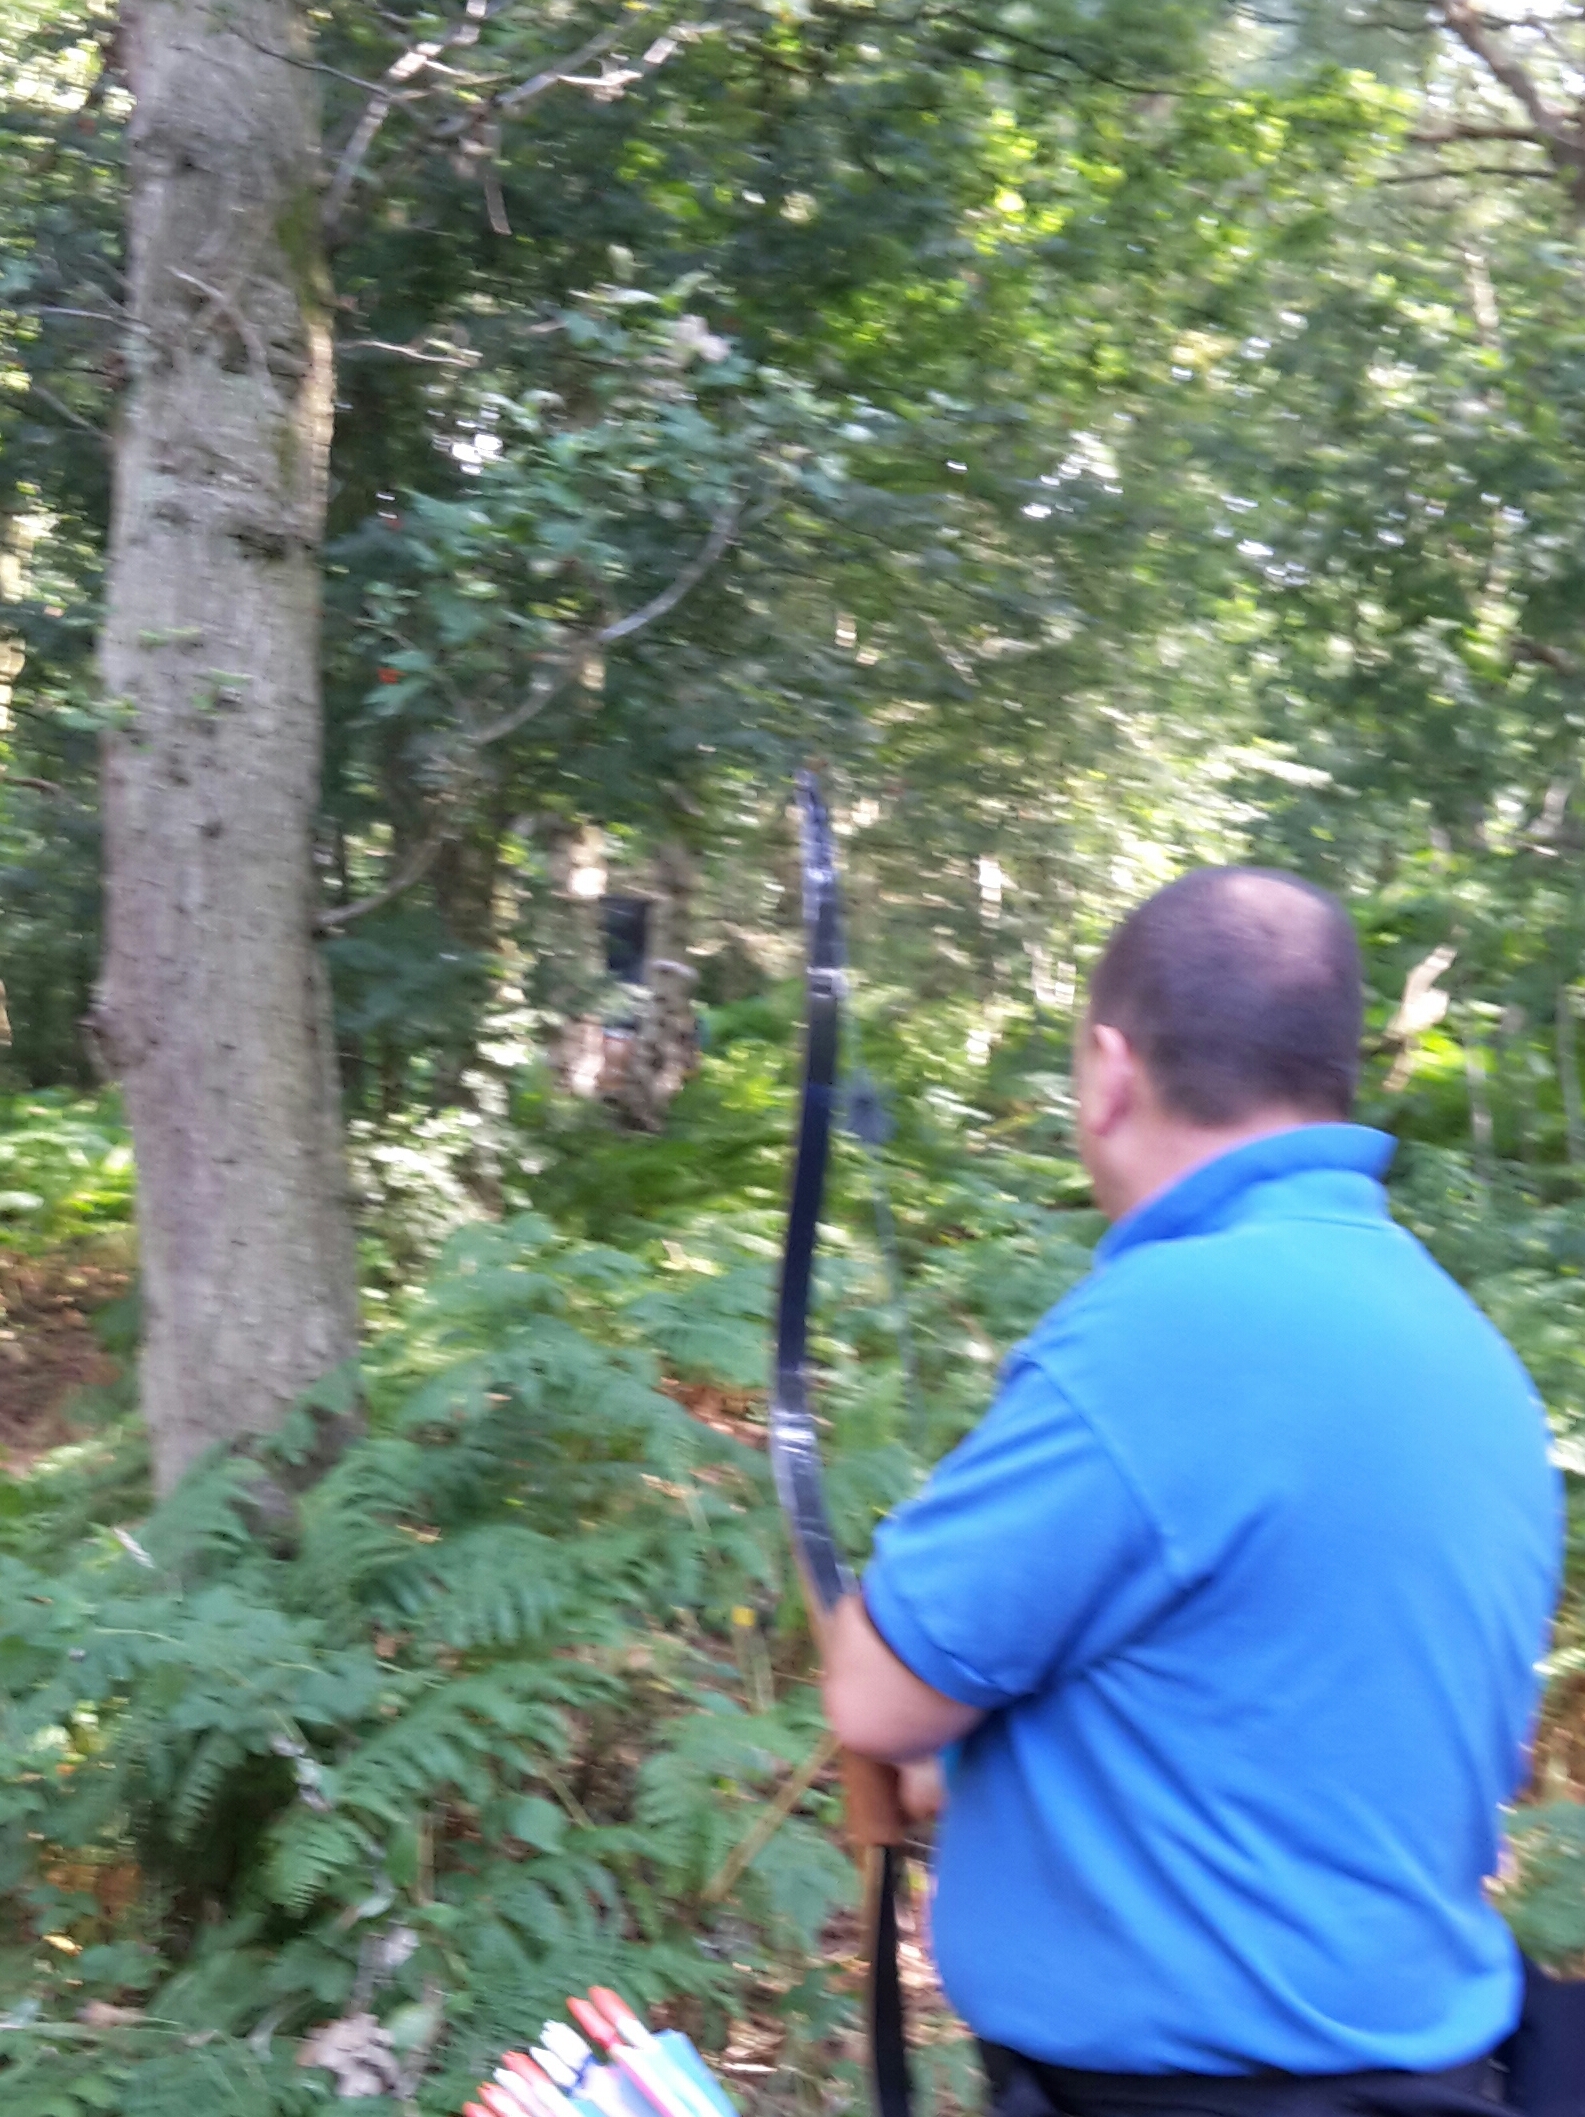
We would start on peg one a few yards from the main building, so a very short walk out, the only downside being at lunch break we would be at the furthest part of the wood.

Target 1 – paper face ermin
The course like many others was a mix of 3d and paper faces, 36 targets in total.
We were joined by Trevor, Catherine and Jacob from Hanson, though only Trevor and Jacob were shooting. (Longbow and hunting tackle respectively )
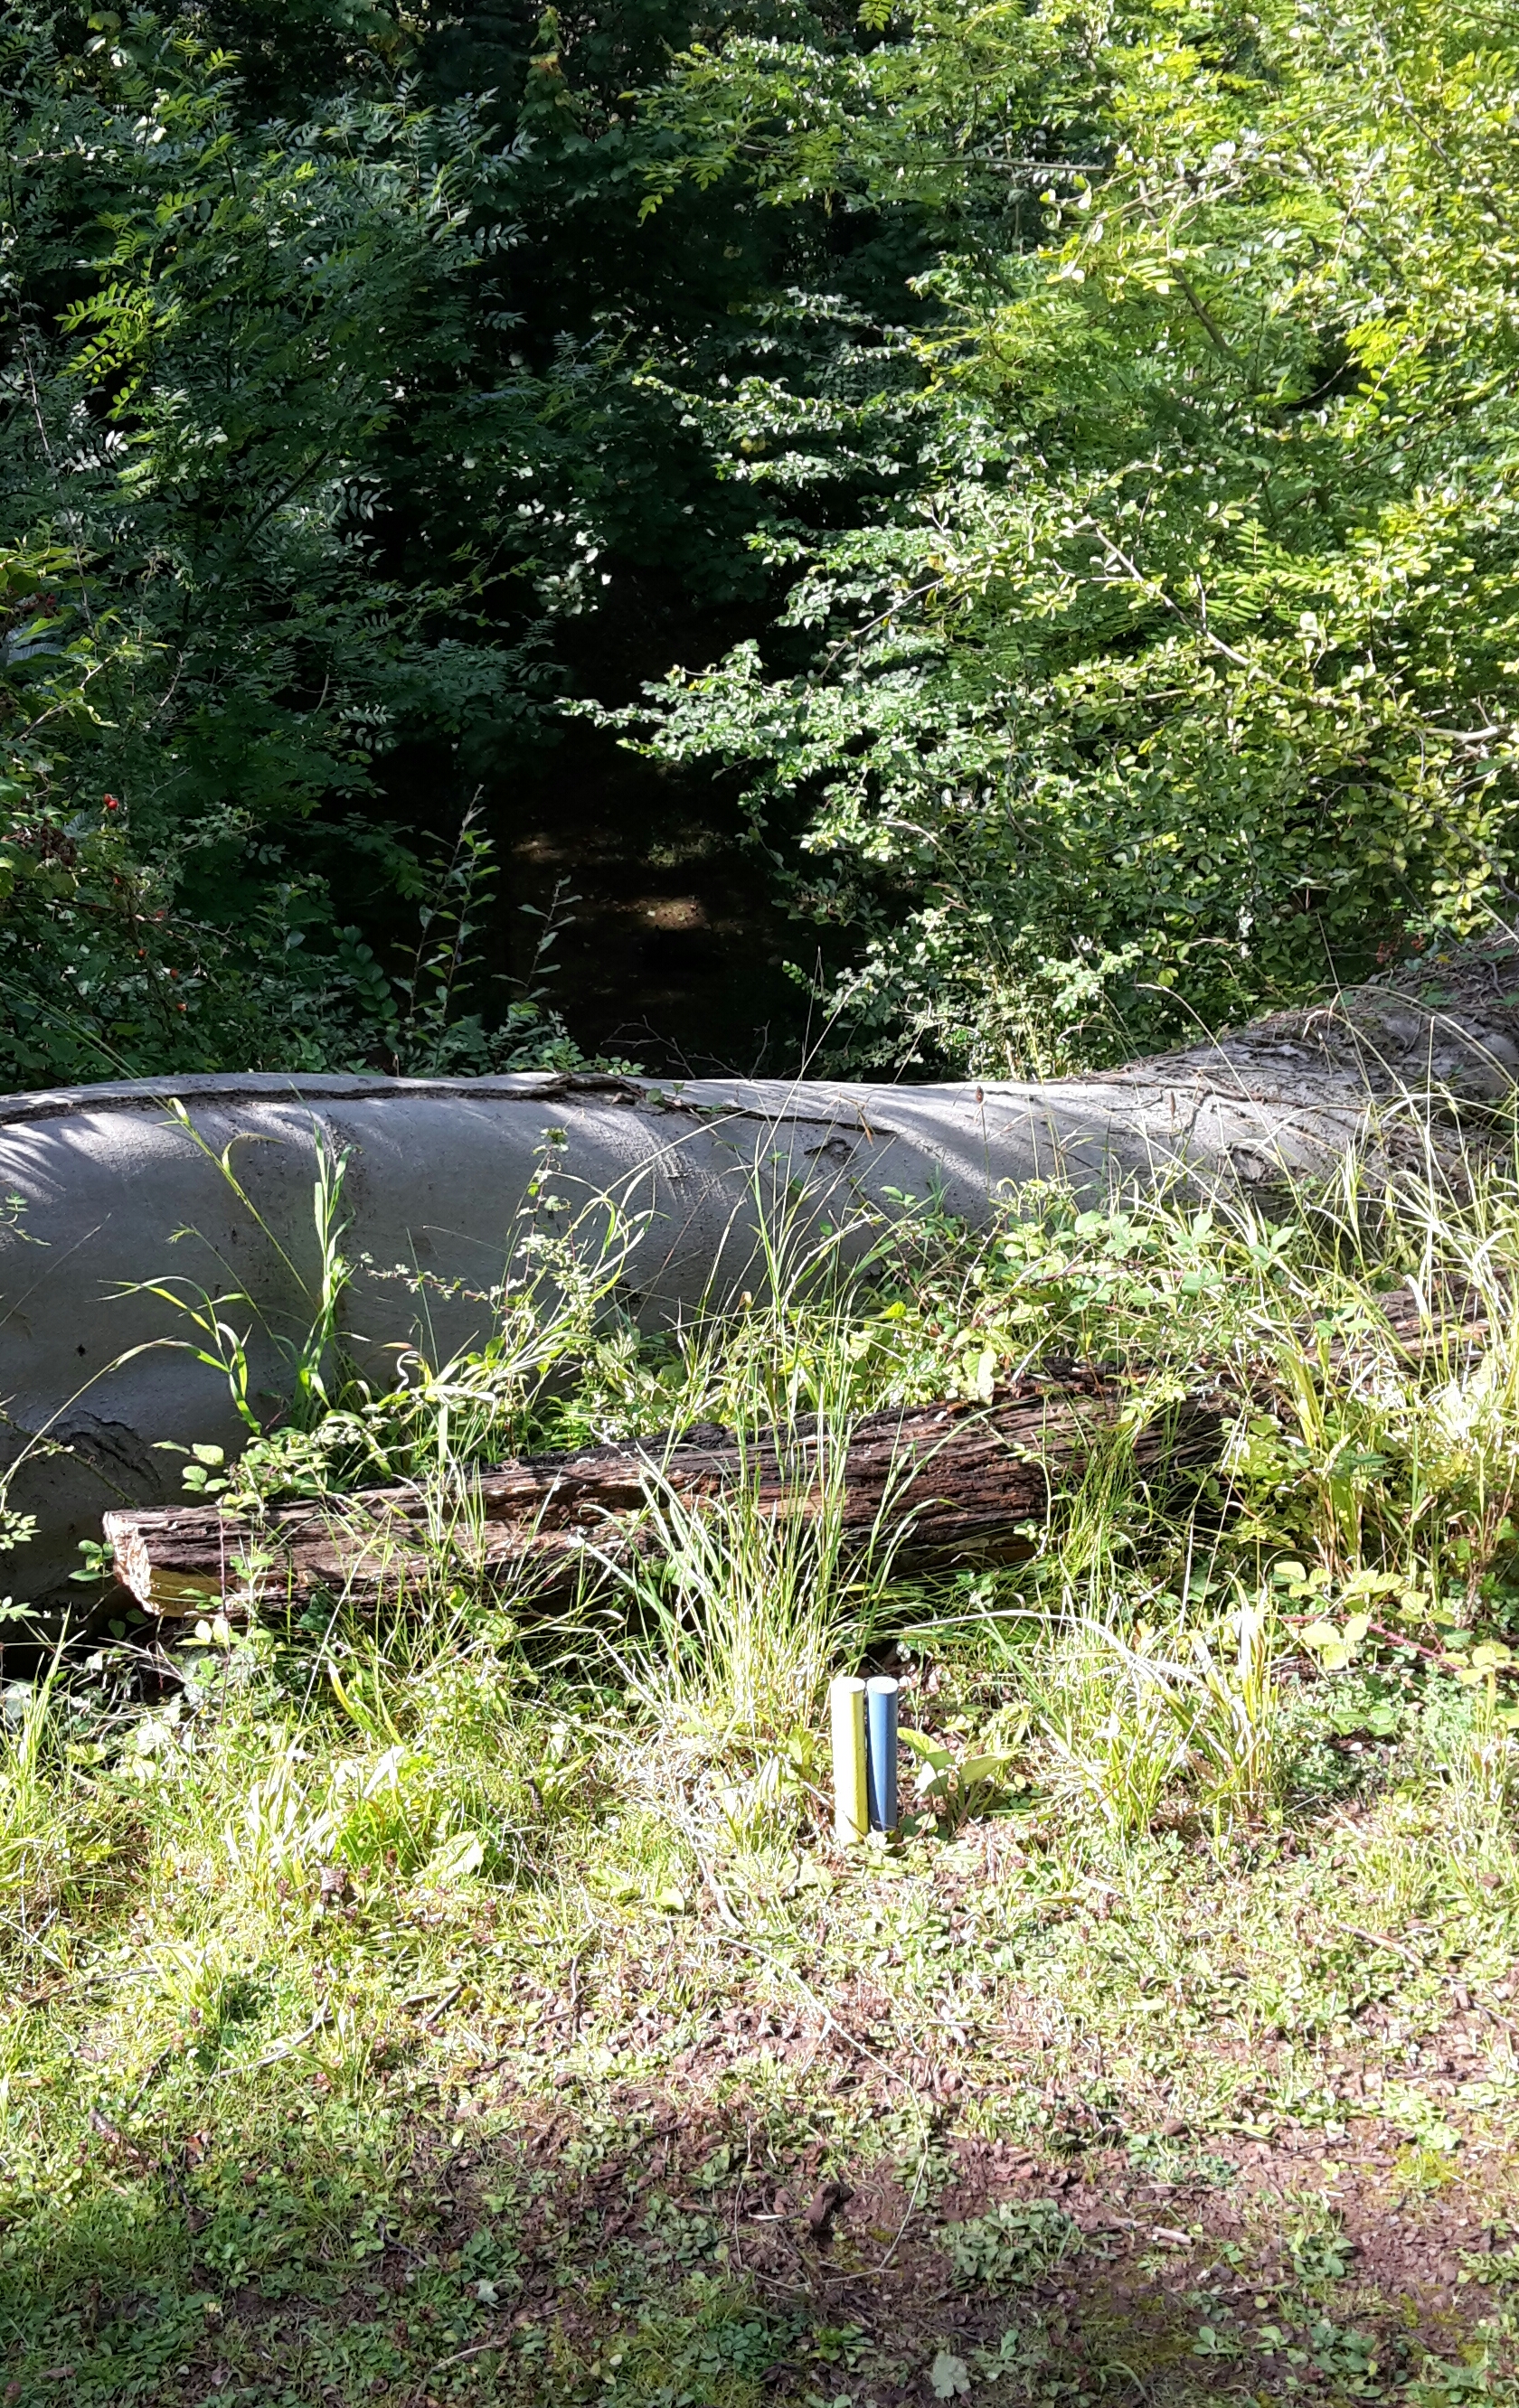
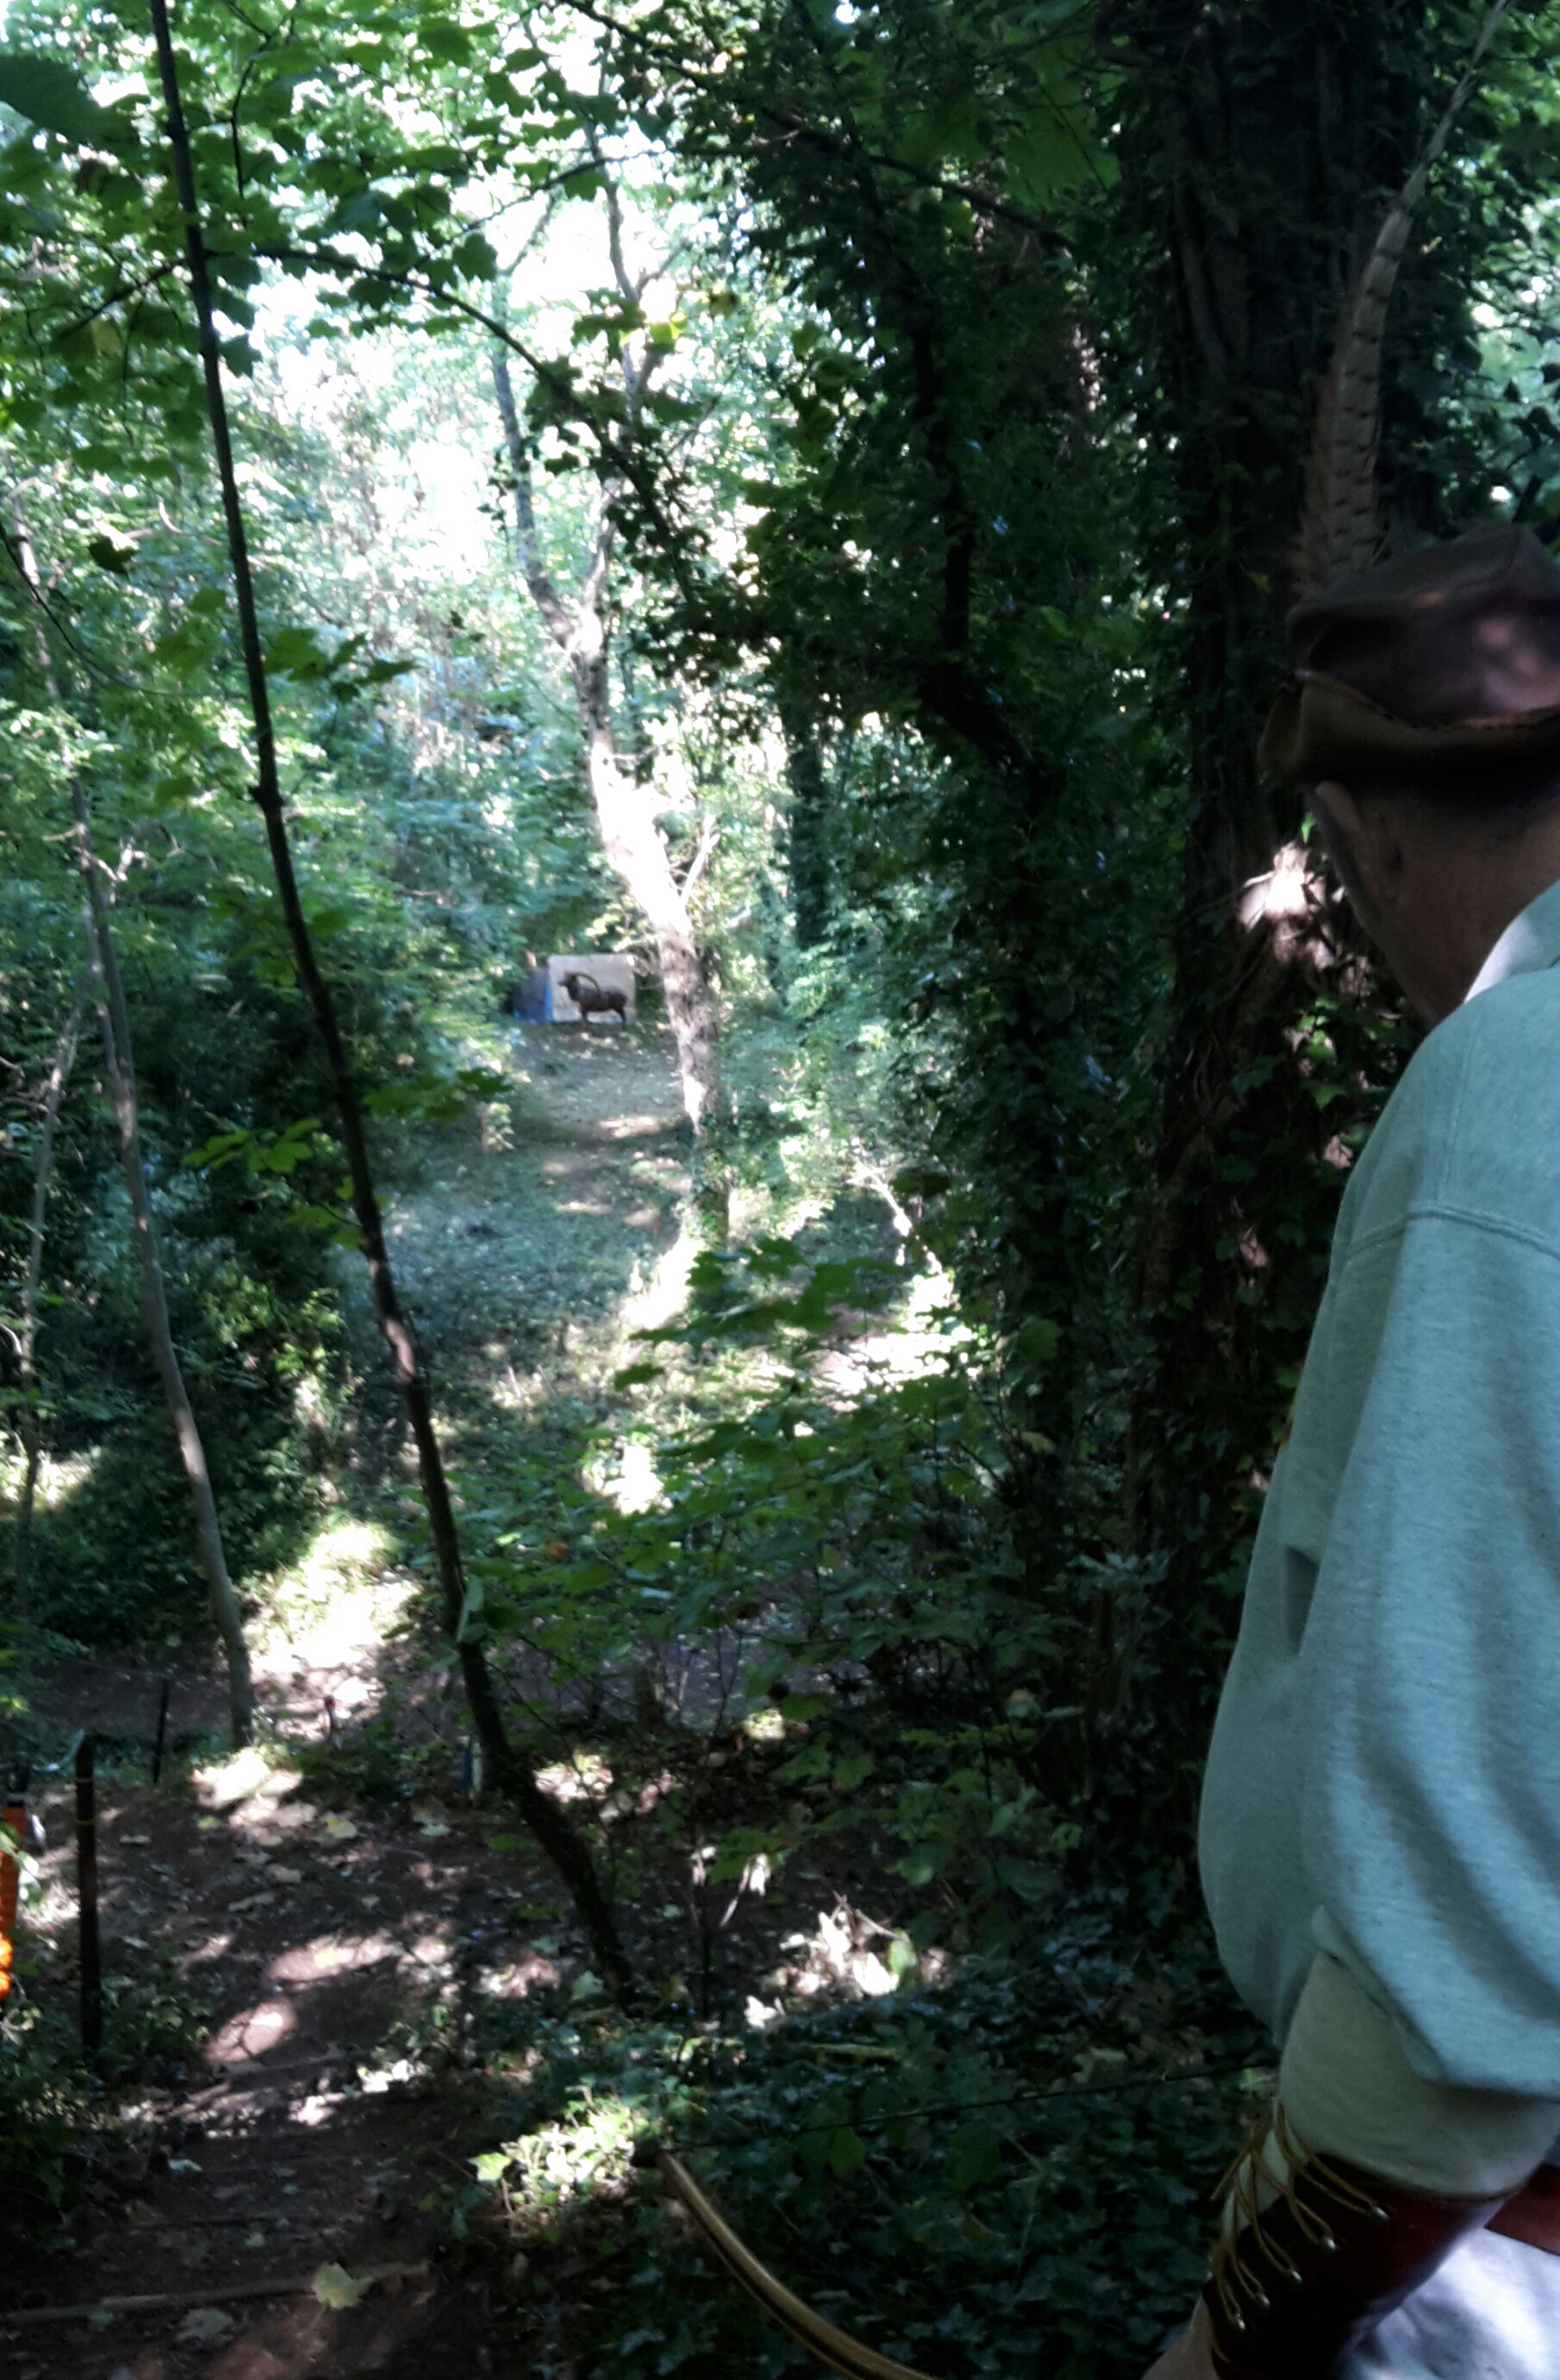
The now infamous polo shot which Centaura are becoming known for returned on target 36 , this time with a 3D owl target. There was the long shot into the quarry this time with a 3D boar, though it’s hard to make out in the photo.
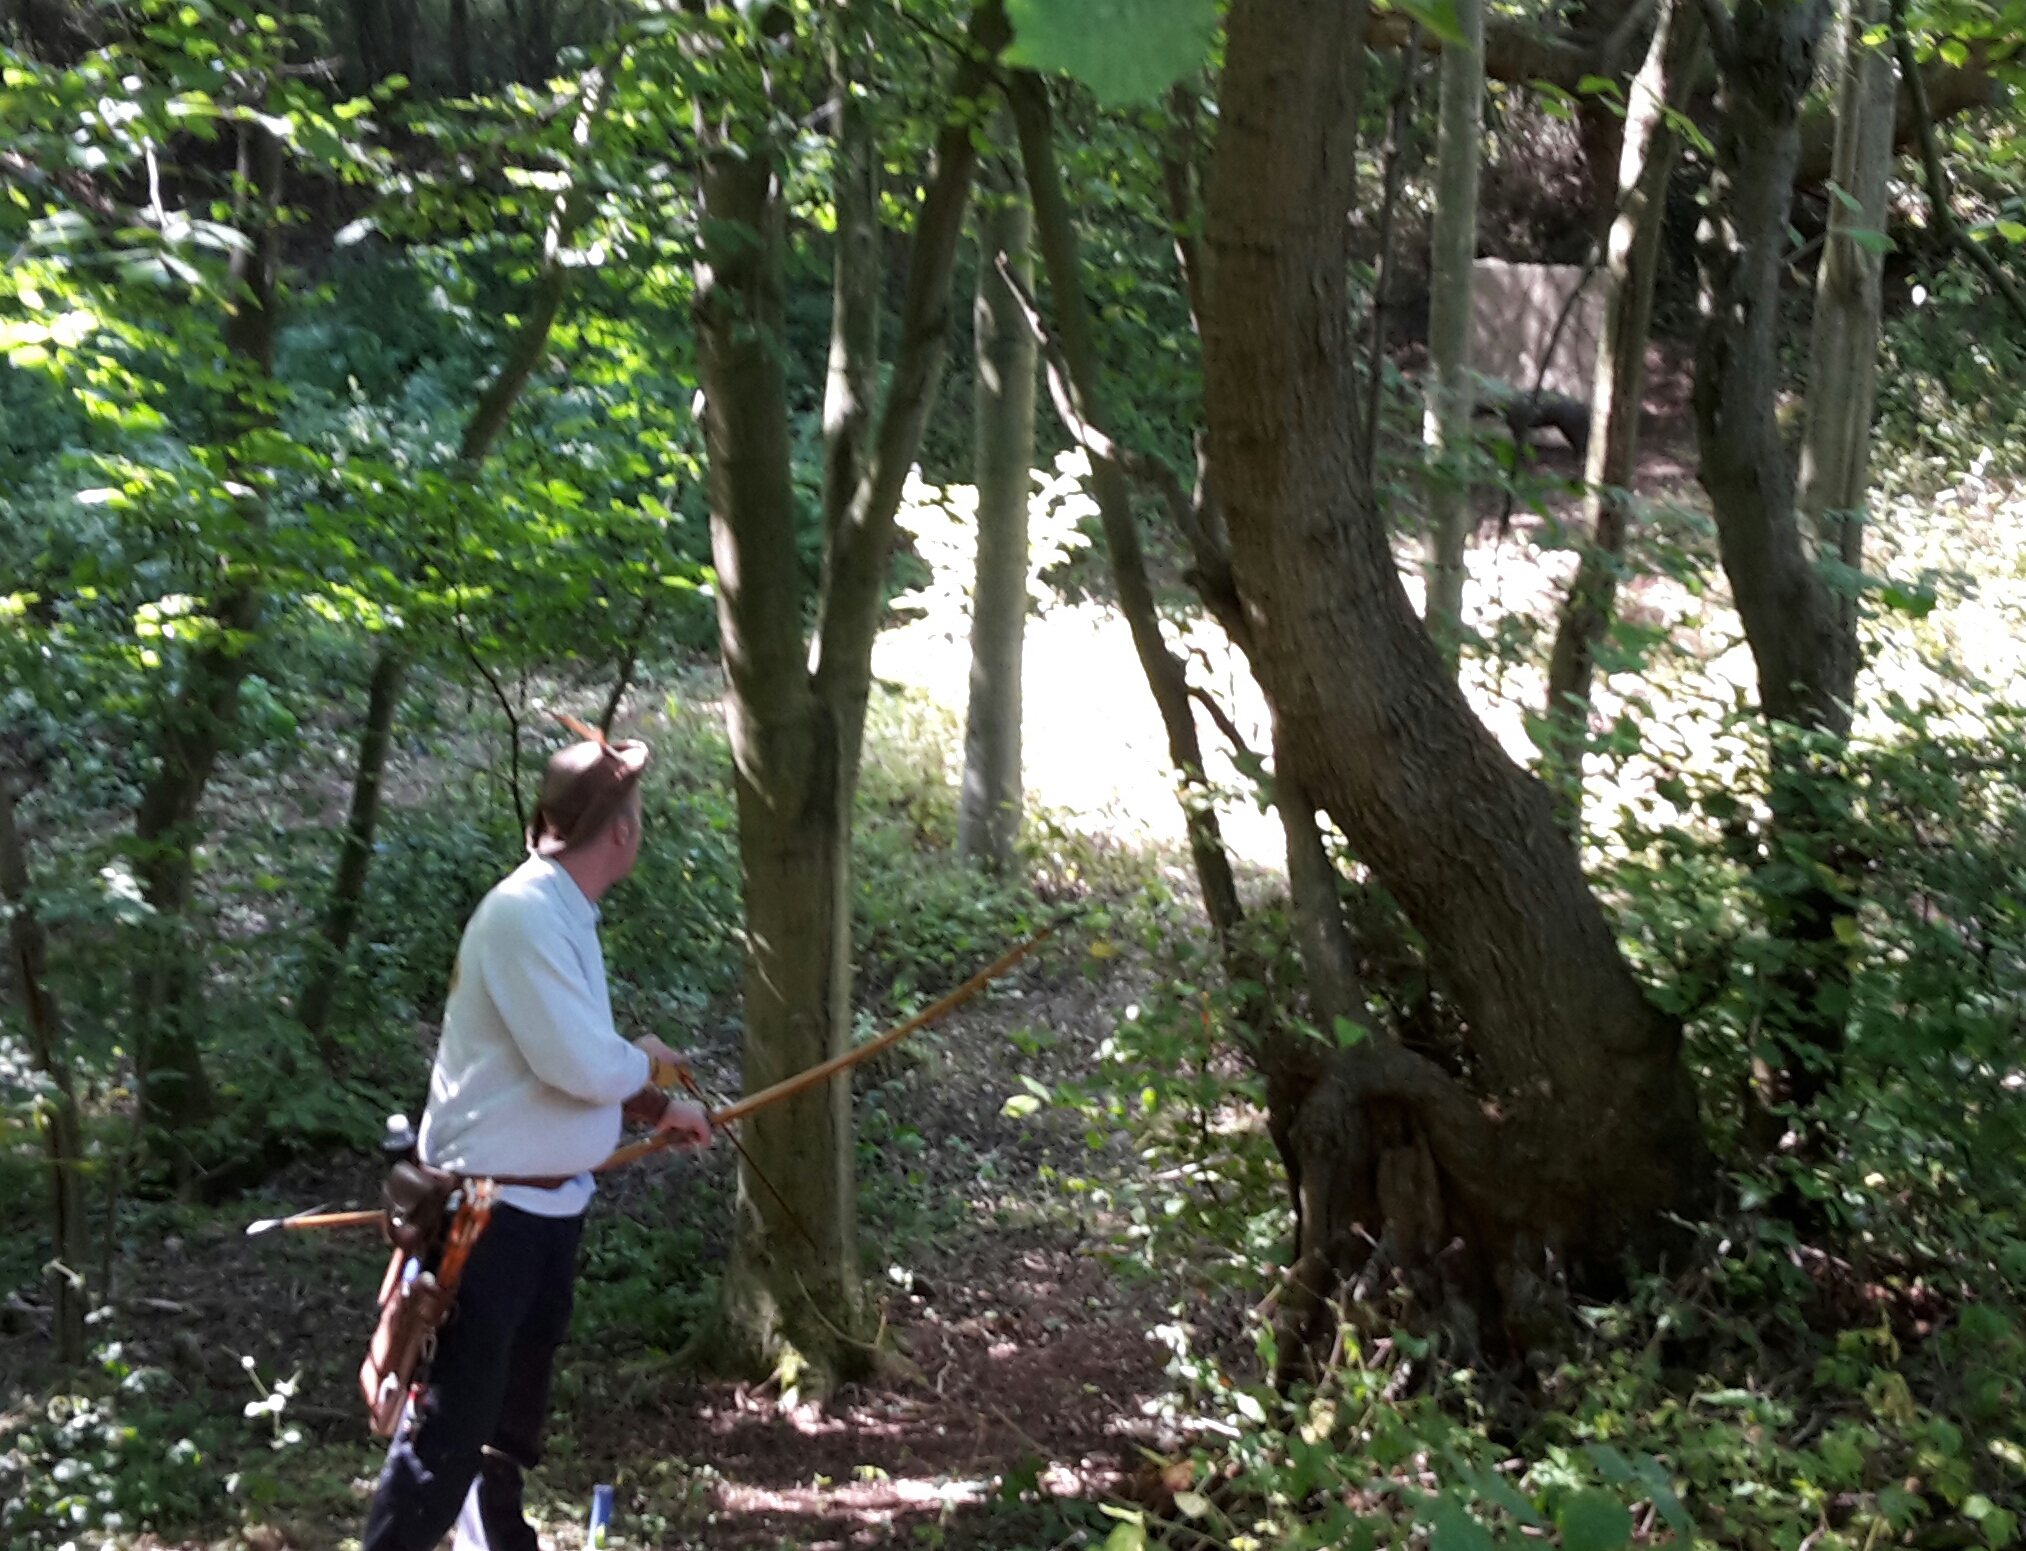
Our first shot would be the ermin in a ditch, not a confidence building shot to start with.

Target 8 – a downhill bedded 3D deer
Another traditional shot they put out is a very short one, 3 feet away. You can see Jacob shooting it.
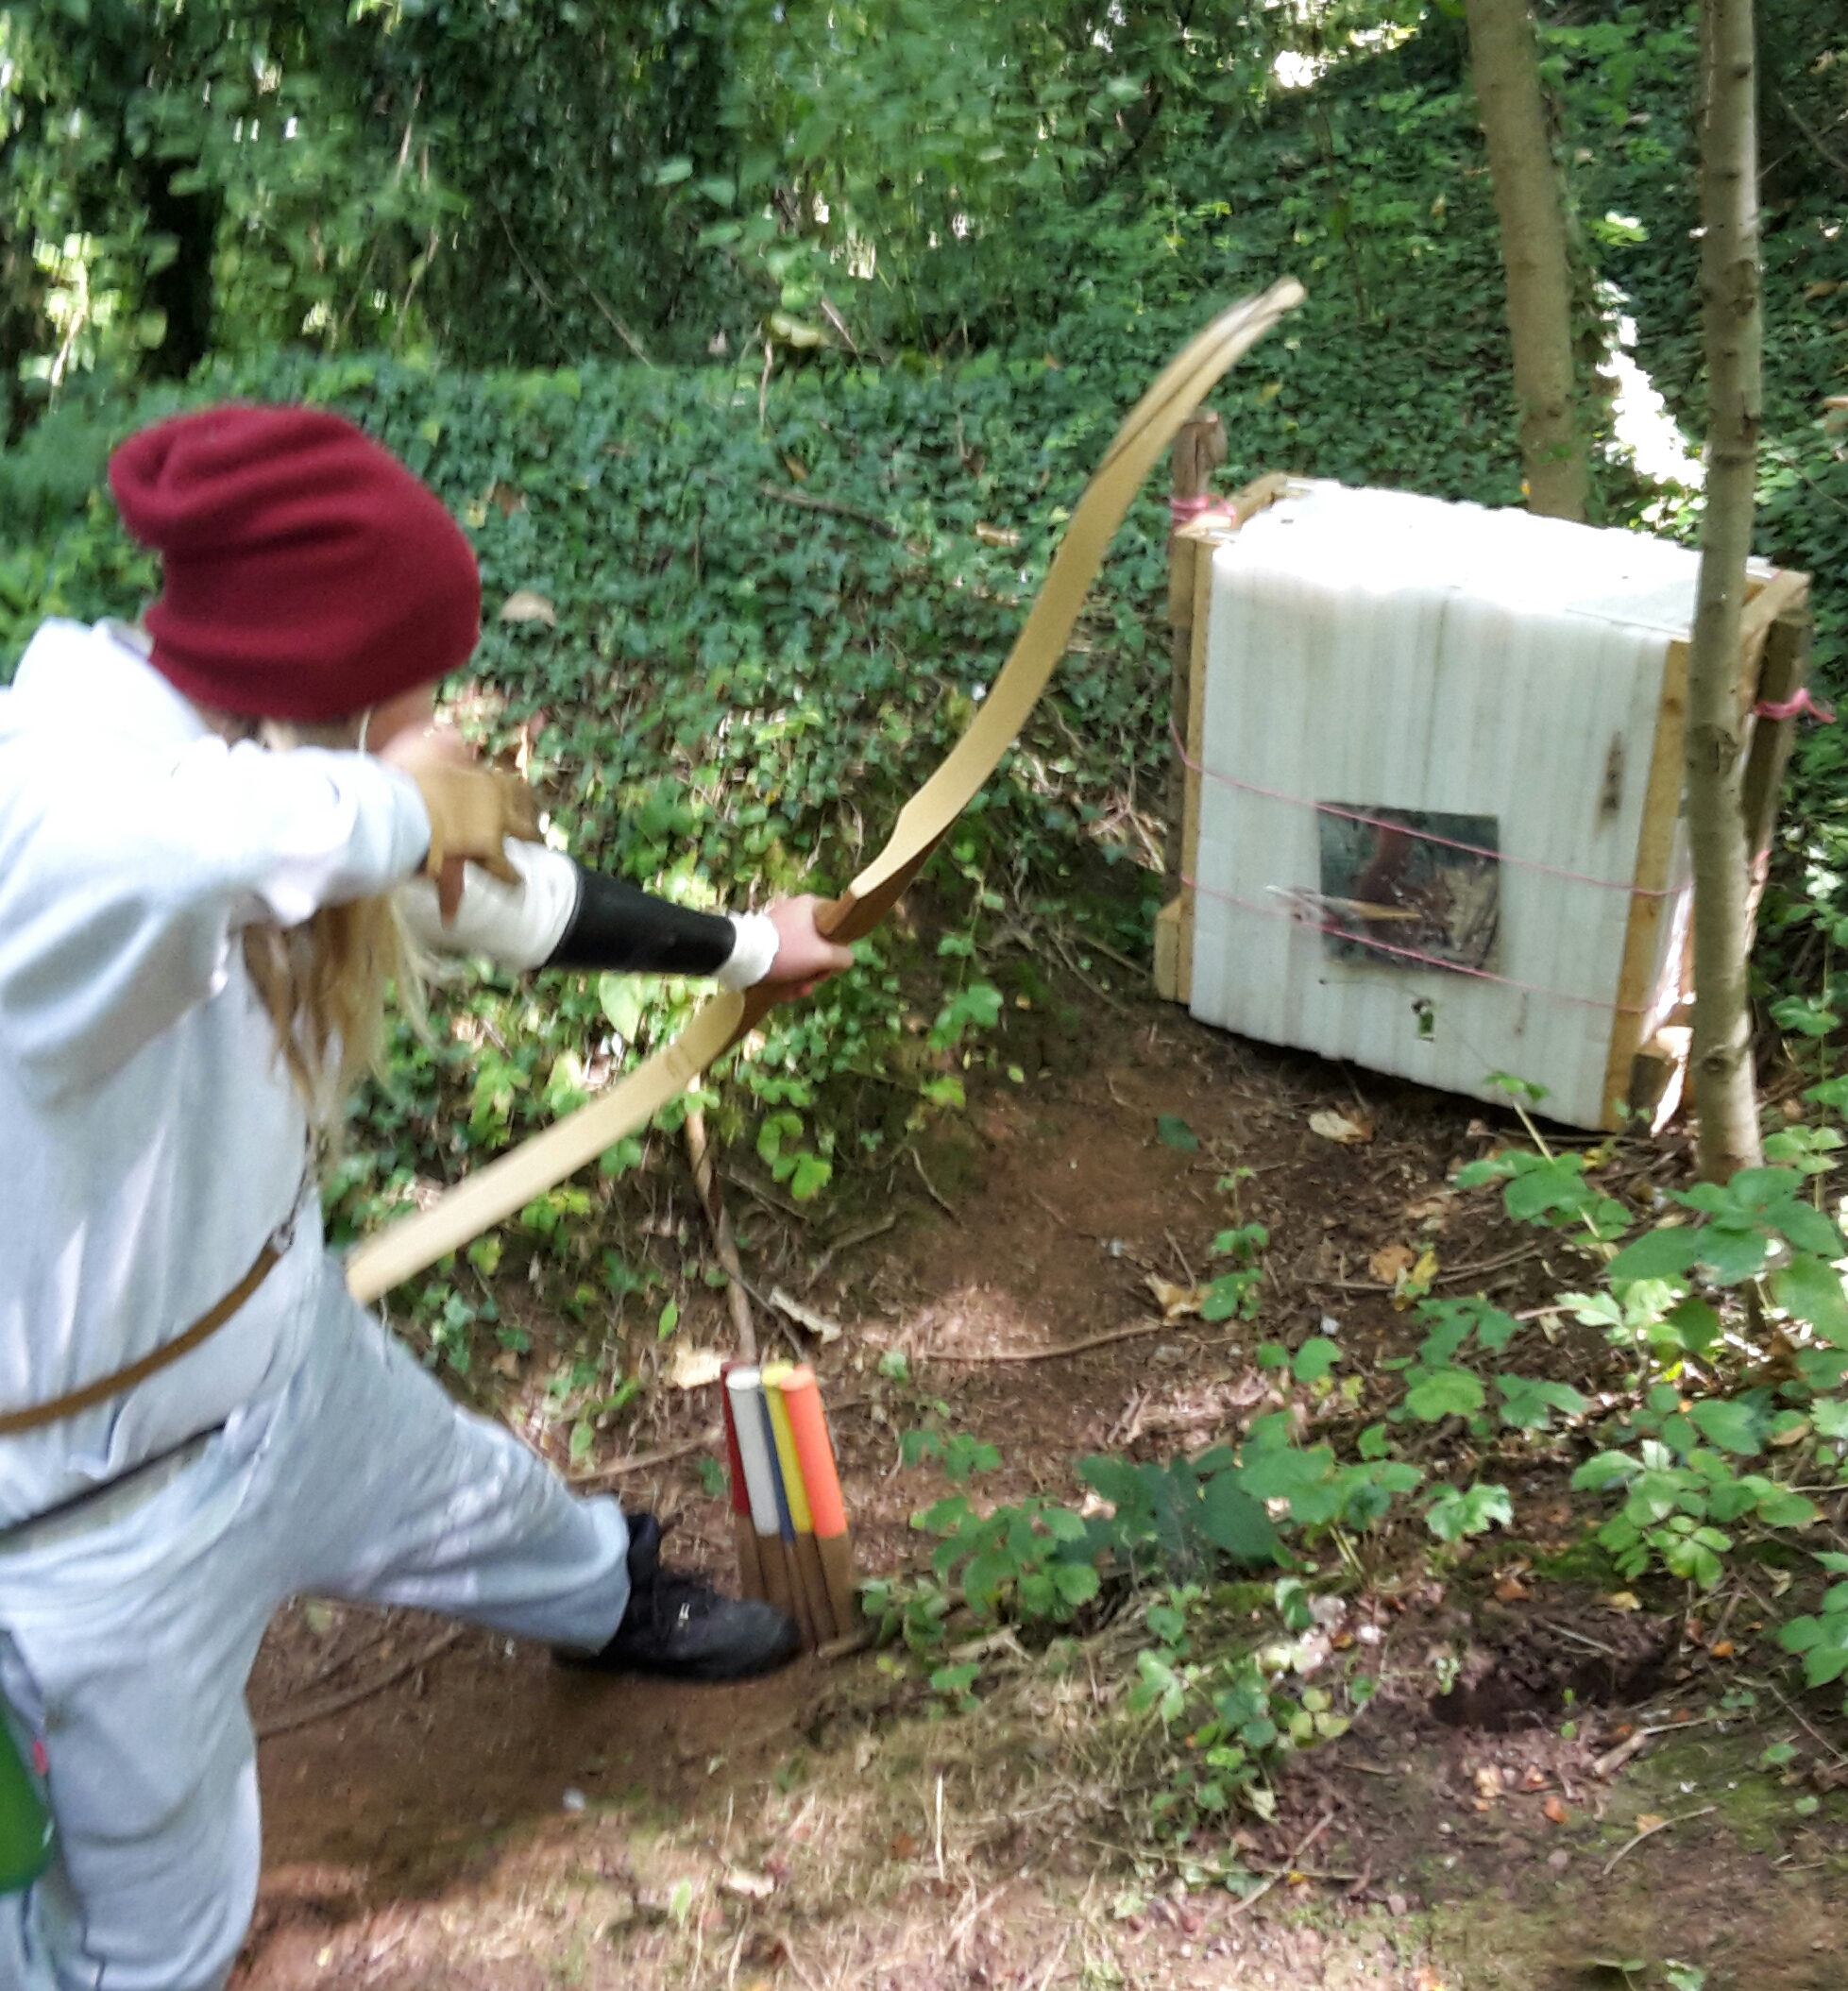
Very close shot
Trevor shooting a 3D
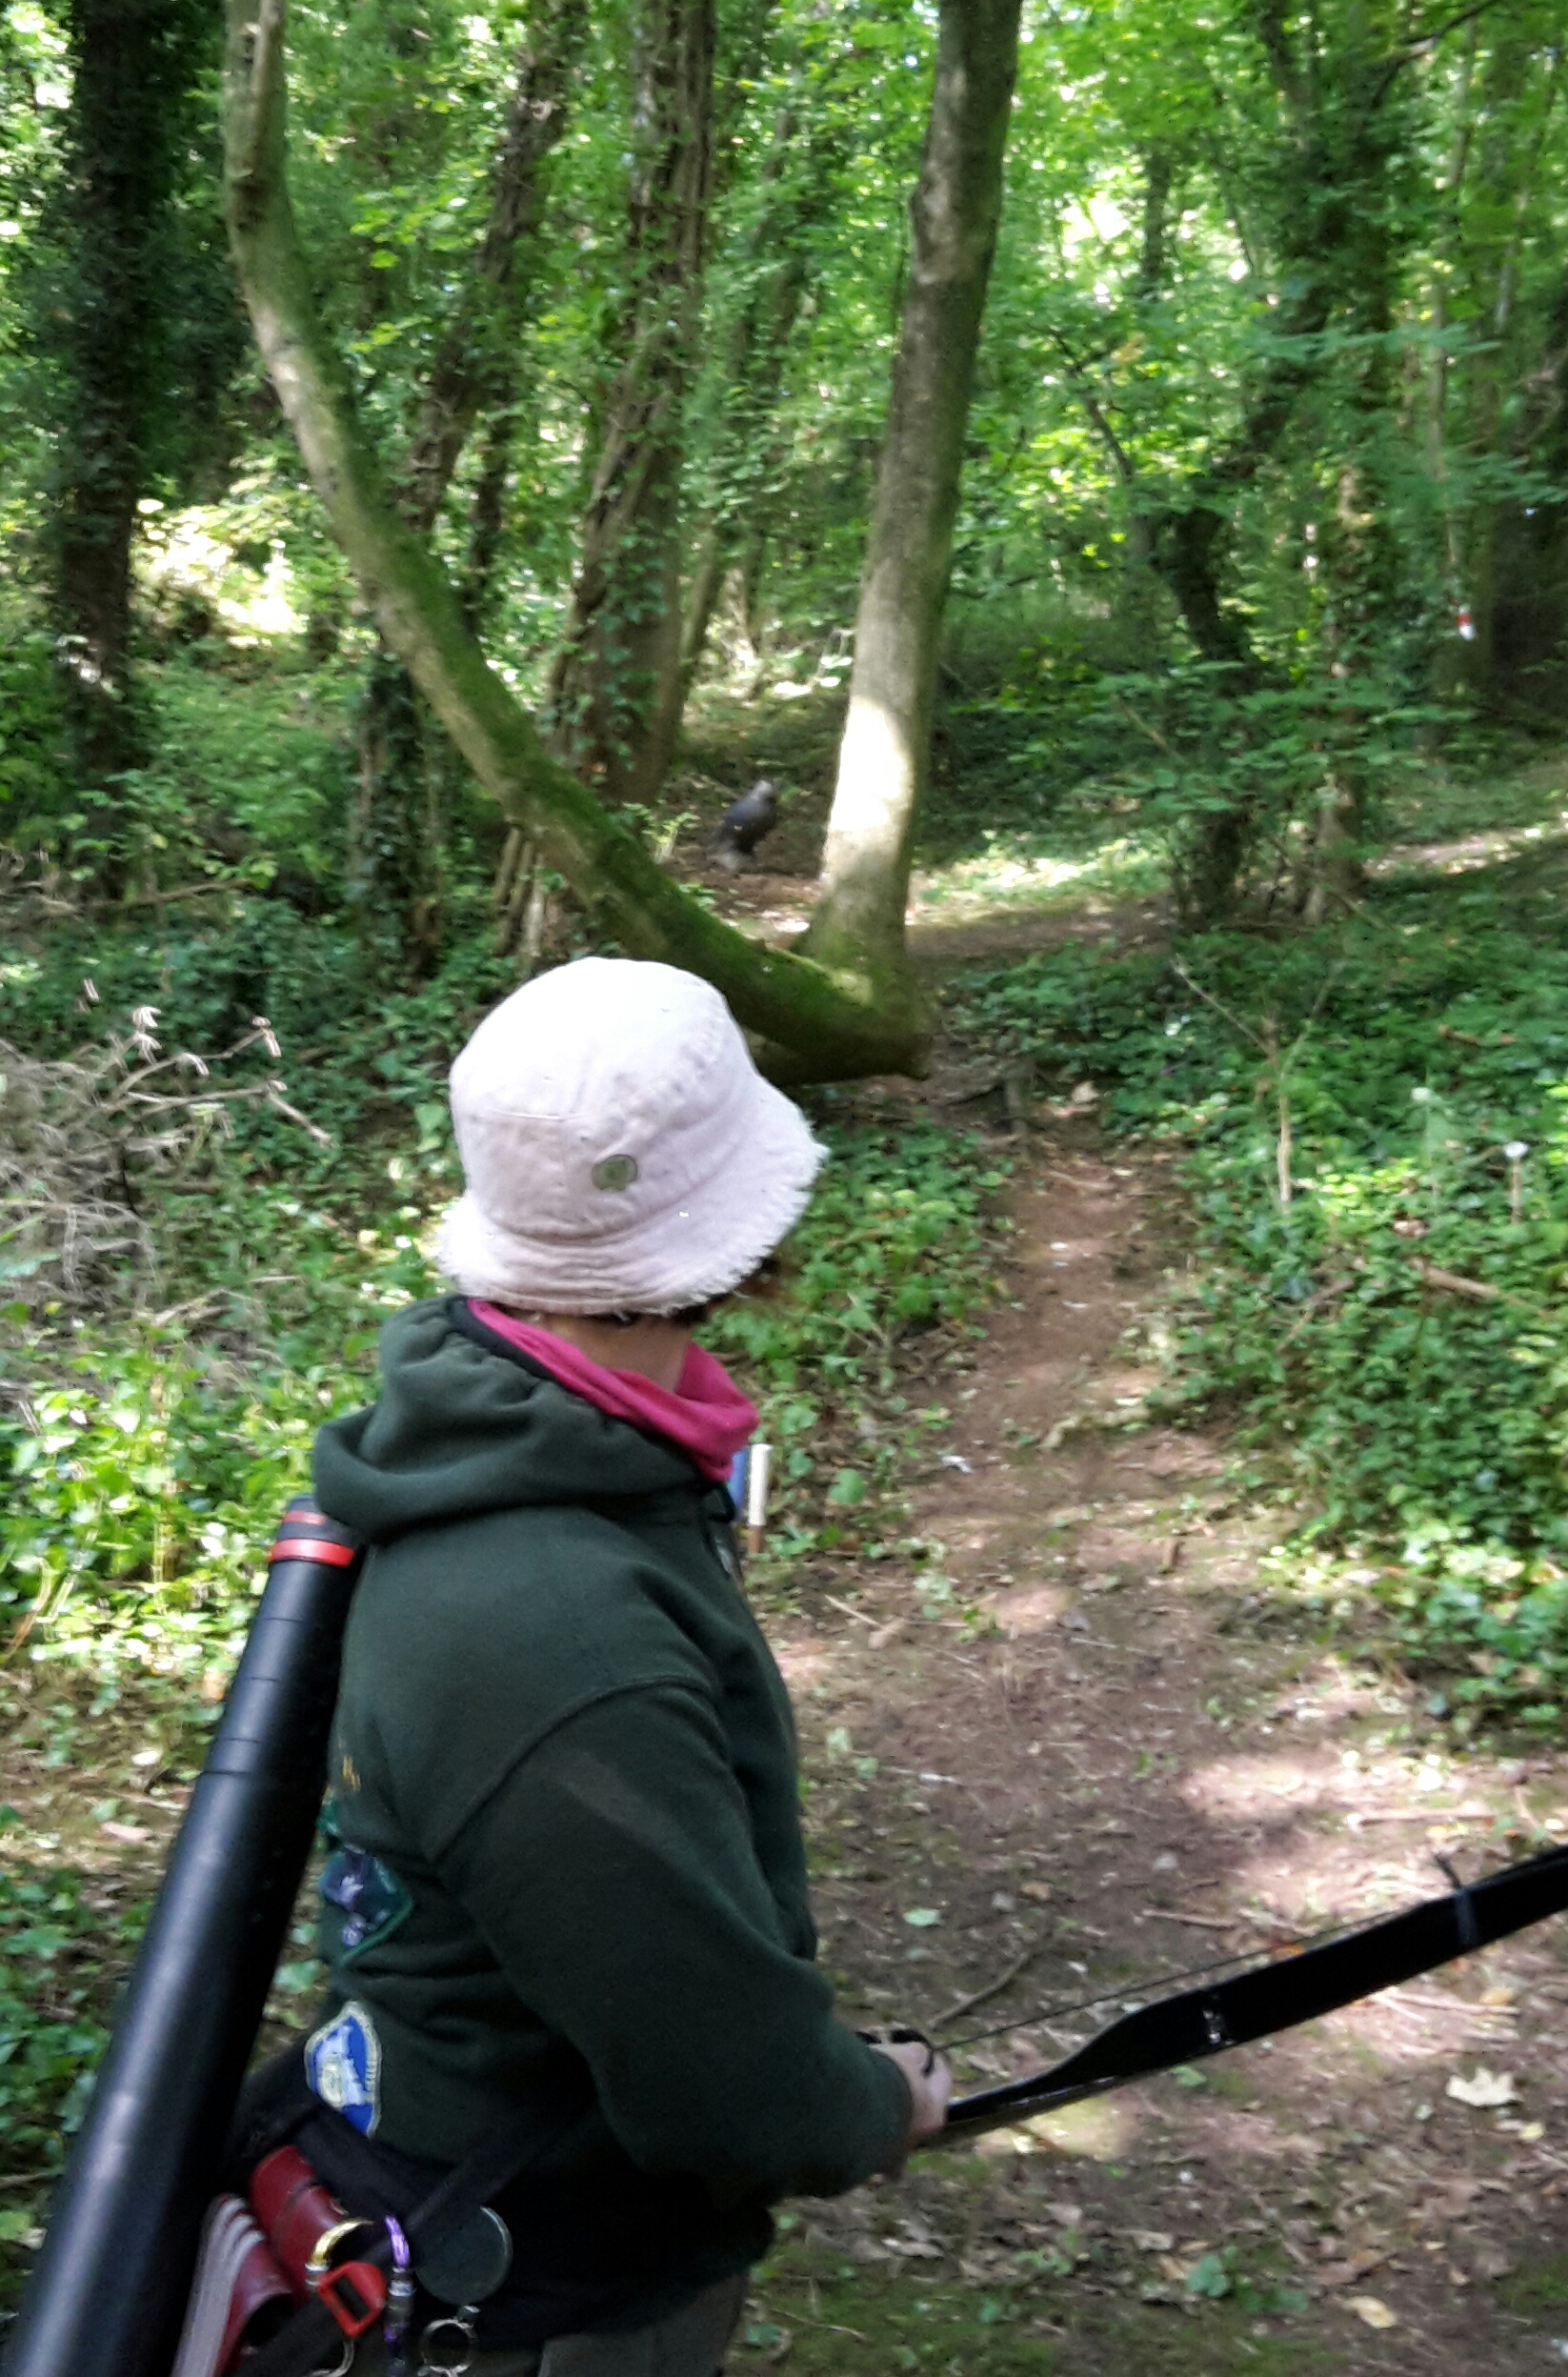
Sharon shooting 3D owl between trees
Lunch break was between 12:30 and 1:30 giving archers ample time to get off the course grab some food and then head back out. Though I think Centaura need to invest in some louder air horns to signal start and lunch breaks.
Didn’t shoot as well in the afternoon and wonder if this was due to it being a bit slower.

Paper face Racoon in a dip which is a lot harder than it looks
Long ram 3D off the top of the hillside
Sharon came away with first in ladies hunting tackle. I managed a placing in gents afb. Though I didn’t feel I shot very well and still have a long way to go with the flatbow.
Thanks for reading.