I’ve recorded this episode of the podcast as a video on my thoughts on the National Field Archery Society championship faces (NFAS). It seemed more logical to record a video when talking about target faces than just having it as an audio podcast.
For those that don’t know NFAS produce a selection of target faces specifically designed for the big game round used at clubs across the country and at the National Championships in September.
It is available on Spotify, Amazon, Music and YouTube, the latter being shown below.
In the video I cover the positive and negative points of the targets faces, along with my thoughts specifically on the mess version we use at our club. We have been using these styles of faces for a couple of years and in our experience they work pretty well, especially in wet conditions but there are a couple of negative areas where they could be improved.
There is one downside you need to consider and that being, the faces are printed on a white mech fabric and can suffer from being shot out, with the threads breaking. I show a couple of examples in the video.
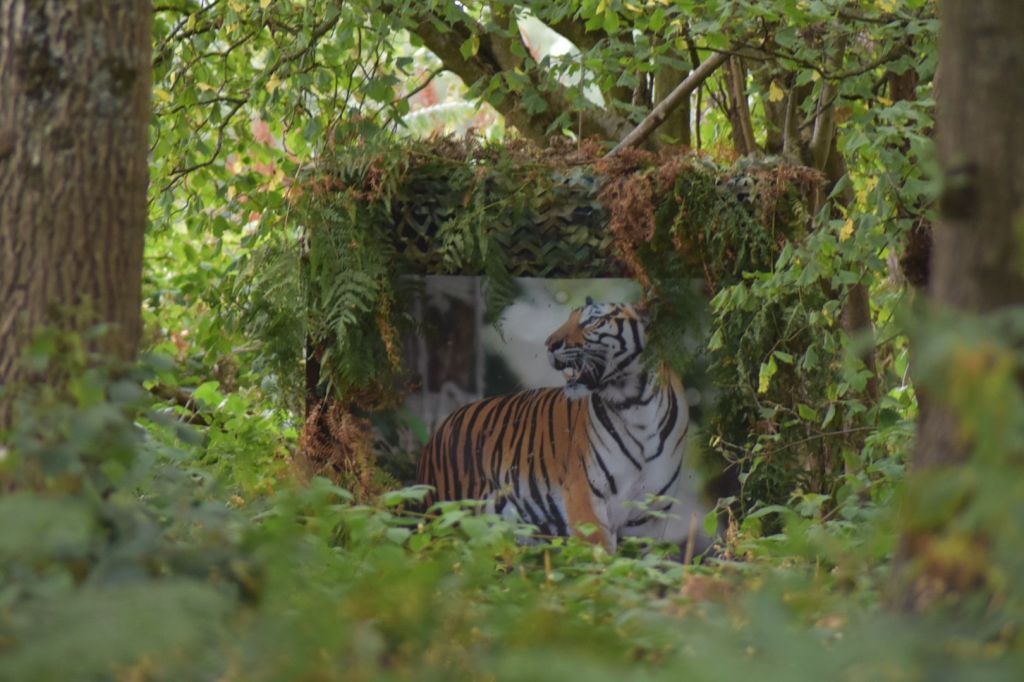
There are currently 80 target faces, 20 per group, which means you could set 2 full 40 target courses and not repeat a face. We’ve used quite a few of the Group 1 target faces on our open shoots and they have been very well received. I especially like the Tiger and Golden Eagle faces, though the African lion I struggle will as it melts into the background.
You can order these directly from the NFAS website, where in the downloads section you will find the order form. https://nfas.net/downloads
Let me know what you think of the faces. Does your club use them?
Overall I think the quality of the images is great, with it being nice to see some NFAS specific faces. There has obviously been a lot of work involved in putting these together.
The mess works well for us at the club as it out last the equivalent paper face. Like all target faces they will get shot out over time, especially if you have a number of good archers nailing the centre time and time again.
Personally I would like to the scoring lines to be marked in a darker colour, so they are more easily seen as the light grey doesn’t work well on many of the faces.
In the video I mentioned a top tip I recorded in a YouTube short a while back, when it comes to securing the mess faces to target bosses.
If you have any questions or queries you can drop me an email on or a message via the website contact me page.
If you have time please check out my YouTube channel (https://www.youtube.com/@offthearrowshelf) . Hopefully you will enjoy the content, and if you do, please hit the Like button and consider subscribing to the channel.
Most of all remember to enjoy your shooting and as always thanks for listening, watching and supporting.