So, I’m slowly getting back into the hang of writing these shoot reports. I hope you are enjoying reading them. It’s been a very long time since I wrote one for Centaura, looking at my past write up I had to go back to 2018.
Considering the crazy weather we had been having in the preceding week or so running up to the shoot, with rain, snow followed by a rapid thaw the Sunday morning weather was pretty good for an early spring day. Bright, with it not getting cold until about 4 pm.
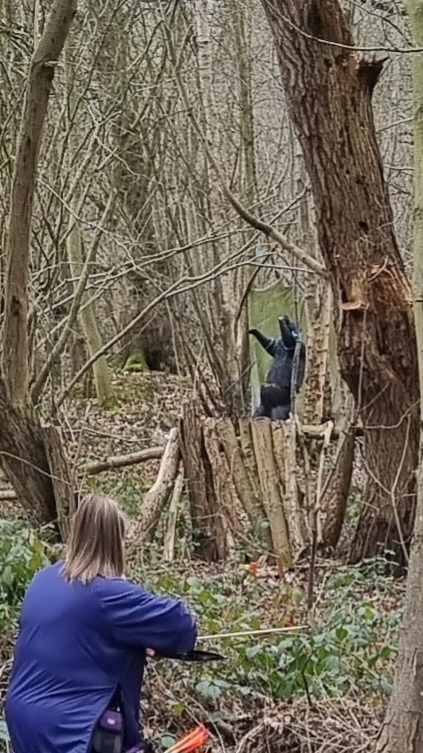
The club is situated in a small woodland not far from Derby, so just under an hour travel for us despite the motorway being slow. The course would be a twice round 21, being a mix of paper and 3D targets. Normally a twice rounds course are 18 or 20 so, 21 was a little unusual. We would be shooting with Roger and Julie for the first time in what seems like years, both shooting bowhunter.
There was a good turnout on the day with many pegs having 4 or more archers but I know they had some no-shows, which is always a shame for clubs.
Unfortunately part way around the first half I had to escort our son off the course due to him being taken ill. We’d like to take this opportunity to thank the marshals who helped on the day to escort me and my son off the course. (He’s feeling much better now after spending the afternoon wrapped in a blanket in the car with his Mam. Thanks). This would mean Sharon and I each effectively shot half the course or once round, rather than twice round.
Centaura club is housed in a small site, with little space to accommodate all the cars, meaning once you are parked up you are there for the day.
The progress around the course slowed in the afternoon with periods of delays and waiting around. I’m uncertain of the cause. It could be due to numbers per peg, I know there were some new archers there. I’m sure if I could identify what causes events to slow then every club would be beating the way to my door for the secret.
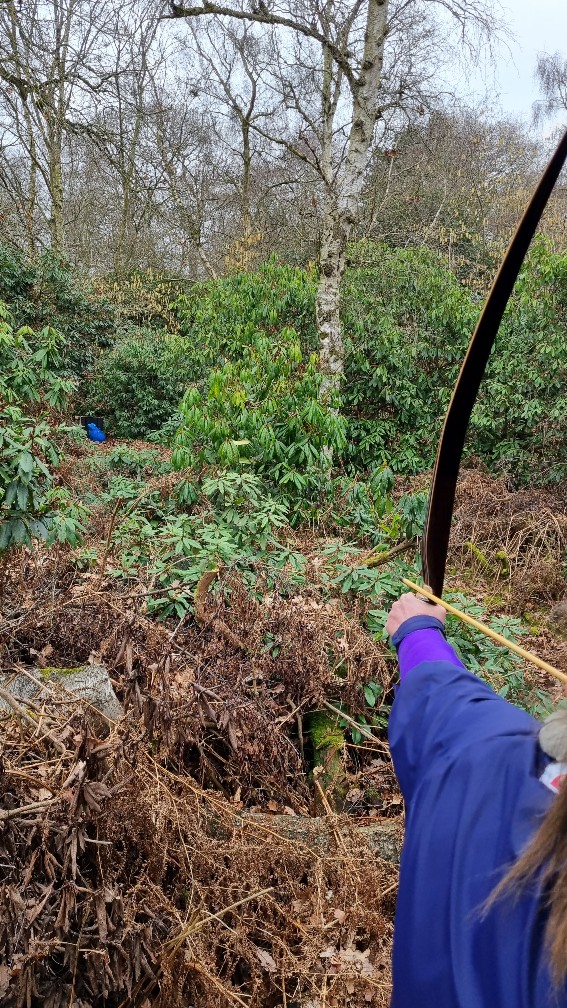
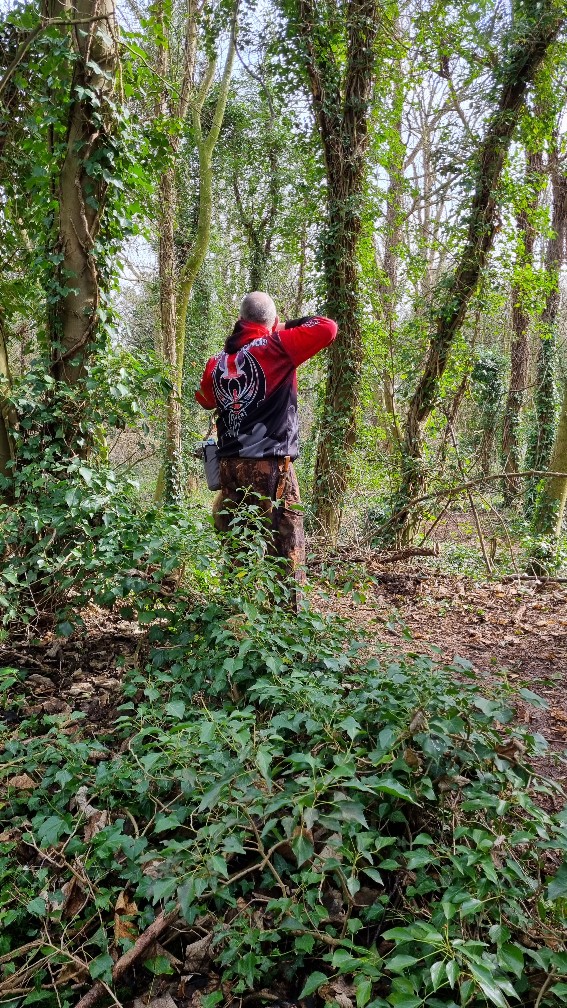
There were some downhill shots at very steep angles. Think shooting off a cliff near straight down, the type of shot you don’t often have the opportunity to shoot. This is thanks to the nature of the terrain as I think the site was once a quarry.

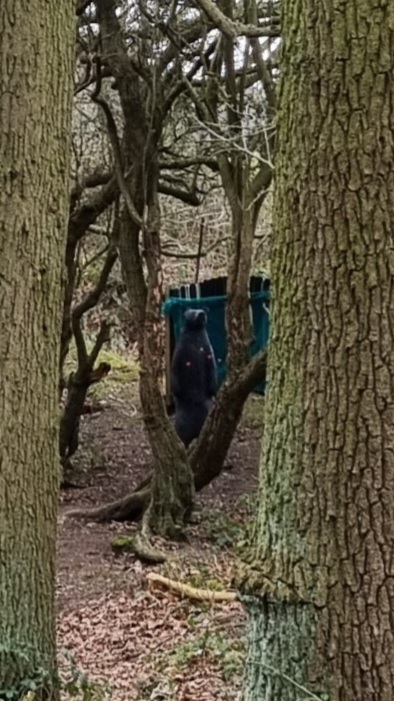
An example of such a shot is the near vertical shot down onto a bedded ram 3D where you shoot all your arrows from the top of the cliff. The marshals collect your arrows, using a rope and pully to hoist your arrows back to you so you can continue along the ridge line to the next shot.

The flip side of this is the number of steps as you climb and descend multiple stairs. It proves to be a good workout for your legs.
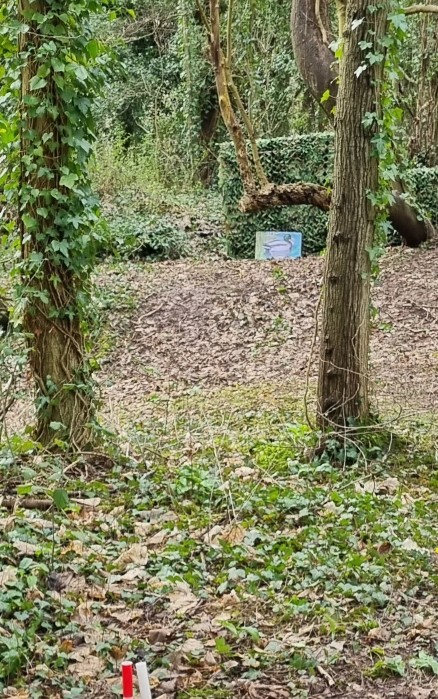
Personally, I feel there were a couple of shots on the course that could have worked with a slightly larger target for the distance, like the 3D beaver and 3D badger, but these were in the minority.


Having not been out shooting at many competitions it was great to have the opportunity to meet up with some readers of this site and listeners to the podcast. If you do see me at a shoot pop over and have a chat.
One thing I liked to see was the map at the central gathering point, showing the woodland and the locations of the targets. It’s good for archers to have a rough orientation of the wood but I am sure it would prove invaluable to any emergency services who might be called in an incident.
Personal performance
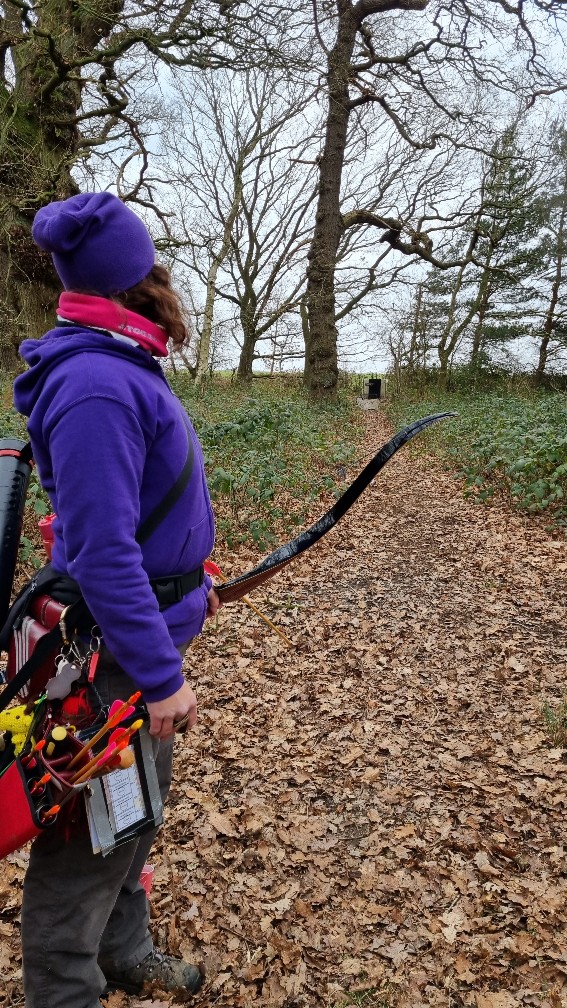
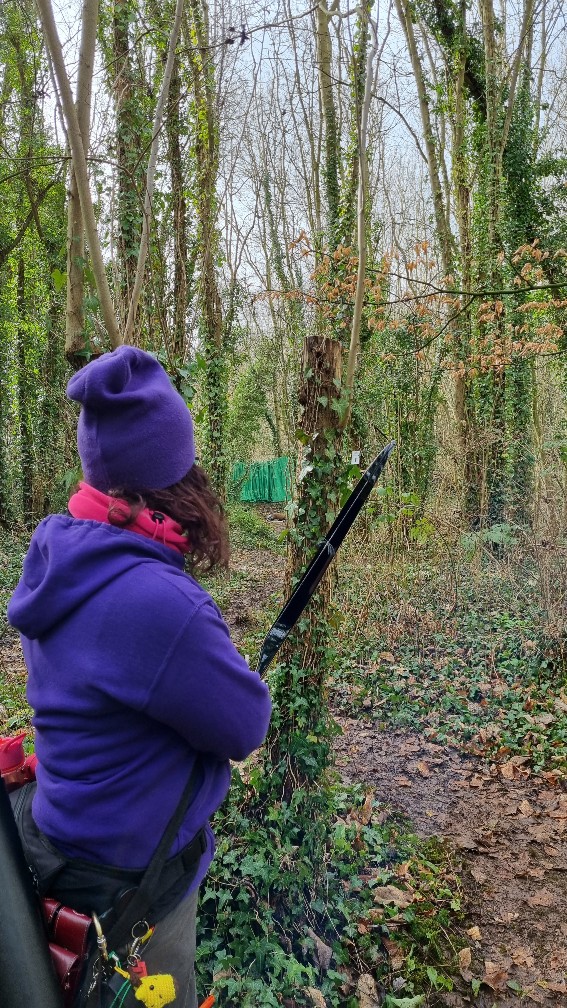
I decided to shoot the 38lb recurve in hunting tackle class (that is a non compound bow, with wooden arrows, feather fletchings and no sights). I ended up not shooting the full course but I did feel fatigued. The upside was I managed to shoot it with some degree of accuracy and consistency. It is still a long way to go but small steps in the right direction.
If you visit Centaura clubs’ Facebook page you will be able to see a gallery of photos from the day. I’ve chosen one for my new profile picture.
Thanks for reading.