
SVYF shoot April 2016 – archers gathering
Normally I would give you a detailed description of how our NFAS shoot went at the weekend. Unfortunately I wasn’t able to be there for the entire day due to being called by the police to tell us we’d been broken into.
Those who follow the tumblr blog associated with off the arrow shelf will have seen some photos of the damage. Fortunately it was our garden shed which had been smashed into and ransacked and not our house.
Sadly this is the second time in 6 months and we think it’s probably the same thieves returning. We weren’t the only victims as it appears they worked along the backs of people’s gardens. So in total we’ve lost approximately £600 worth of tools and a couple of hundred pounds in damages over the two incidents. Since excess on our insurance is £200 each time we are at a considerable loss.
There’s also the feeling of anger, frustration and fear of leaving the property and wondering what we might find on our return.

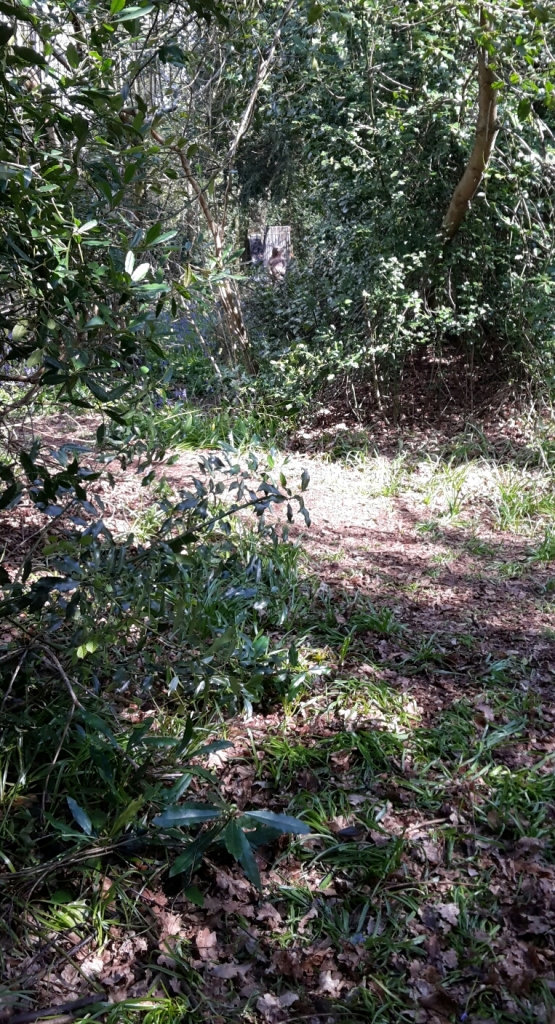
Bluebells in the wood
As for the shoot it seemed to go well with a mix of 3d and paper faces making up the 36 targets.
I don’t think there were any hold ups on the day but as I said I wasn’t there for much of it. I think there were around 170 archers with a dozen no shows, which was a real shame as I know we had a waiting list.

Cobra 3D target
We were lucky with the weather, as it stayed dry and sunny for most of the day.
3D standing bear
It was good to have the positive feedback as a large portion of the 36 target course had been set by archers new to setting up courses and it was good for them to gain both the experience and feedback.

3D bear target
Well done Marcus, Jamie and Andy for your first foray into course laying.
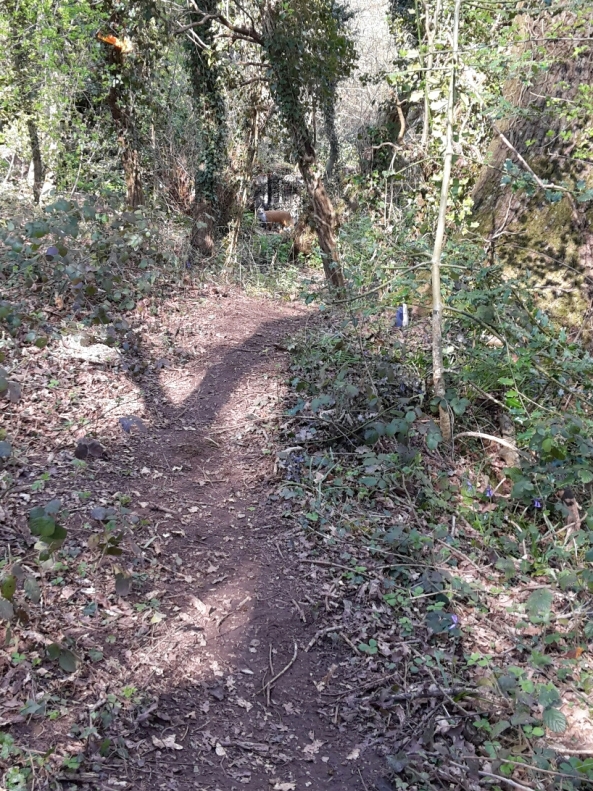
3D fox – this was set by Marcus and Jamie
It was nice to chat with a few archers and to catch up with Patrick a coach who qualified at the same time as me. We had a chat about our experiences of coaching since qualifying along with developments we’d seen etc. Good to see you mate and glad you made the trip.
Anyway thanks for reading this very short write up.


