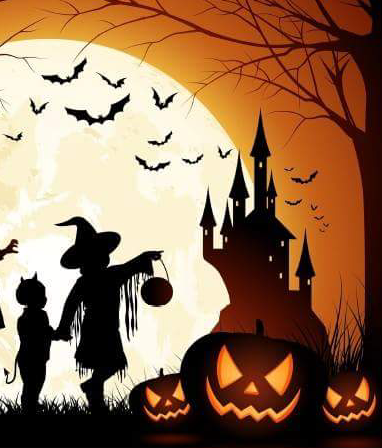
Halloween shoot
Anyway on to the shoot report. Some of you might remember that last year Severn Valley ran a charity night shoot and this year Nigel and crew set about doing another.
This year we had just over 50 people for the shoot, made up of members and guests arriving in the early evening as dusk began.

SVYF welcome all, just don’t feed the zombies
Even the weather helped to set the mood, with mist just forming as people started to arrive. The weather was unseasonably warm and completely dry, which was as good as could be hoped for for this time of year.
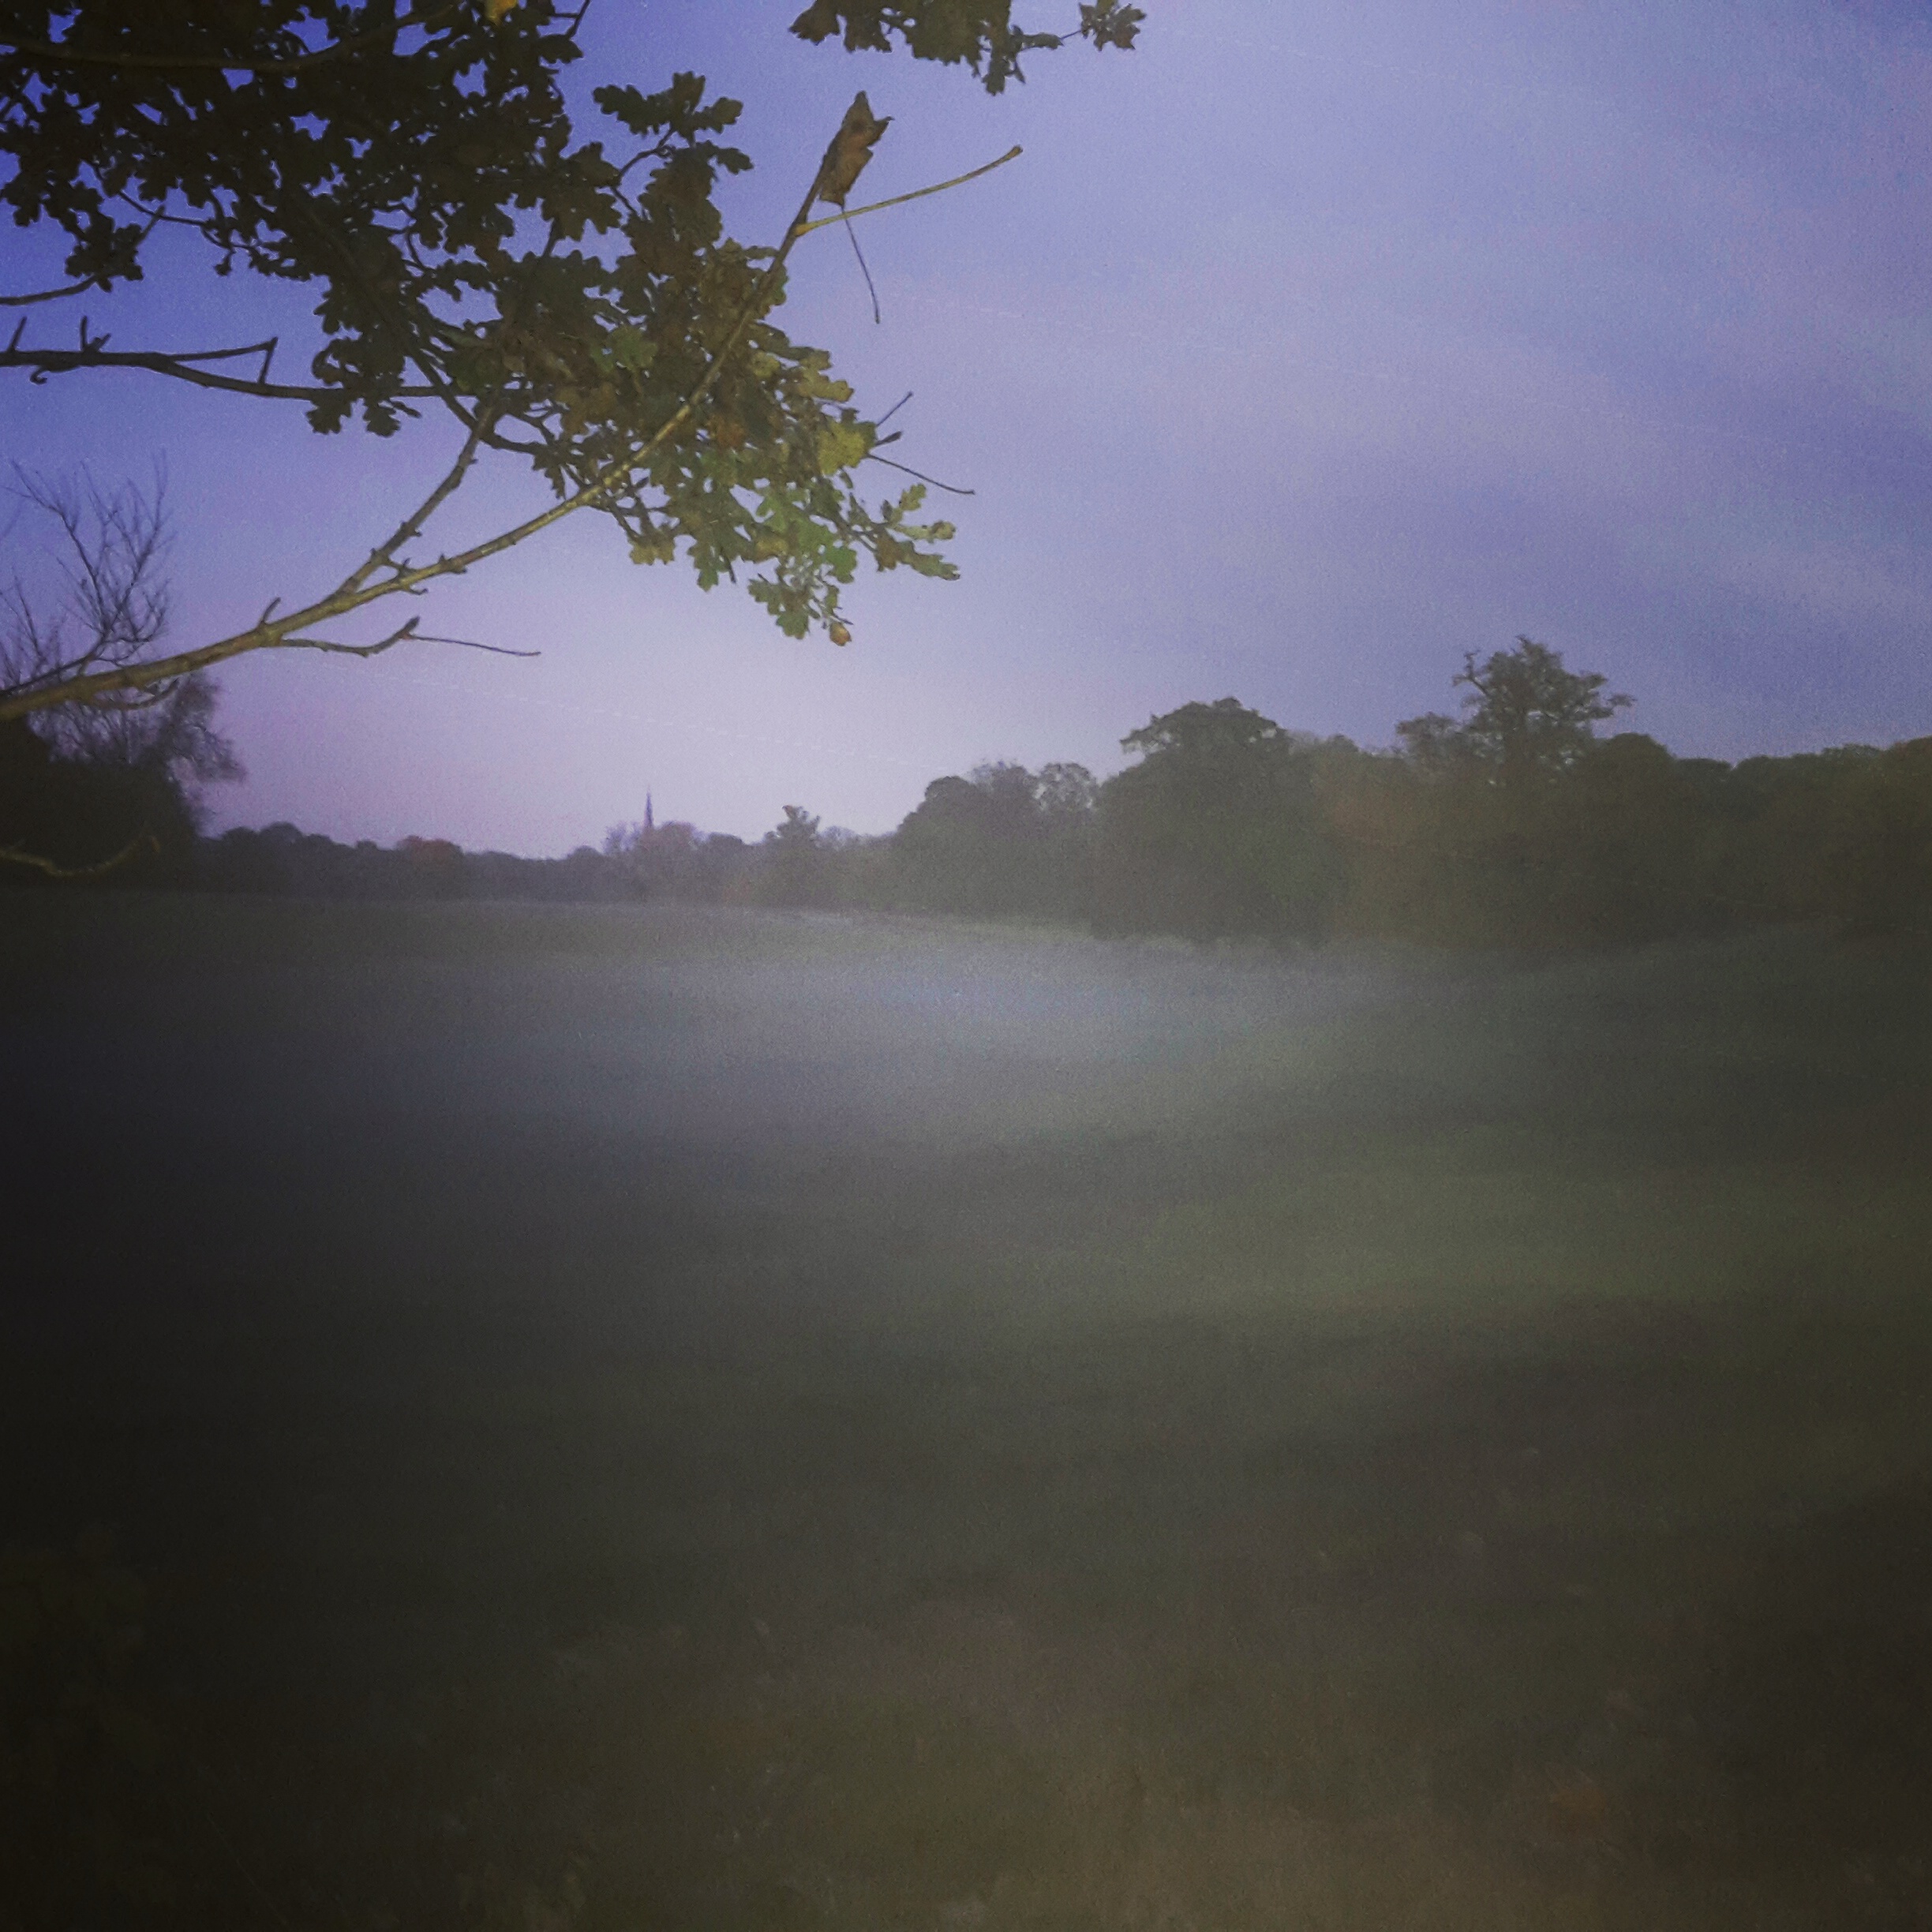
Mist appearing as dusk falls
One thing about a night shoot is how very different the woodland is at night and you can hear the owls not being too happy with us being in their woodland.
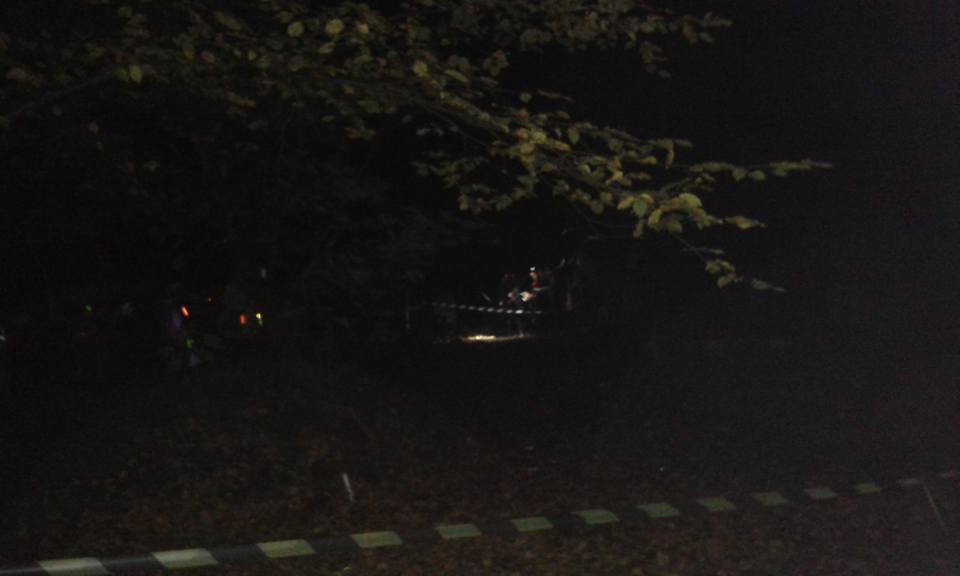
woods at night
As was the case last year it would be a simple 20 target course with custom faces and scoring from one arrow getting you 40 points to negative scores if you were unlucky in picking the wrong target. The flock of bats (or should that be colony) was one where you picked the target and shot two arrows. Problem was you only found out what you scored when you got to the target.
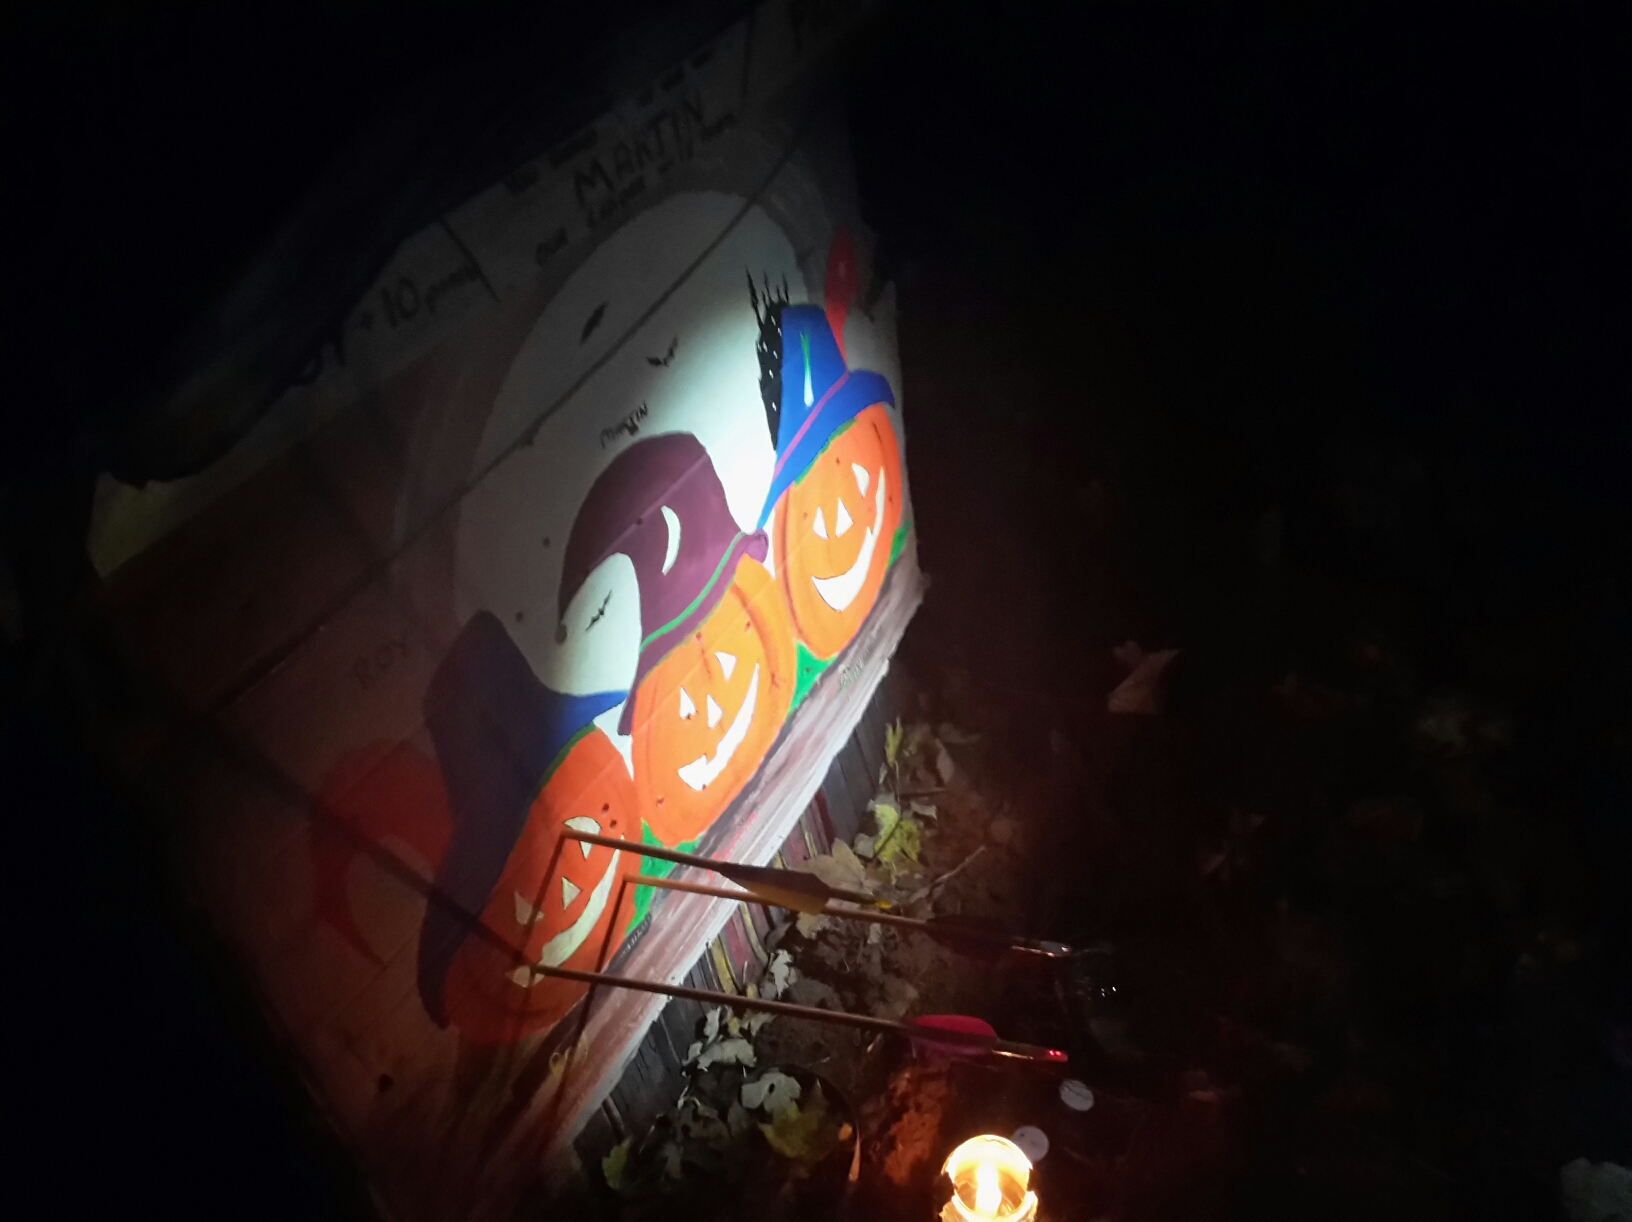
Themed pumpkin target
The targets themselves were illuminated with candles buried in the ground just in front of the bosses . (Yes you did have to be careful not to go too low or you ran the risk singeing your arrows.)
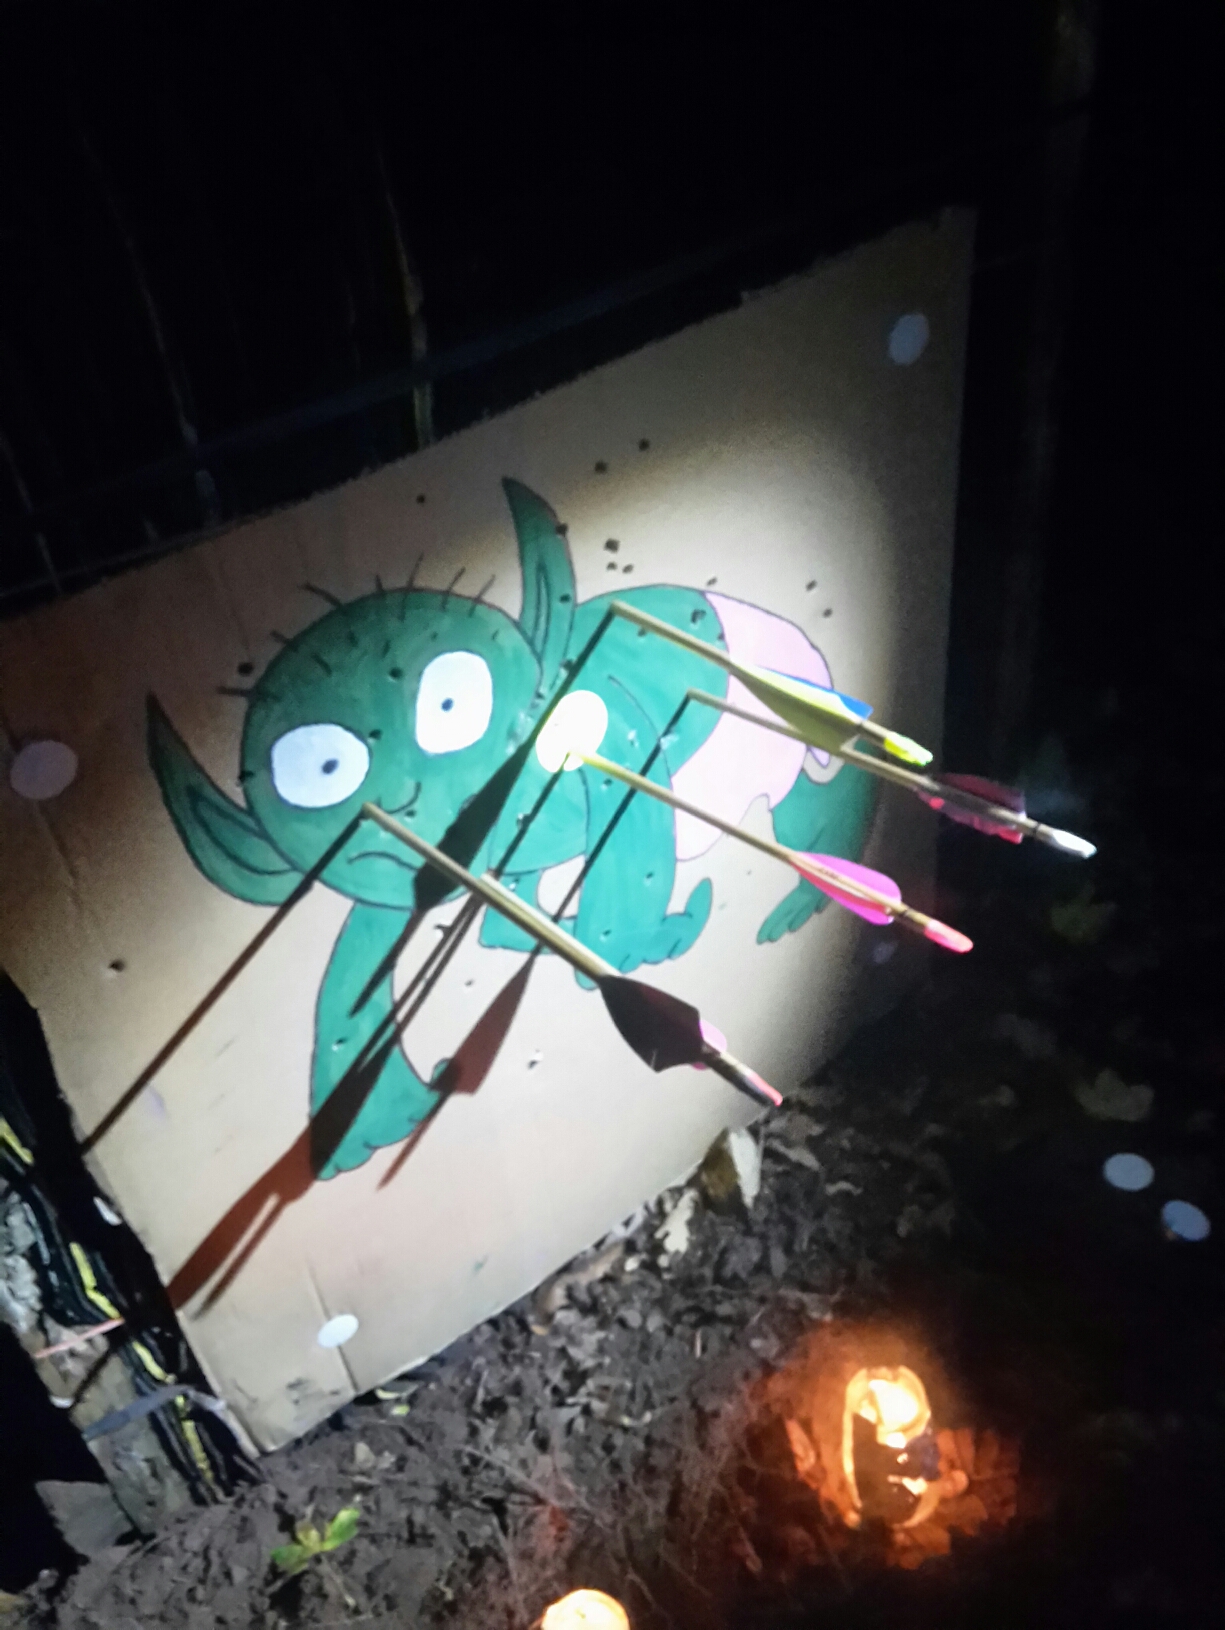
baby ogre target
There was the floating bat distraction too, which Nigel controlled on a length of fishing line and would bob up and down as a distraction. sound effects were also played at some shots or along paths to set the atmosphere.
One target that worked well was the skull. Normally you have to hit a target to score, with the skull you had to shoot through the eyes or nose and had one arrow.
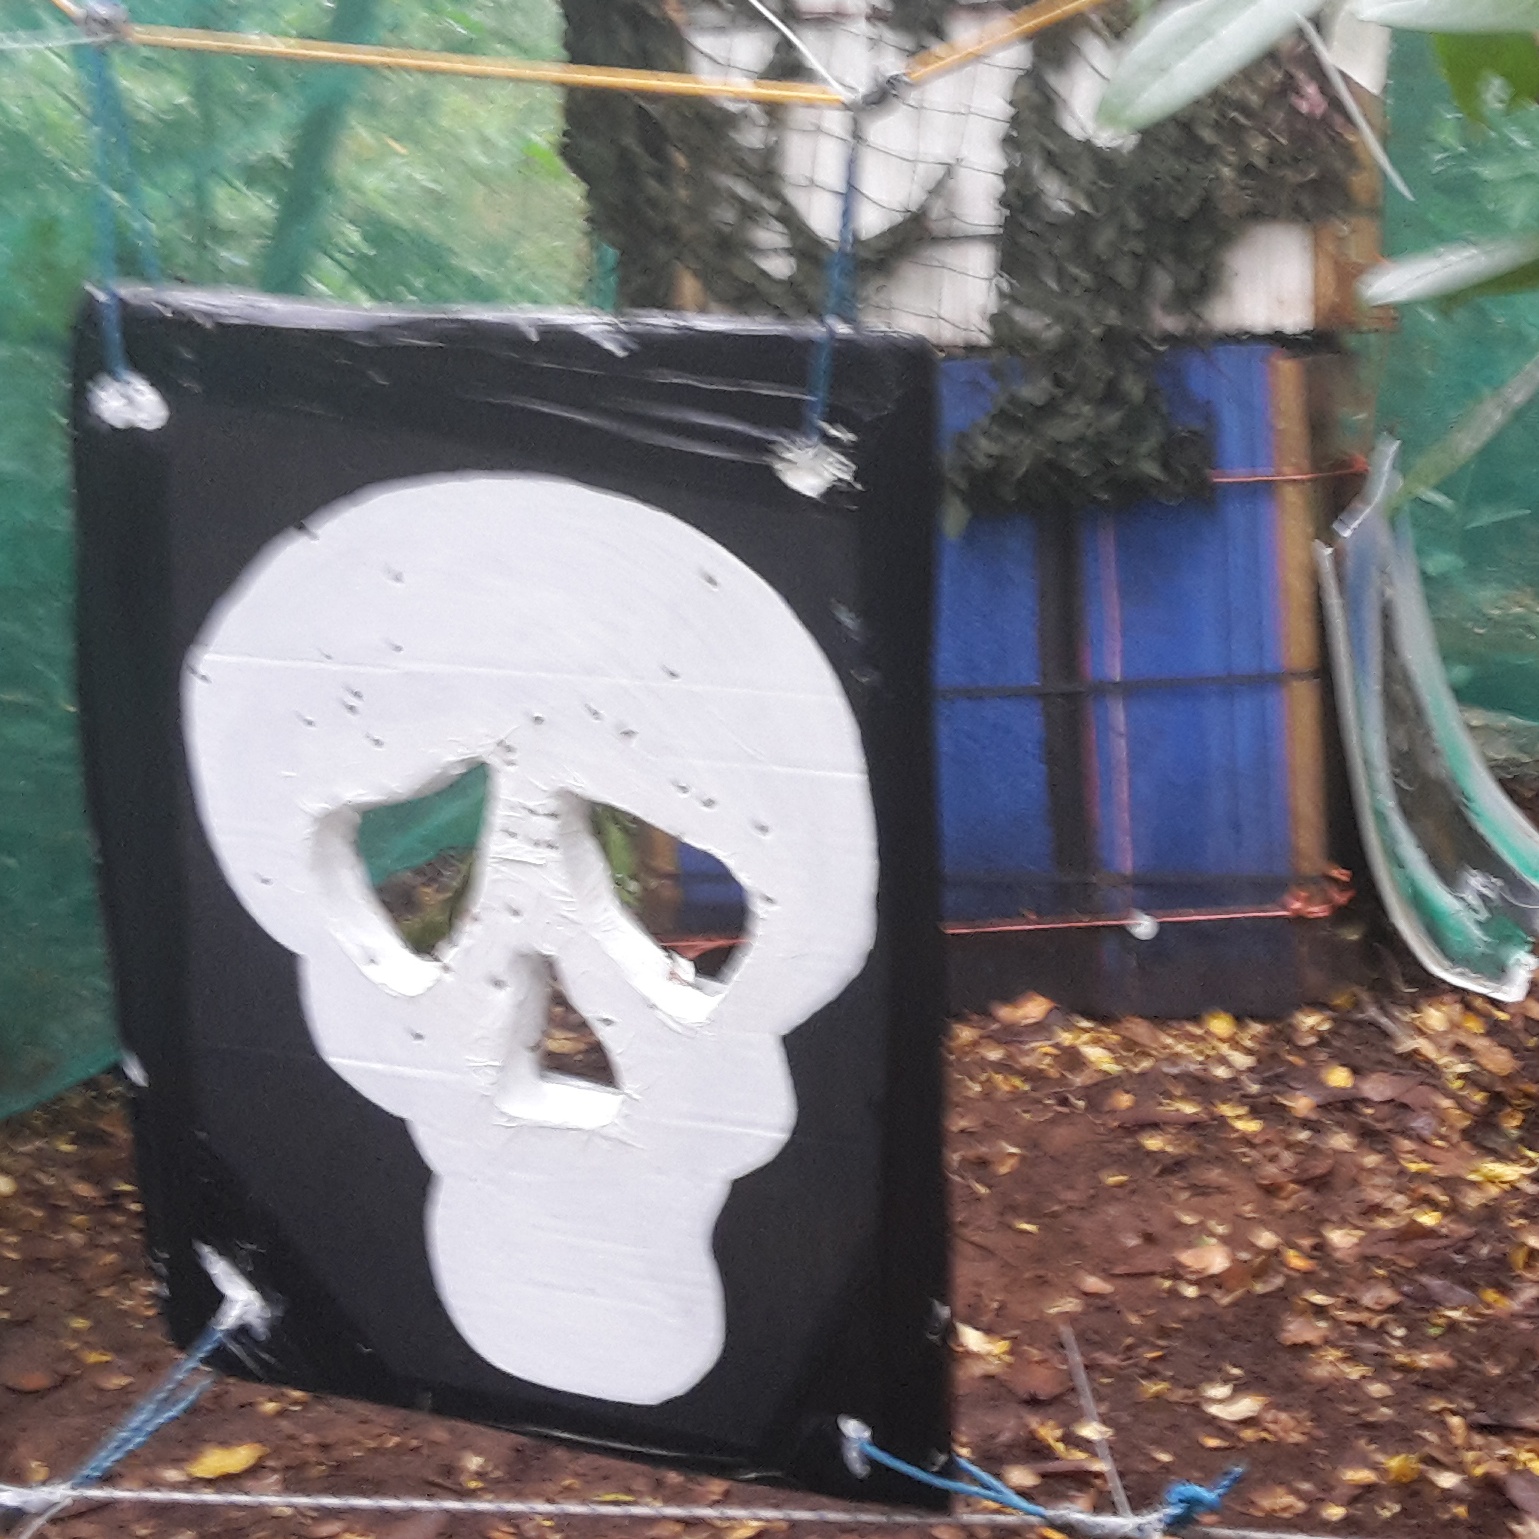
skull shot in day light
Here is what it looked like in day light from the peg. At night it looked like it was floating in air.

Skull target from the peg in day light
There weren’t any very long targets, the longest target was about 30 yards
Once the shoot was over there was hot food of chilli or a variety of soups along with mountains of cake to warm you up for the journey home. The atmosphere was great with lots of laughter and joking around. Congrats to Nadeem on shooting so well in longbow. I’m sure you will remind Rich of your sucess, but stop picking on Cliff 🙂
I think we raised just under £300 with the plan being to donate the surplus once the costs are covered to local charity.
Thanks for reading