Shoot Report – Centaura Bowmen – September 2015

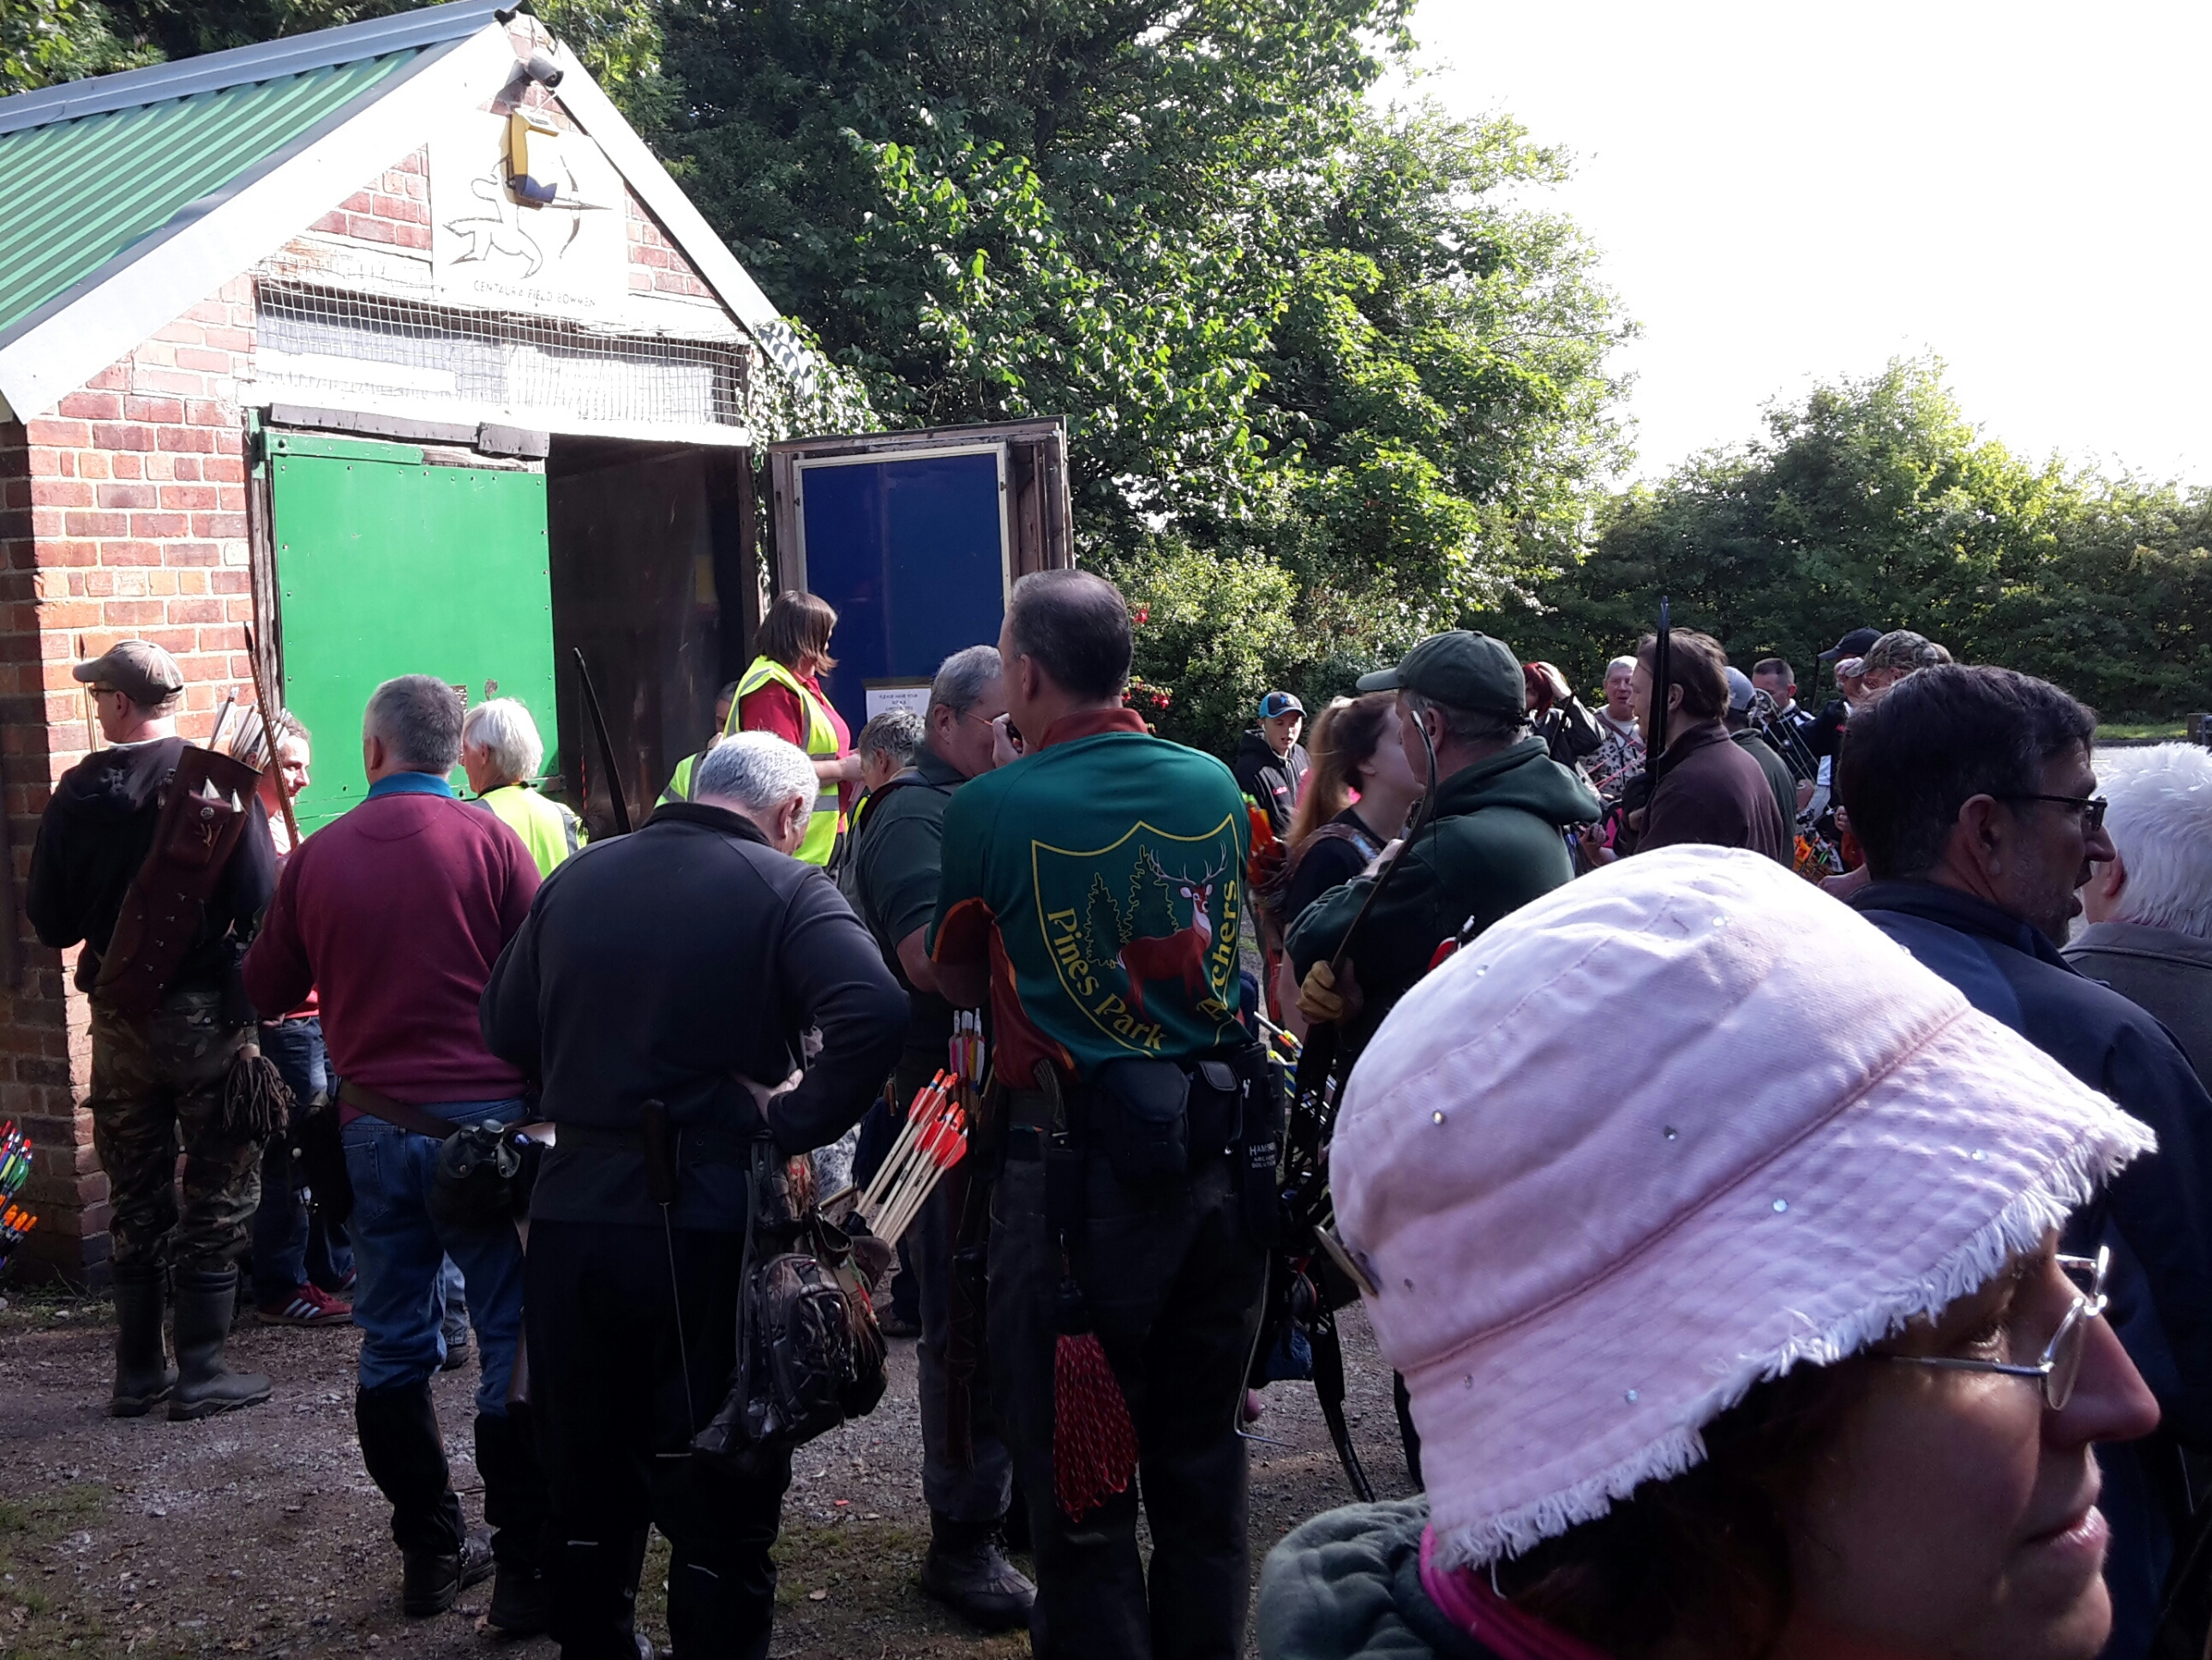
Archers gathering

Archers gathering for the shoot at Centaura Bowmen

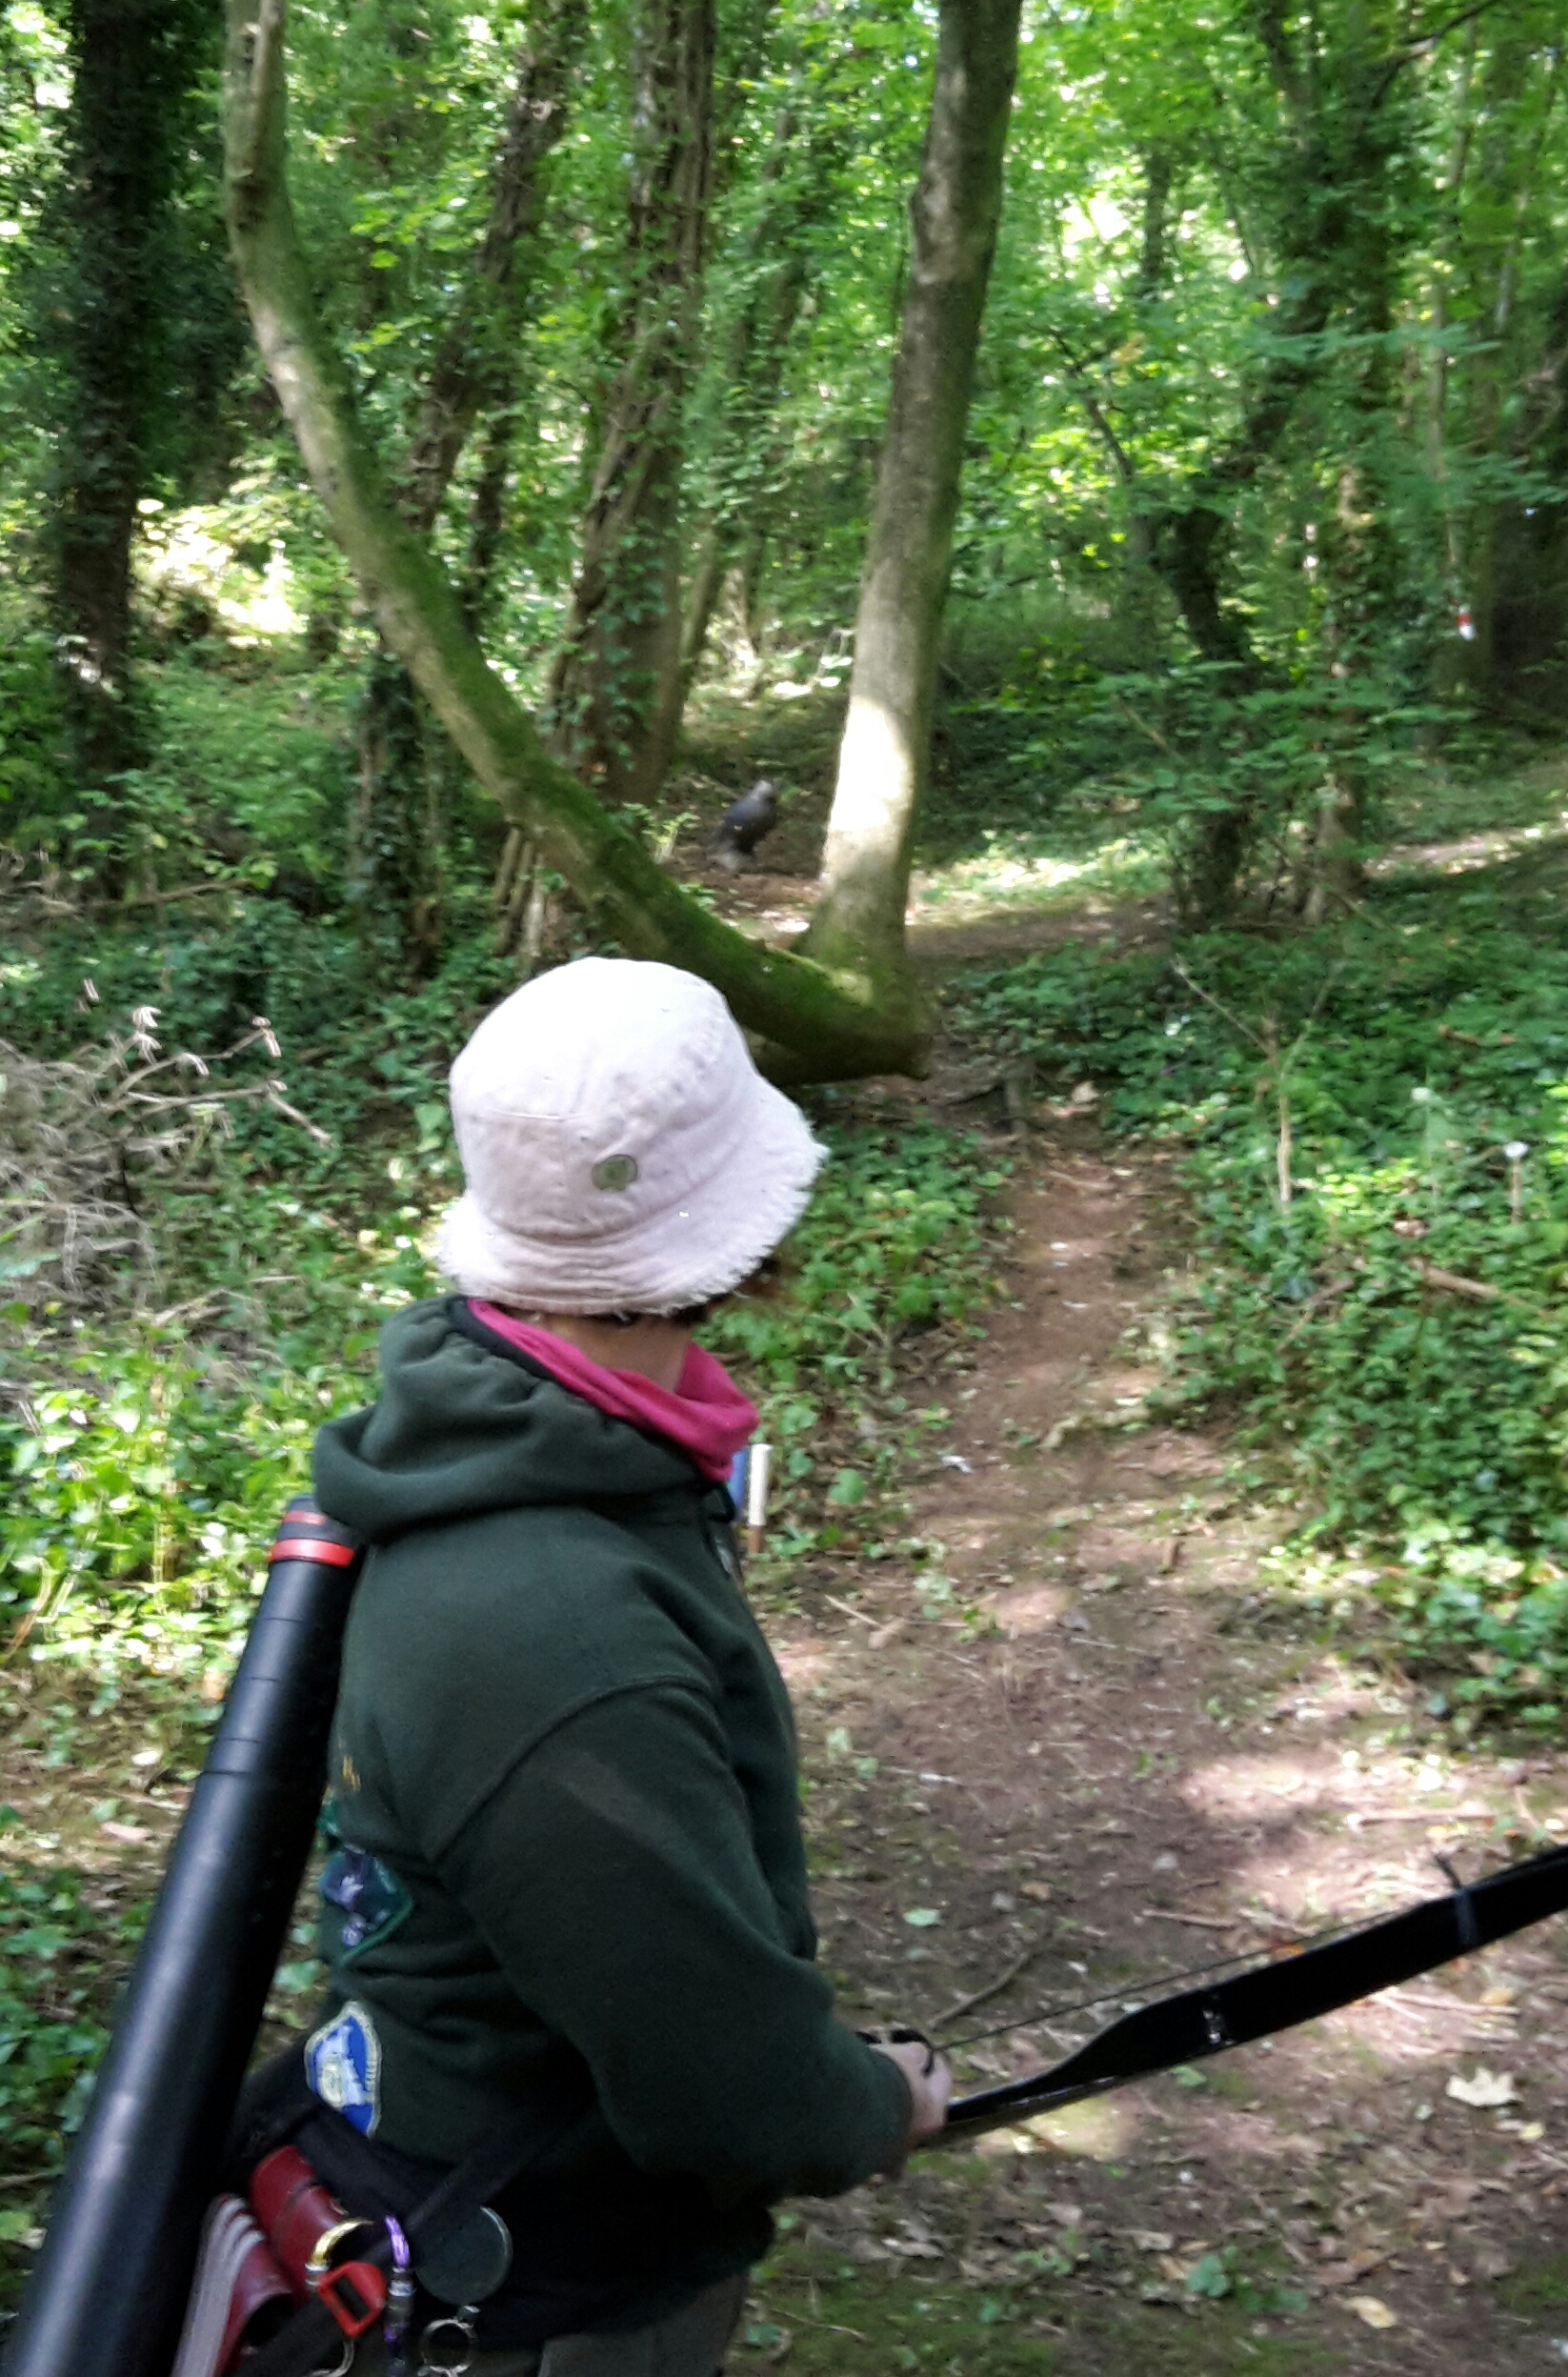
Sorry guys I’ve been really slow in getting this written up. A fewSunday mornings ago we had  a chilly start, the temperature gauge in the car claiming 7 degrees Celsius. Autumn looks to be on its way. At least it was sunny and dry as we packed the car and headed to the Centaura shoot grounds outside Derby.
The nice thing with heading to Centaura is we have the opportunity to run into friends we haven’t seen since moving from the area. It was great to see Jon C, Jim, Chris and others.
The shoot was well attended, resulting in a very full car park by the time we arrived shortly after nine, with most pegs having 4 archers on them. In interested you can check out a past shoot report here.
We would start on peg one a few yards from the main building, so a very short walk out, the only downside being at lunch break we would be at the furthest part of the wood.
Target 1 - paper face ermin

Target 1 – paper face ermin

The course like many others was a mix of 3d and paper faces, 36 targets in total.
We were joined by Trevor, Catherine and Jacob from Hanson, though only Trevor and Jacob were shooting. (Longbow and hunting tackle respectively )
The now infamous polo shot which Centaura are becoming known for returned on target 36 , this time with a 3D owl target. There was the long shot into the quarry this time with a 3D boar, though it’s hard to make out in the photo.
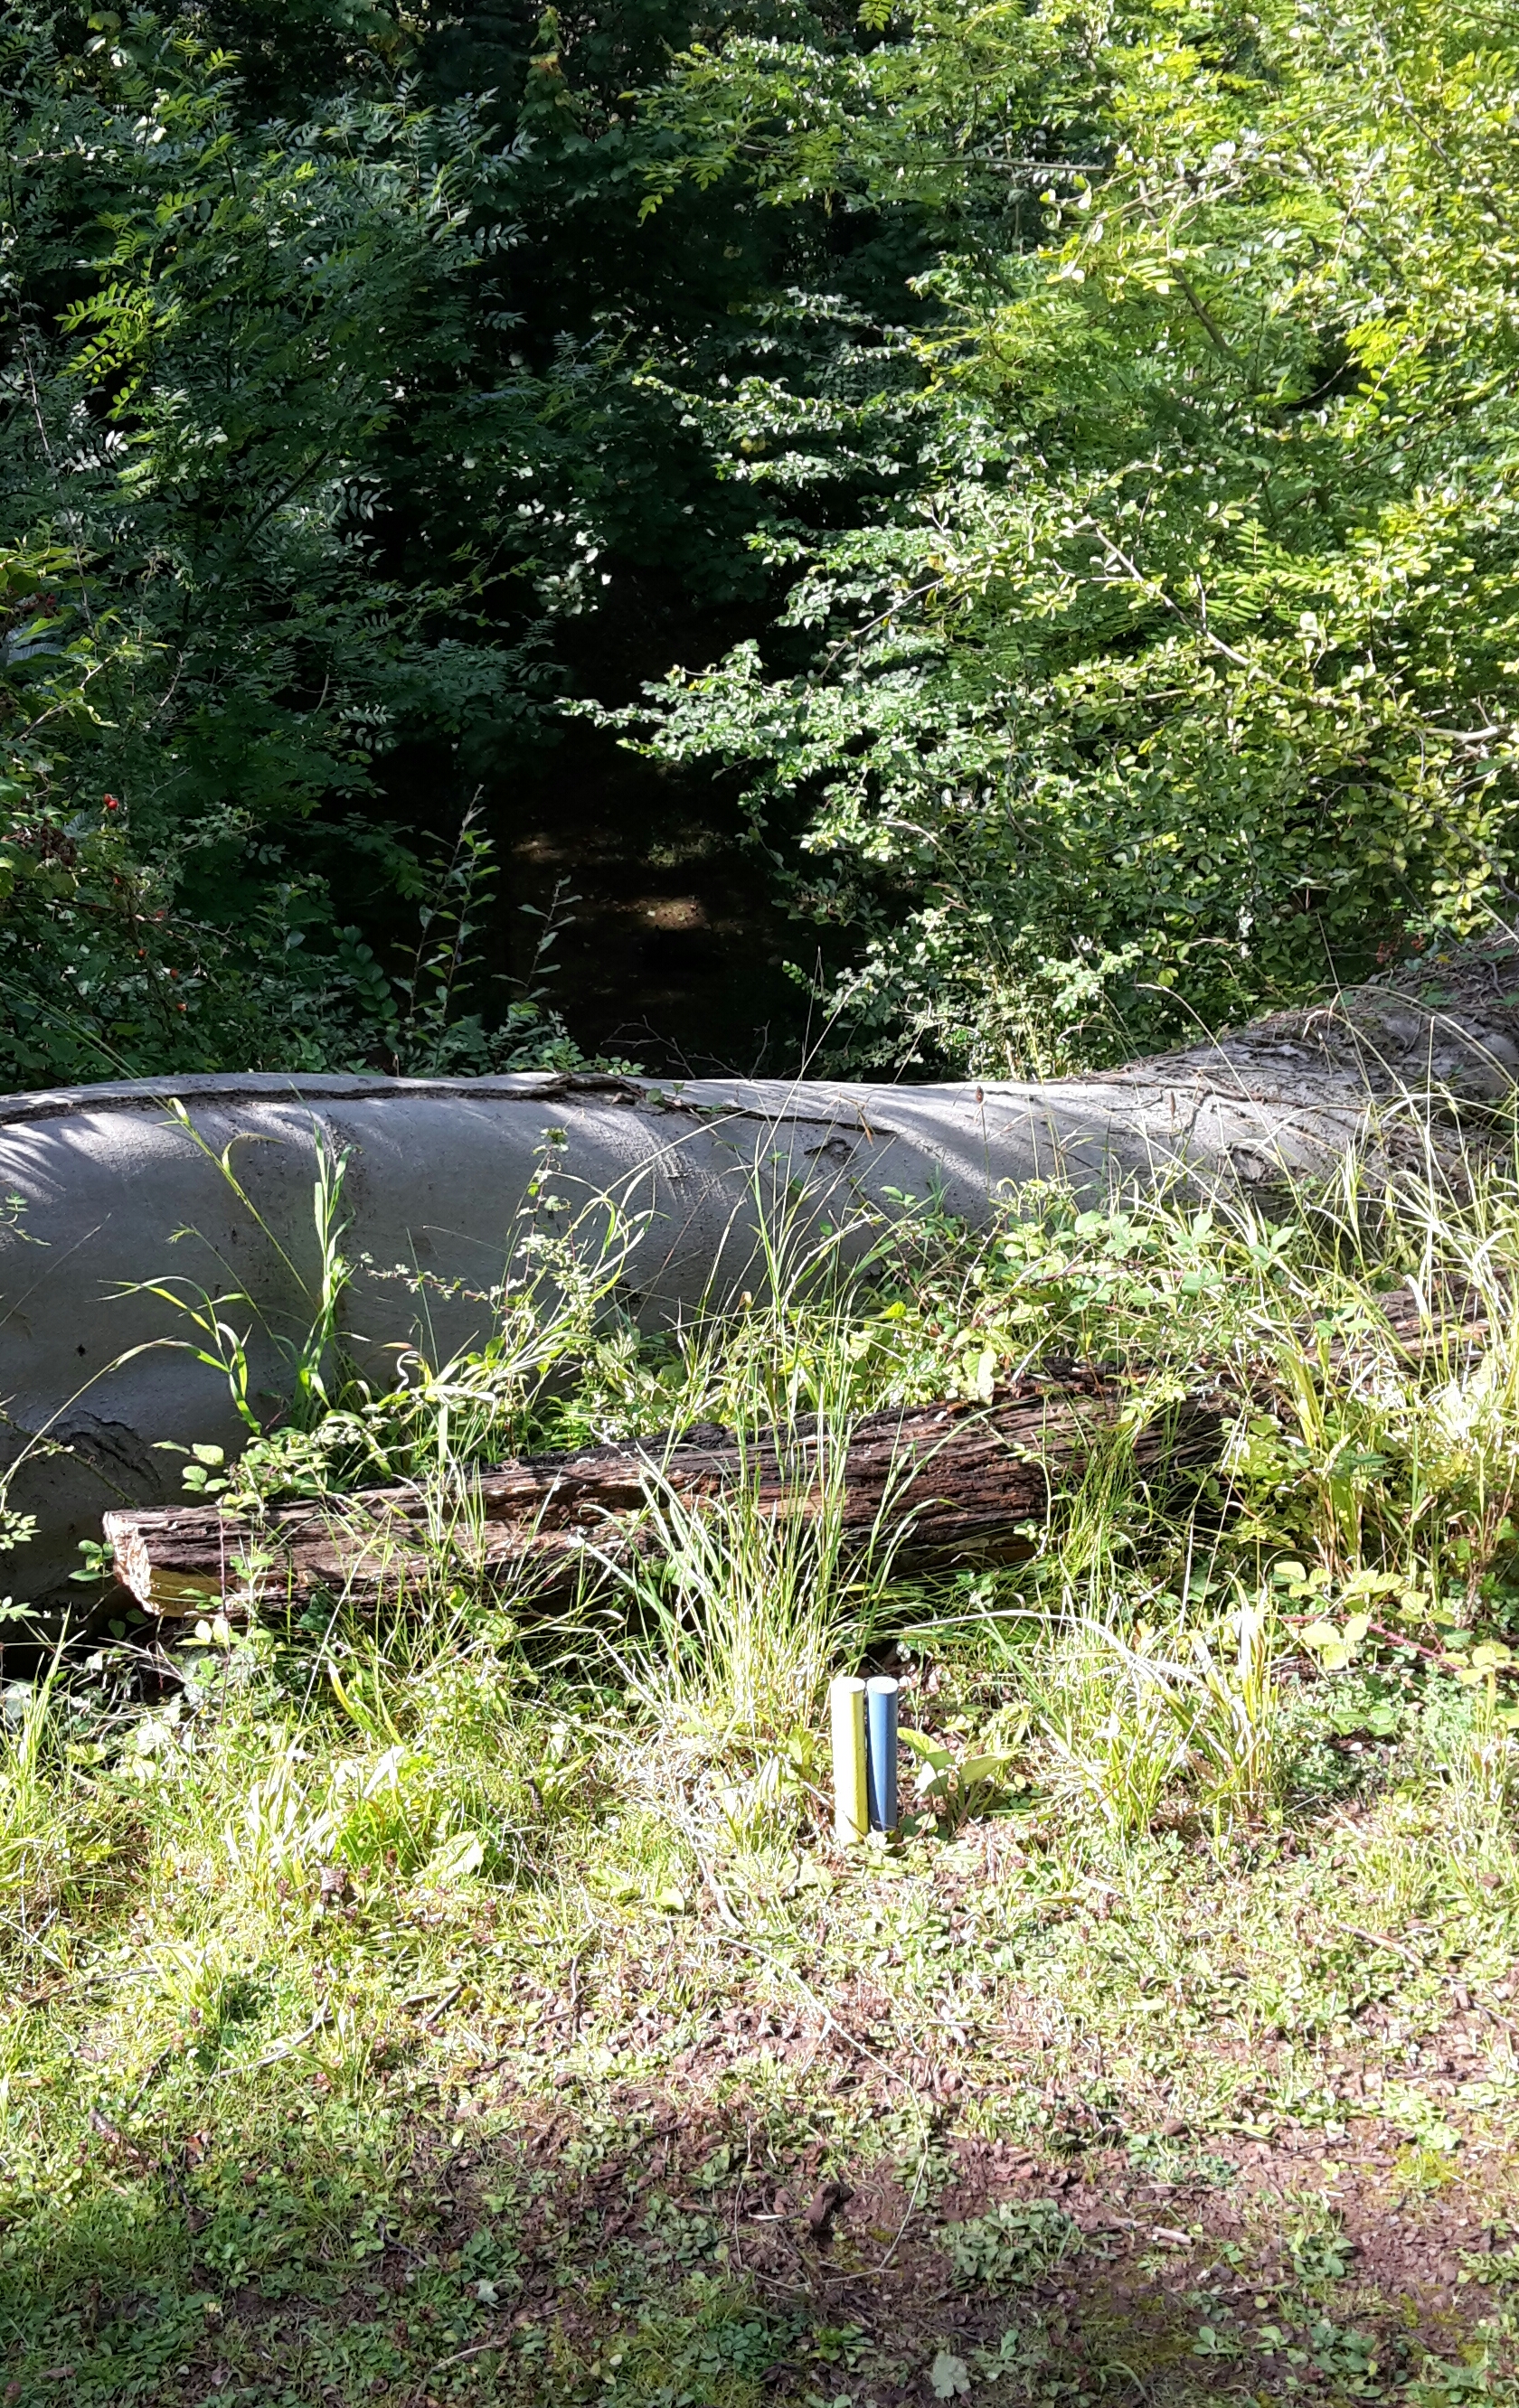
wpid-2015-09-10-08.20.46.jpg.jpeg
Our first shot would be the ermin in a ditch, not a confidence building shot to start with.
Target 8 - a downhill bedded 3D deer

Target 8 – a downhill bedded 3D deer

Another traditional shot they put out is a very short one, 3 feet away. You can see Jacob shooting it.
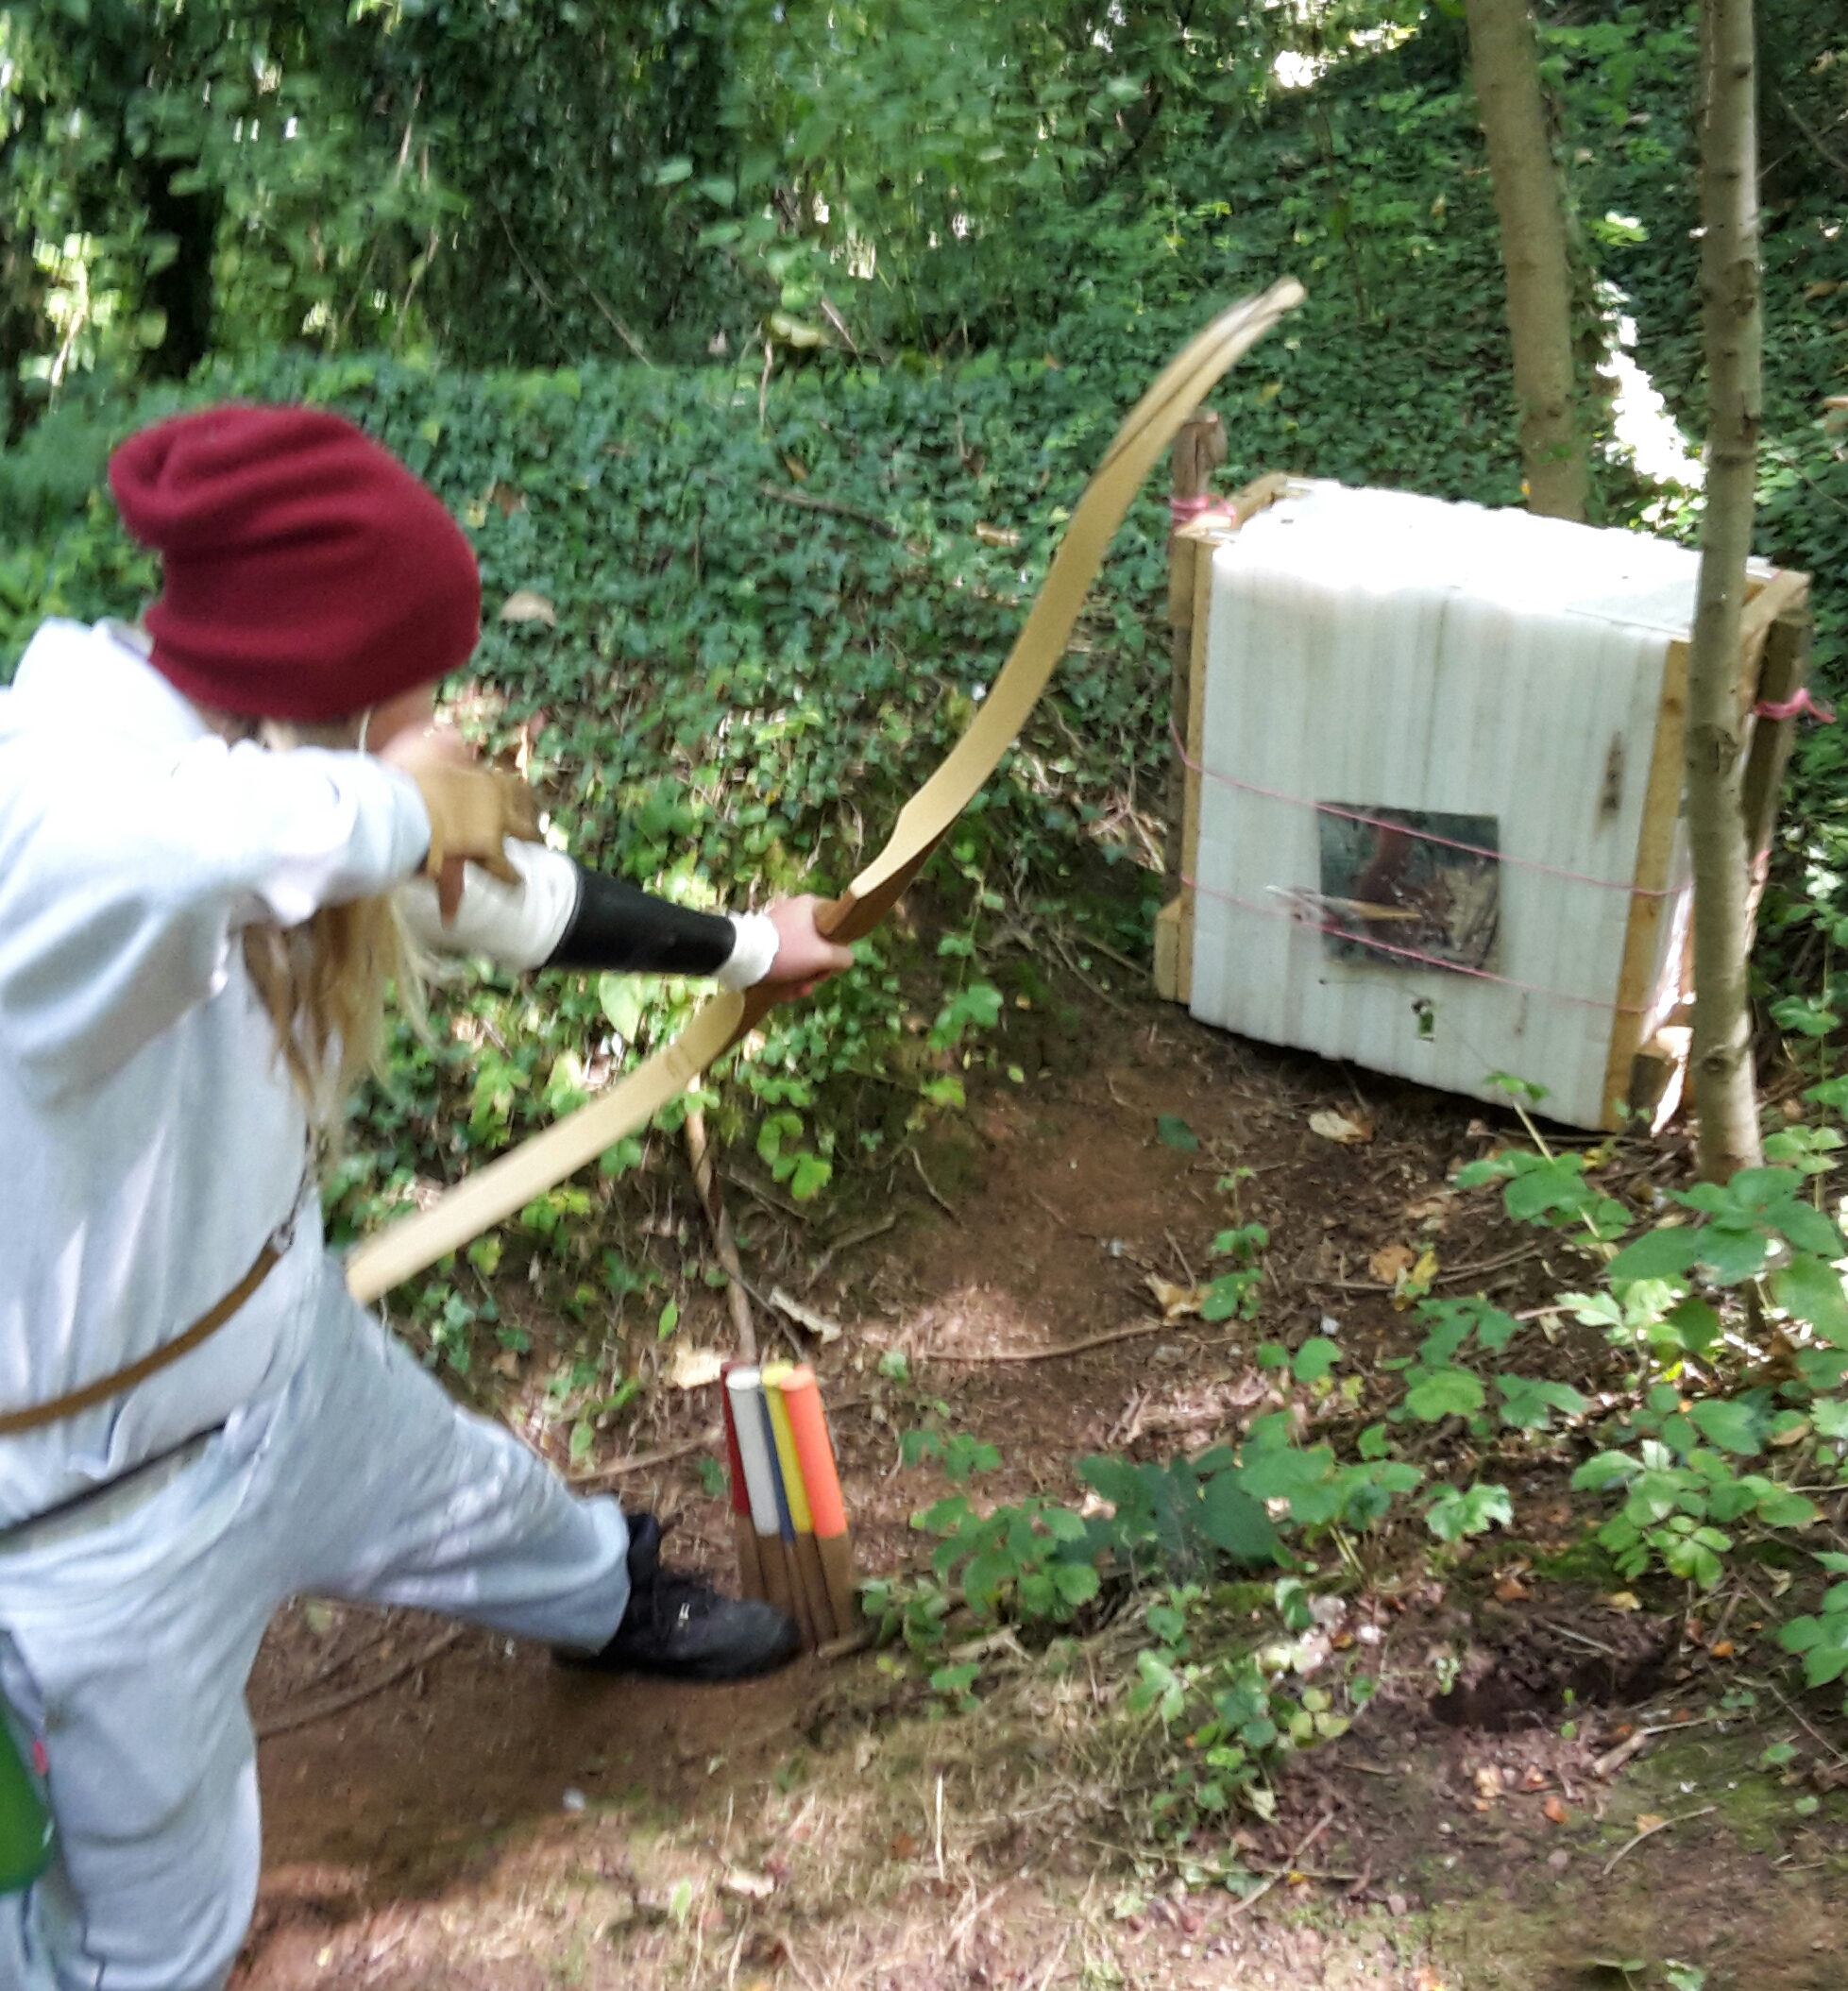
Very close shot
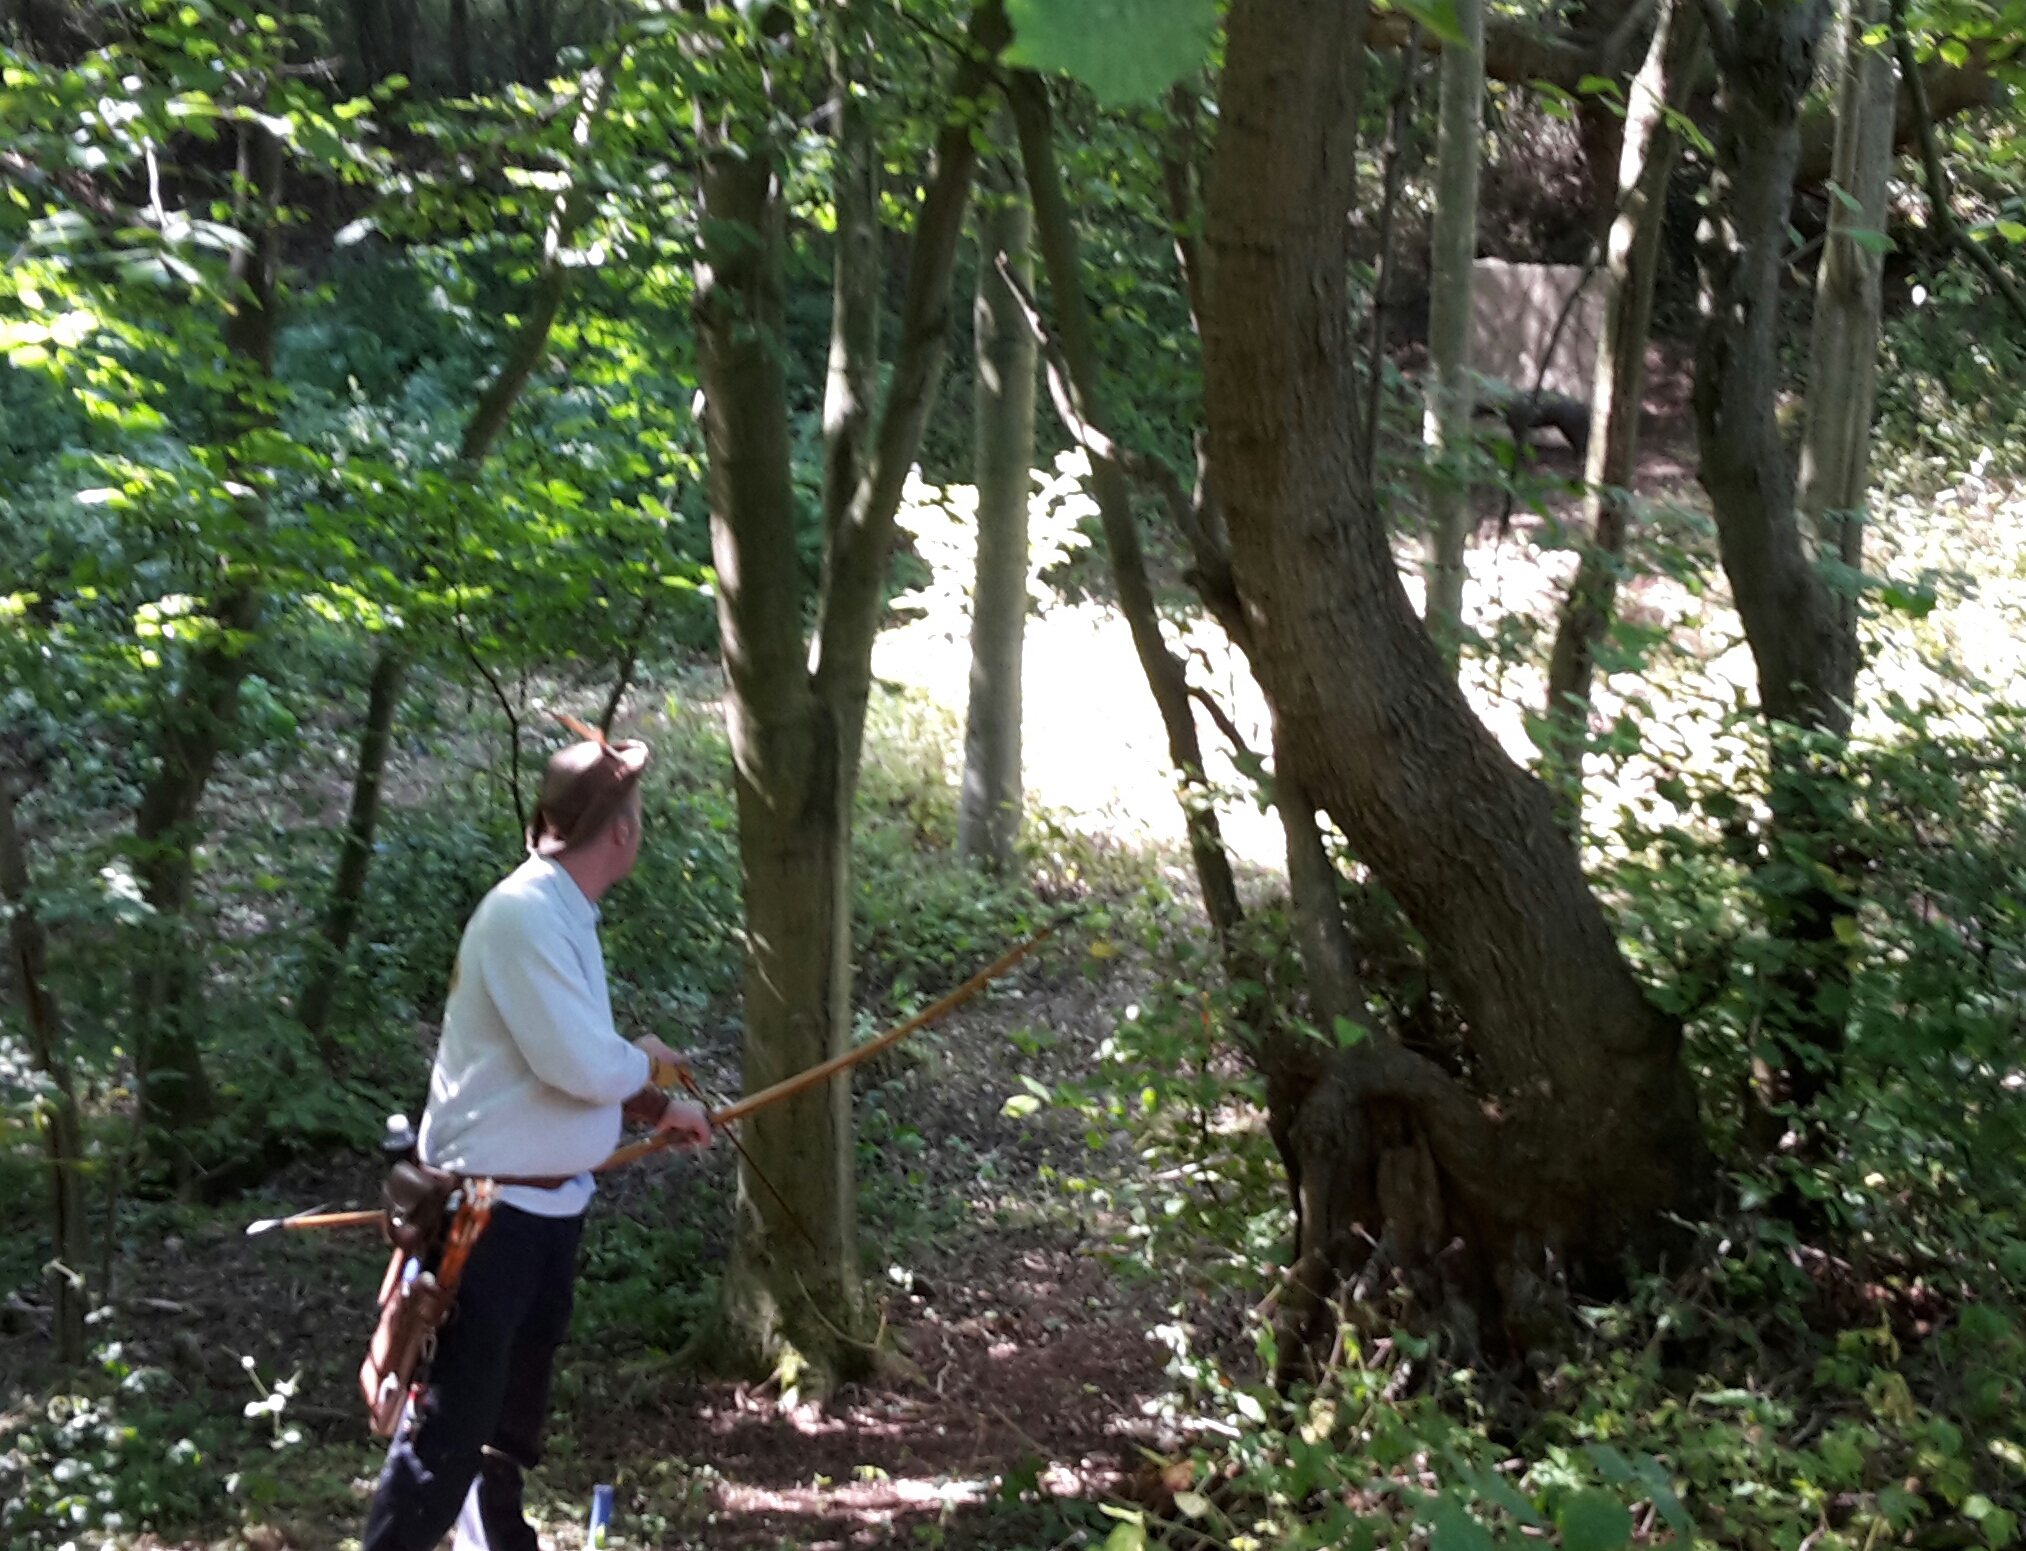
Very close shot

This was the only one I didn’t like, simply due to the shortness in distance. I think I  would have put it back further and this would be safer, say to about 6 feet as very low poundage junior bows could see the arrow bounce back. I don’t believe there was any problems on the day,with the shoot flowing okay, all the time  with Trevor regaling us with archery stories and believe me he has a few.
Trevor shooting a 3D

Trevor shooting a 3D

Sharon shooting 3D owl between trees

Sharon shooting 3D owl between trees

Lunch break was between 12:30 and 1:30 giving archers ample time to get off the course grab some food and then head back out. Though I think Centaura need to invest in some louder air horns to signal start and lunch breaks.
Didn’t shoot as well in the afternoon and wonder if this was due to it being a  bit slower.

Paper face Racoon in a dip

Paper face Racoon in a dip which is a lot harder than it looks
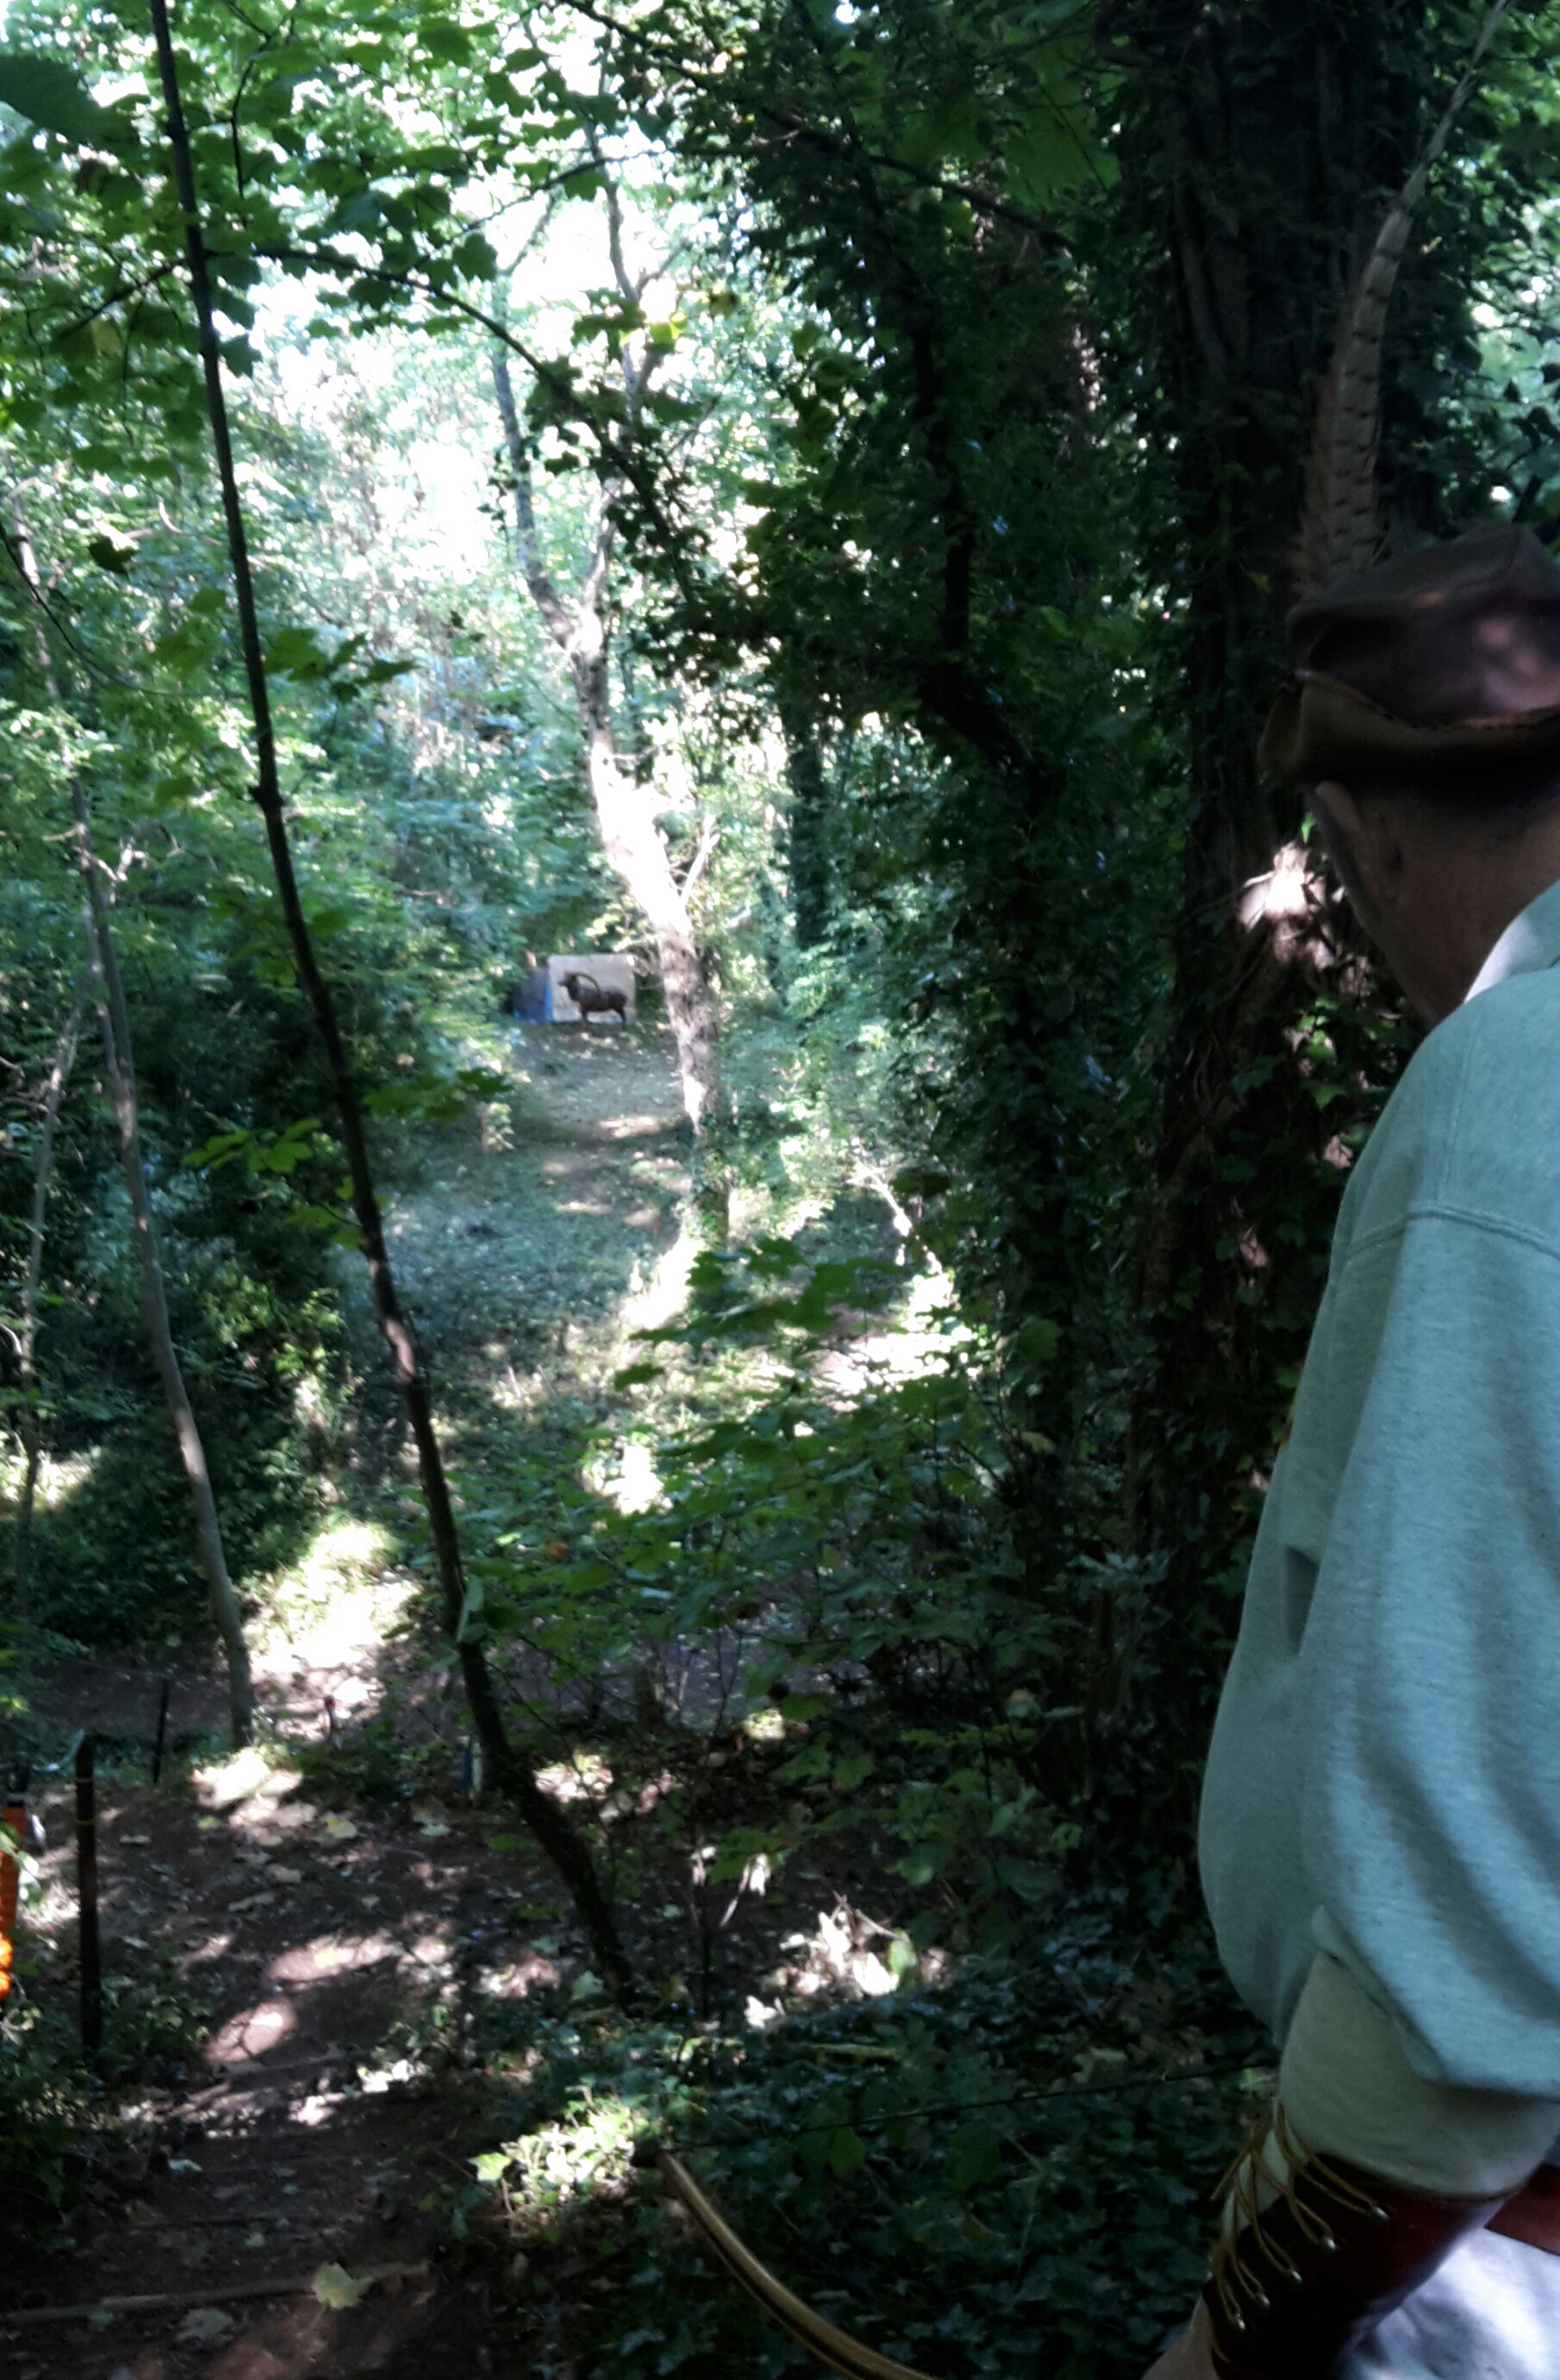
Overall I think it was was a good shoot with some nicely placed shots like the 3d ram from the top of the hillside.
Long ram off the top of the hillside

Long ram 3D off the top of the hillside

Sharon came away with first in ladies hunting tackle. I managed a placing  in gents afb. Though I didn’t feel I shot very well and still have a long way to go with the flatbow.
Thanks for reading.

Removing broken wood tip from inside pile

Thought those of you, who like me shoot wooden arrows and sometimes have the misfortune to break the pile off might find this a useful tip. No pun intended.

Quite often I find my arrows break directly behind the pile, leaving a small piece of wood inside the pile which can be difficult to remove especially if you want to reuse the pile.
I know some people drill the wood out and others simply throw away the pile.
Well I thought I would show how I remove the broken piece of wood.

Tools required

Tools required

The tools required are
1 x long wood screw 2 1/2″ is ideal (cross head)
1 x screwdriver
1 x gas stove or gas ring
1-2 x pliers
1 x small pot or basin of water
Step 1
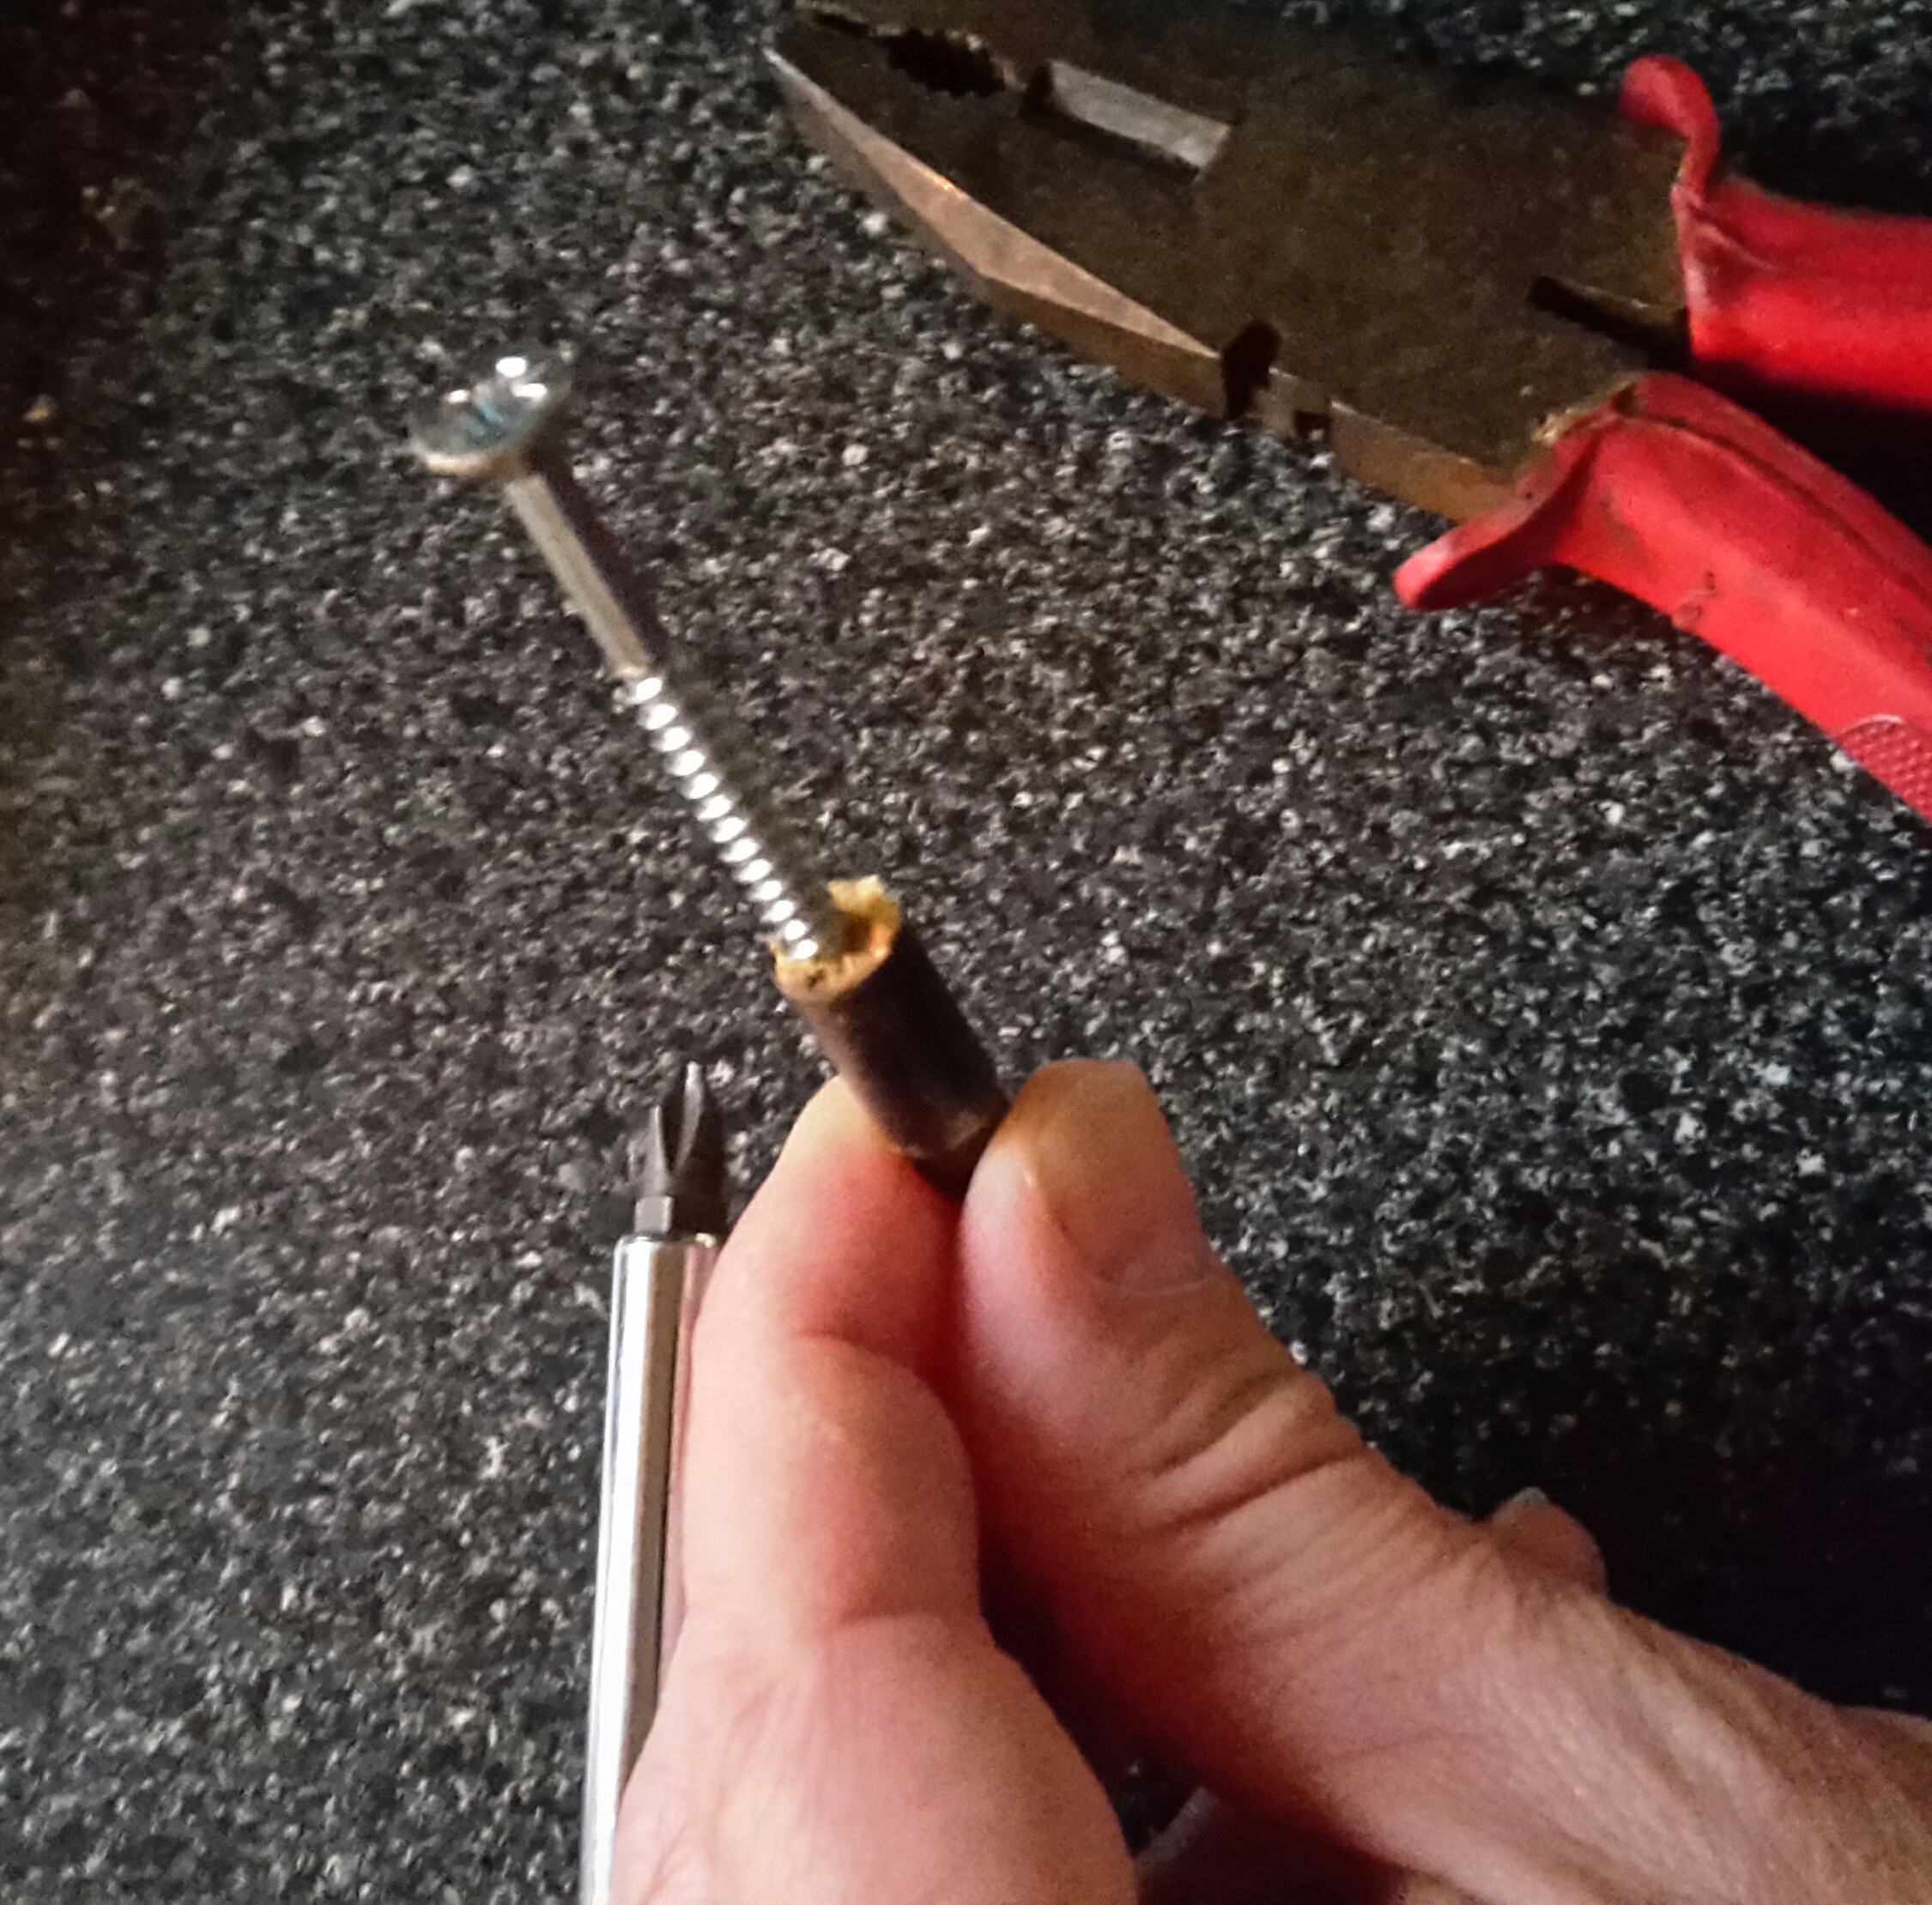
First stage is to carefully take the screw and screw it into the wood still in the pile.
Screw into wood

Screw into wood

Step 2 
Once the screw is secured in the wood, you need to heat the pile up as this breaks down the glue securing the wood to the pile.
Holding it by the screw you can heat the pile using the gas ring. It should only take 10-20 seconds.
Word of warning here. 
I usually use screw on piles, but if you have taper fit or parrell fit you can have the piles pop off as the glue and gases in the glue expand under the heat.
The reason I mention this is on one occasion when removing a pile I left it in the ring to heat up too long as I worked on another. I heard a loud pop and saw the pile shoot across the kitchen towards the window and the screw and wood went in another direction. Fortunately no one was  injured and nothing was broken (otherwise I think Sharon might have injured me)
Heating the pile

Heating the pile

The other thing to be careful of is to not let the wood burn as this will not only smoke the kitchen out possibly triggering a smoke detector but also make it harder to remove the wood.
It’s worth doing this in a well ventilated room as the glue can stinks, especially the two part epoxy I use. How long you keep it in the flame will vary depending on the glue. Hot melt, melts quickly whilst some epoxy ones might take 20 seconds. It’s a bit of trial and error here.

Step 3
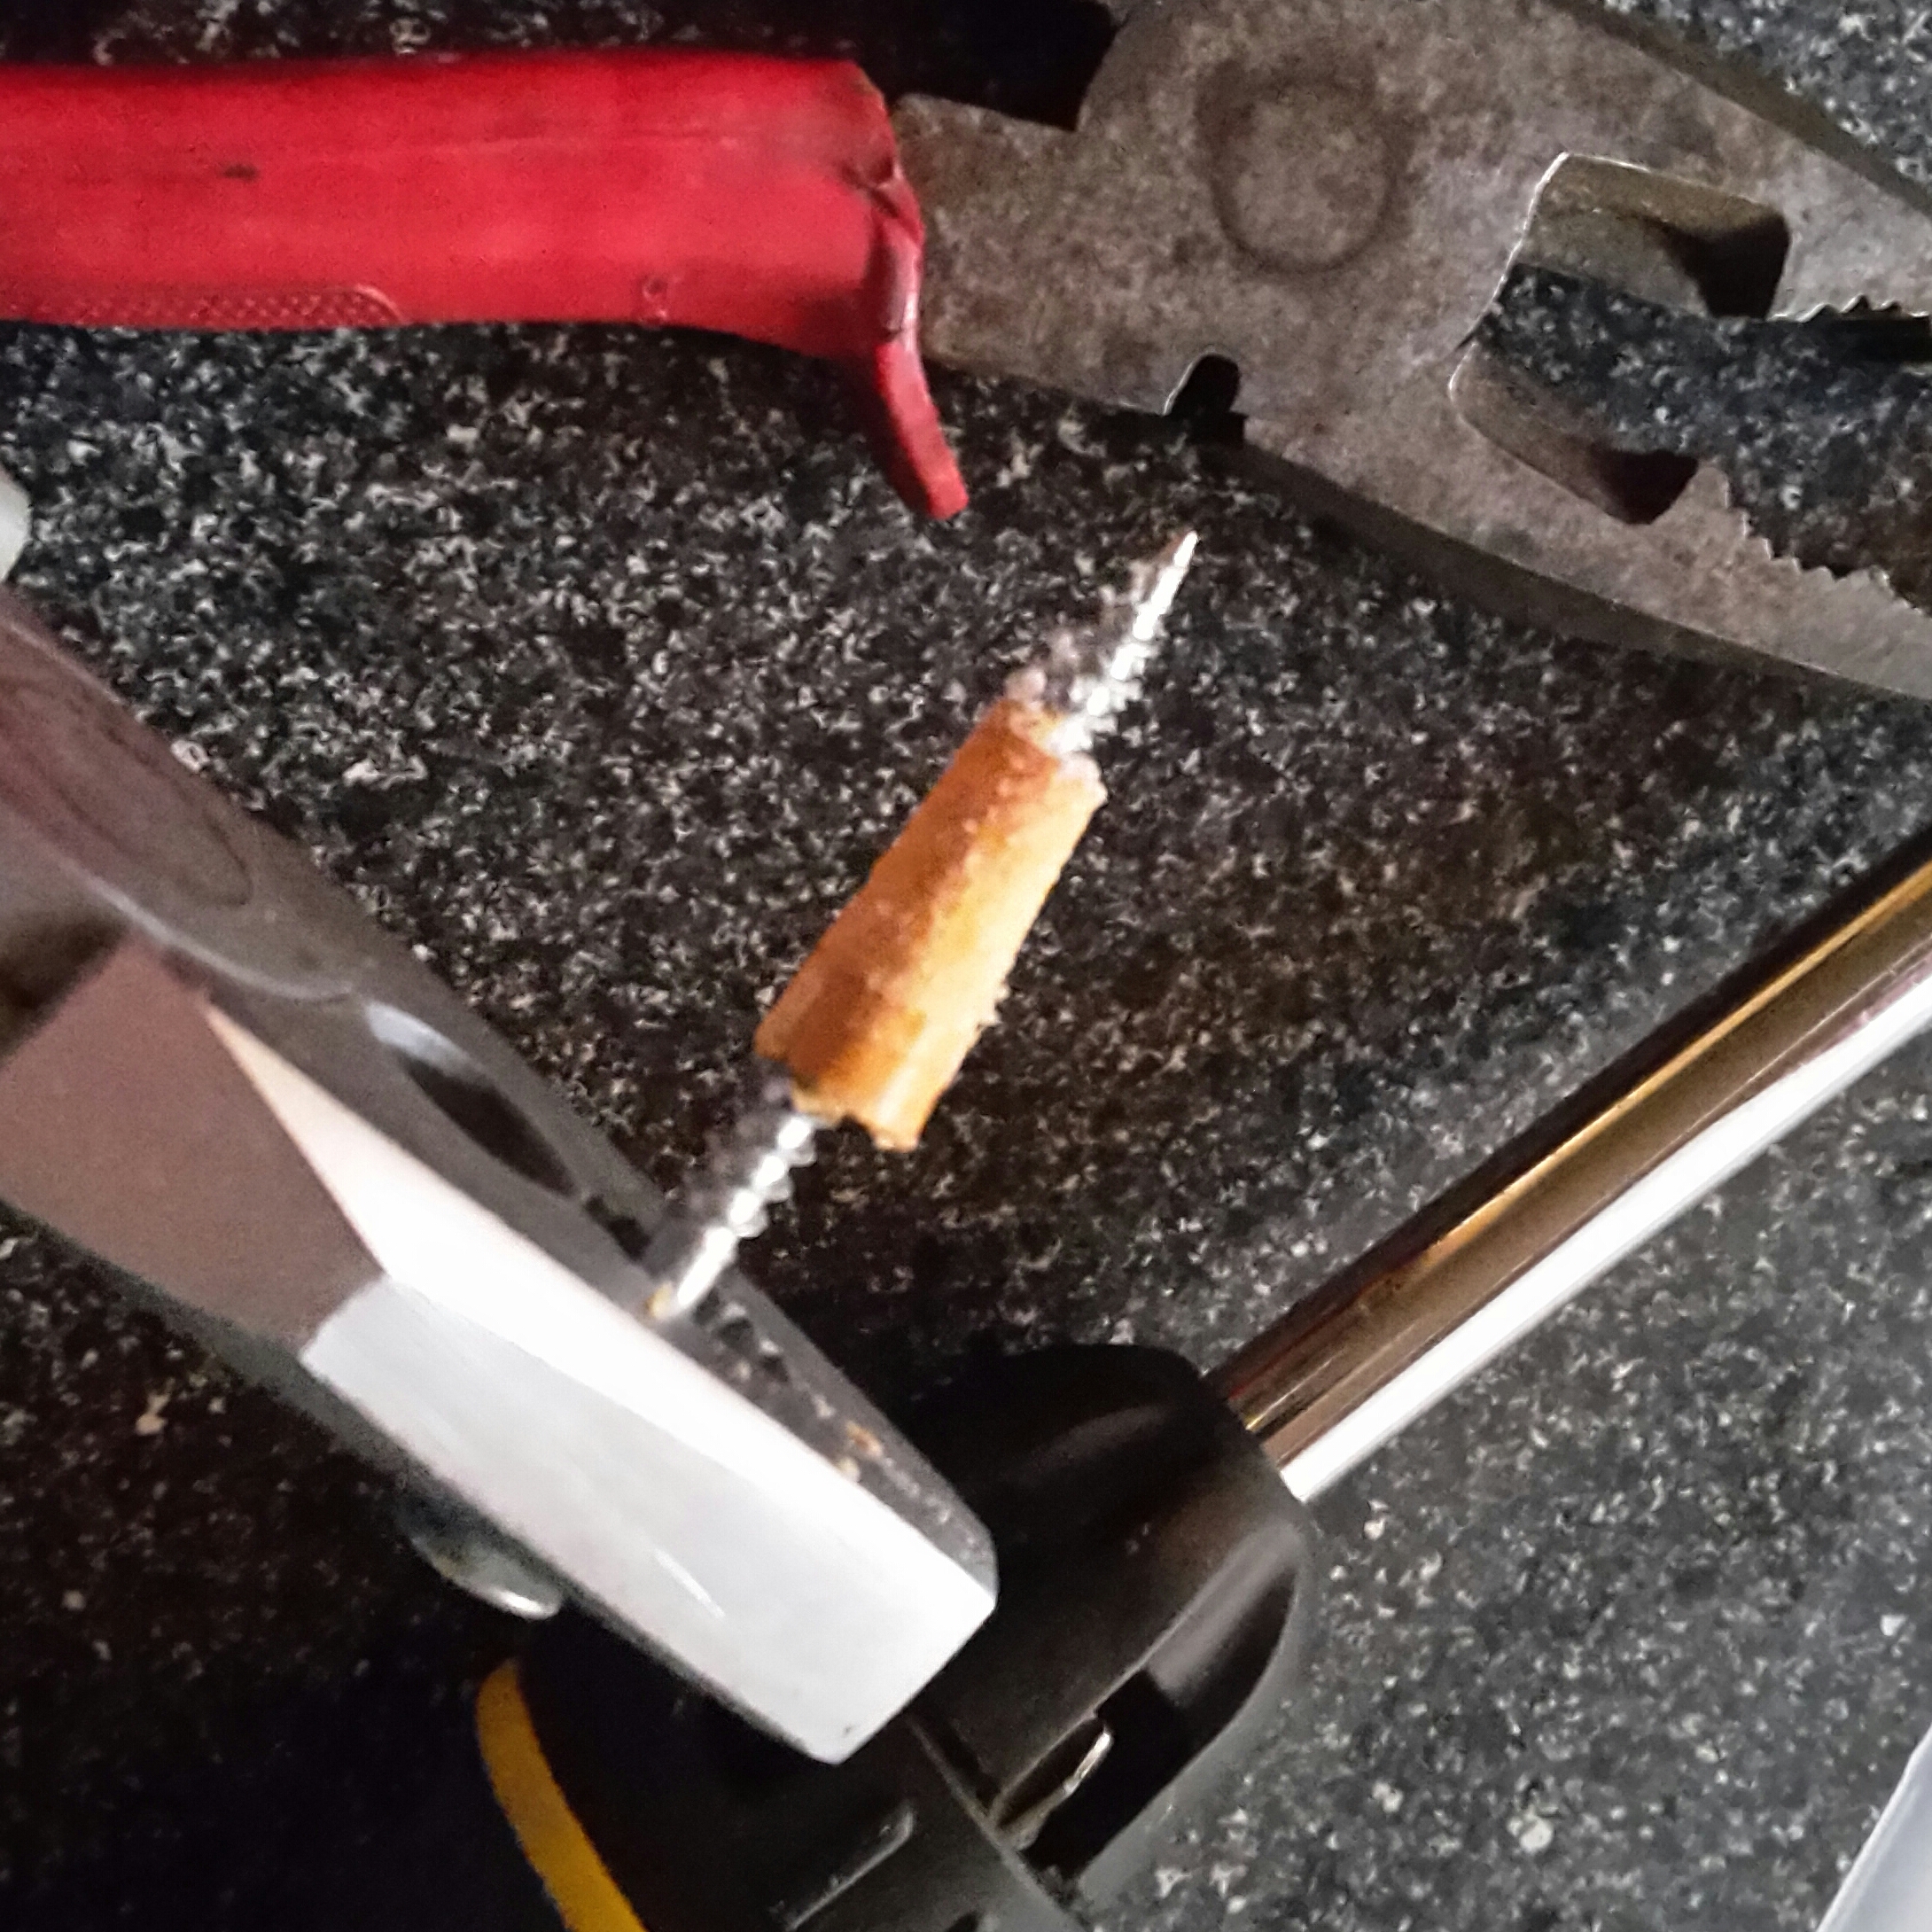
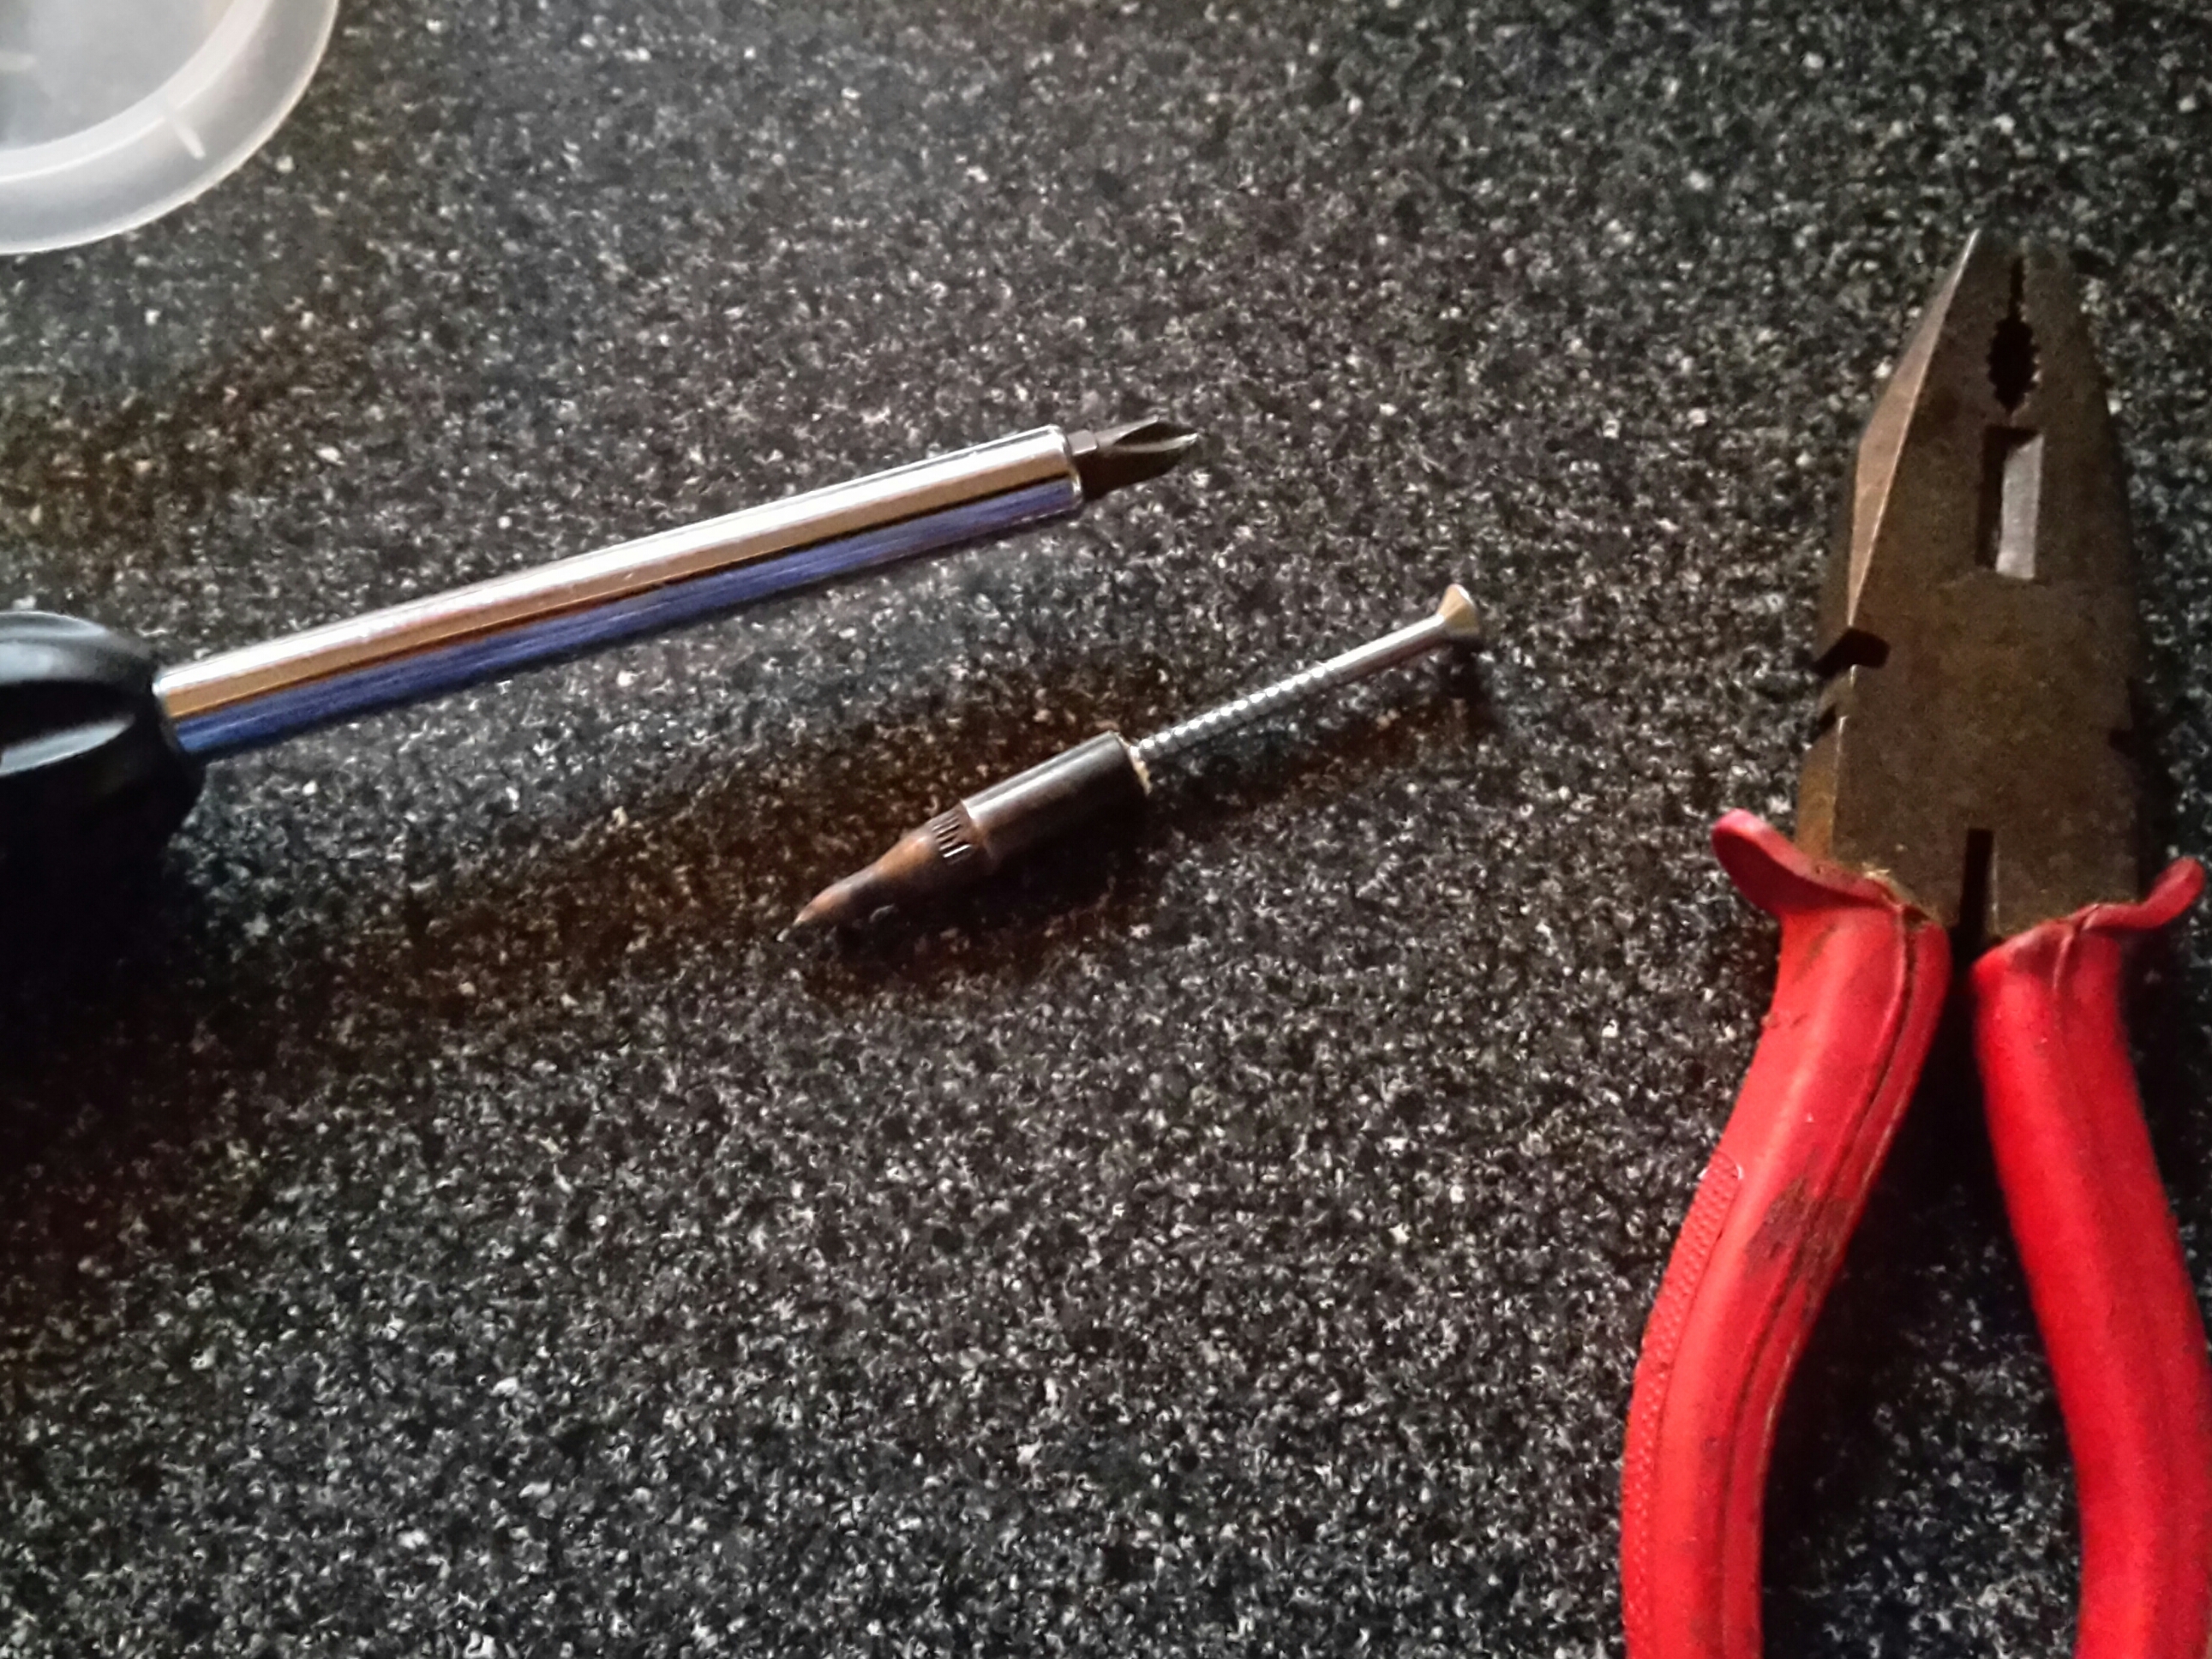
Holding the now heated pile  in the pliers (don’t grab it with your hand as it will be hot) take the screw driver and continue to screw the screw into the wood.
You should find that because the glue has melted and lost adhesion to the pile the screw will force the wood free. Resulting in the wood remaining on the screw and free of the pile.

Wood remains on pile

Wood remains on pile

Step 4 
Drop the pile and screw into a pot of cold water to cool.  Once cool you can dry the pile.
You might need to clean out the inside of the pile of glue residue with a bit of wire wool or I find an old shaft tapered down and screwed in and out a couple of times works well to dislodge any residue.
The easiest way to remove the wood from the screw is to hold the wood in the pliers and then using the screw driver “unscrew” it.
Hope you find this useful.
Thanks for reading.