Goblin Snot paints
Okay, so this is not one of the most pleasant sounding products I have encountered, but if you can look past the name you can have pretty decent paint.
Lee Ankers of Heritage Longbows was kind enough to provide me with same sample colours (pink, white, orange and purple) to try out. There are obviously other colours but these would prove to provide a good selection as it offered both light colours and darker shades. If you check out their website for full colour list of what is available. (https://www.heritagelongbows.com/).
Before I applied them to the shafts that would become arrows I tried the paints out on some off cuts to get used to applicator and how many coats might be needed.
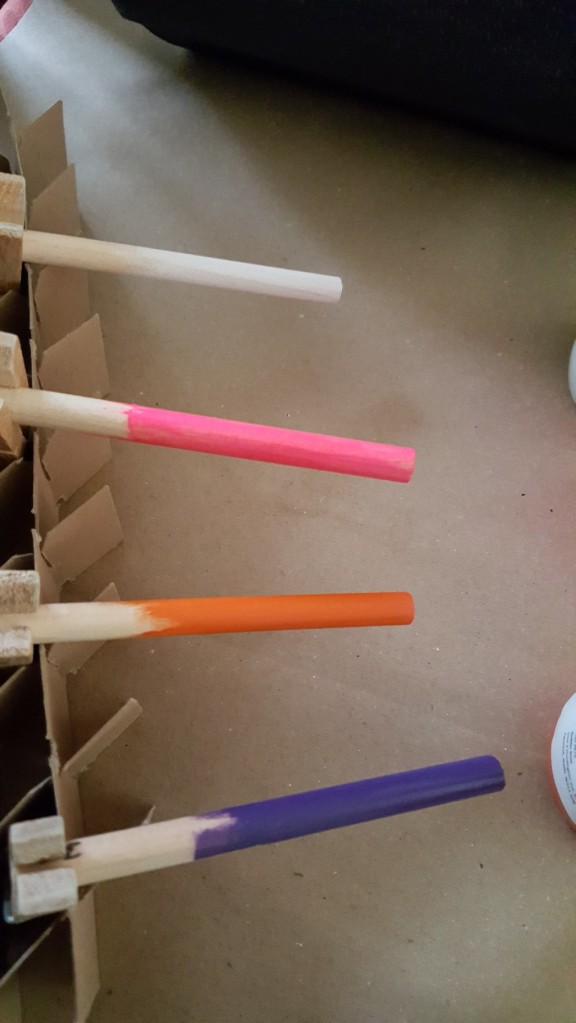
Samples after one coat
I did have a play at applying the paint to a pre varnished shaft, which worked petty well giving an even coat but it didn’t seem to adhere as well. I did find if I then applied a couple of coats of clear varnish over the top it did protect the paint.
I applied the paints to the bare wooden Port Orford Cedar shafts, after giving them a quick sand to remove any dust of rough patches.

First stage – orange being applied
Since Sharon wanted two contrasting colours on her arrows, I used masking tape to avoid me covering areas I wanted to cover in a different colour and to form an edge.

Second stage with the pink being applied
Firstly I have to admit I really like the purple. I’ve never been a huge fan of the colour in the past, but it works well for contrast. I’ve made up a few arrows with purple cresting and bright yellow fletchings and they work really well, as the contrast means you can see the arrows in flight and stand out in a number of target faces really well.

Bit dark, but purple shaft with bat wing fletching
The orange and purple go on very easily and after a couple of coats, you can a good deep colour and covering. The white and pink need a little more work, taking three to four coats to get a consistent covering, which is expected really as being a lighter colour.
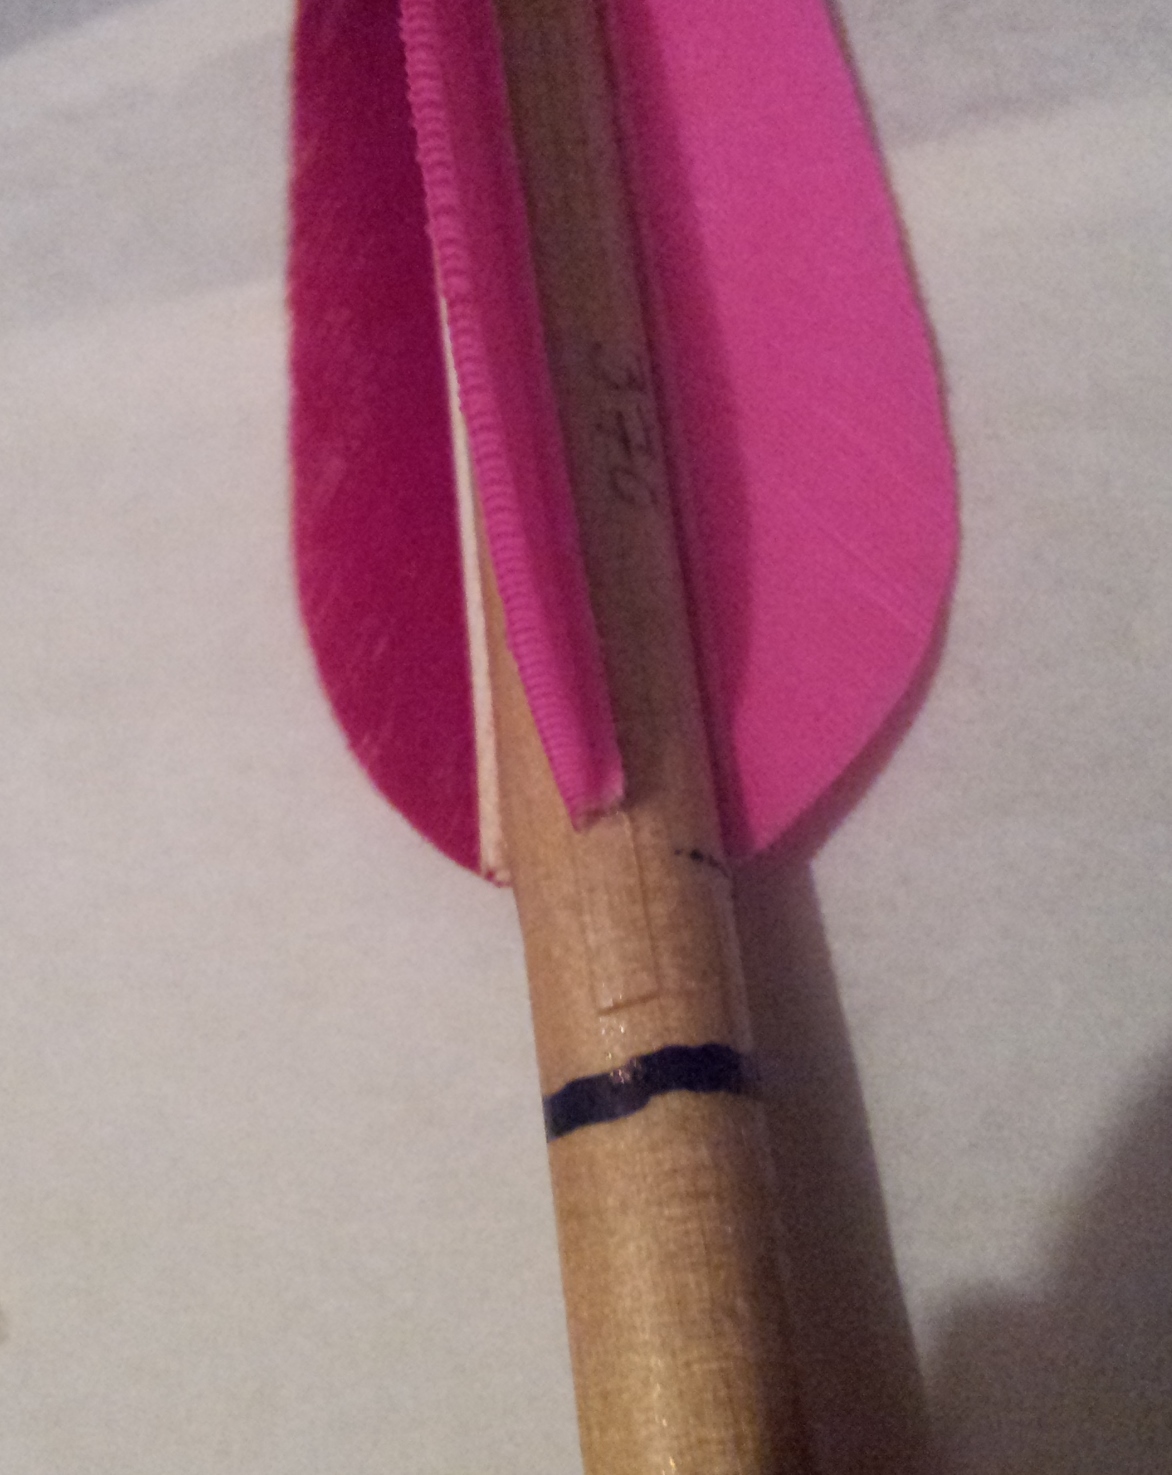
I’ve included a few photos of the arrows I made up for Sharon with the pink and orange as these happen to be matching to her fletching colours. The orange had two coats and the pink three or four.
I left the paint to dry for a couple of hours between coats, giving a very light sanding to ensure a clean smooth surface for each of the coats.
The paint goes on easily enough, once you get the hang of using the applicator, which has a sponge on the top of the bottle.
One tip is not to squeeze the bottle to much as you’ll end up with loads coming out. (Yes, this happened to me and fortunately I had put some old newspaper down just in case as I have been know to make a slight mess).
I’ve varnished with a clear acrylic varnish from a local model / hobby craft store.

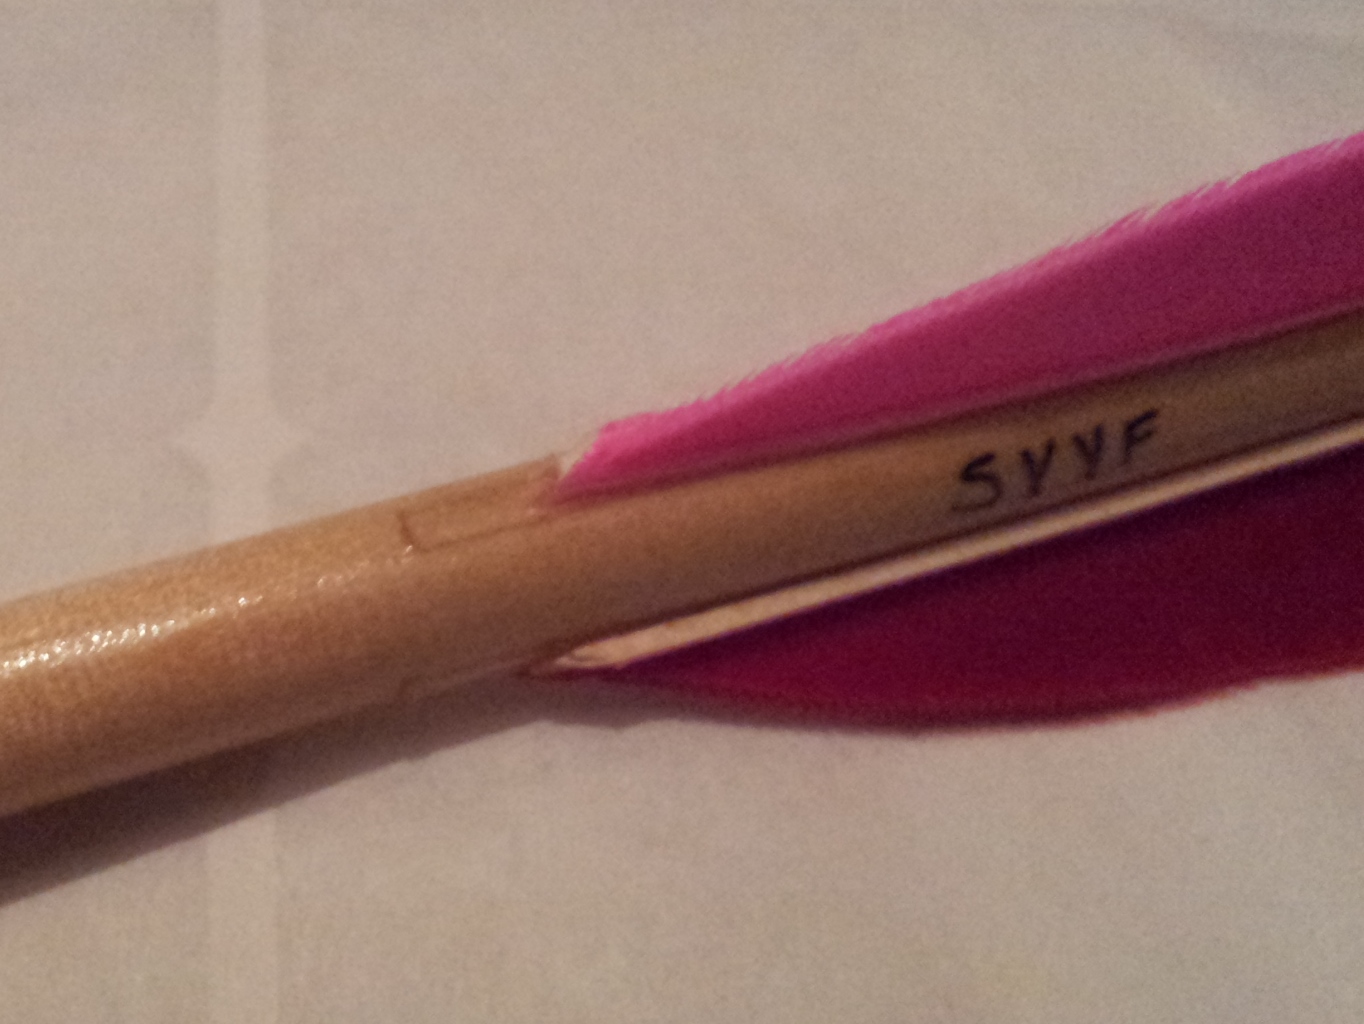
Close up of a couple of finished arrows
Another tip would be to take your time when applying to make sure you have an even application.

Finished arrows in the sun
Overall I think they work pretty well, being easy to apply and drying evenly.
Thanks for reading.