With the stormy weather hitting the UK at present, many archers are retreating to the indoor ranges or their making and doing rooms and sheds, fletching arrows and sorting gear for the new season. It’s been not so much of a white Christmas and New Year as a very, very wet one.
Here is hoping everyone is safe, warm and dry.
I thought I might take this opportunity to post my findings on using Bohning fletching tape. Been a while since I’ve written a review so here goes.
Just to make this clear from the outset. These are my views and opinions. I have no commercial interest in these products I review or the companies.
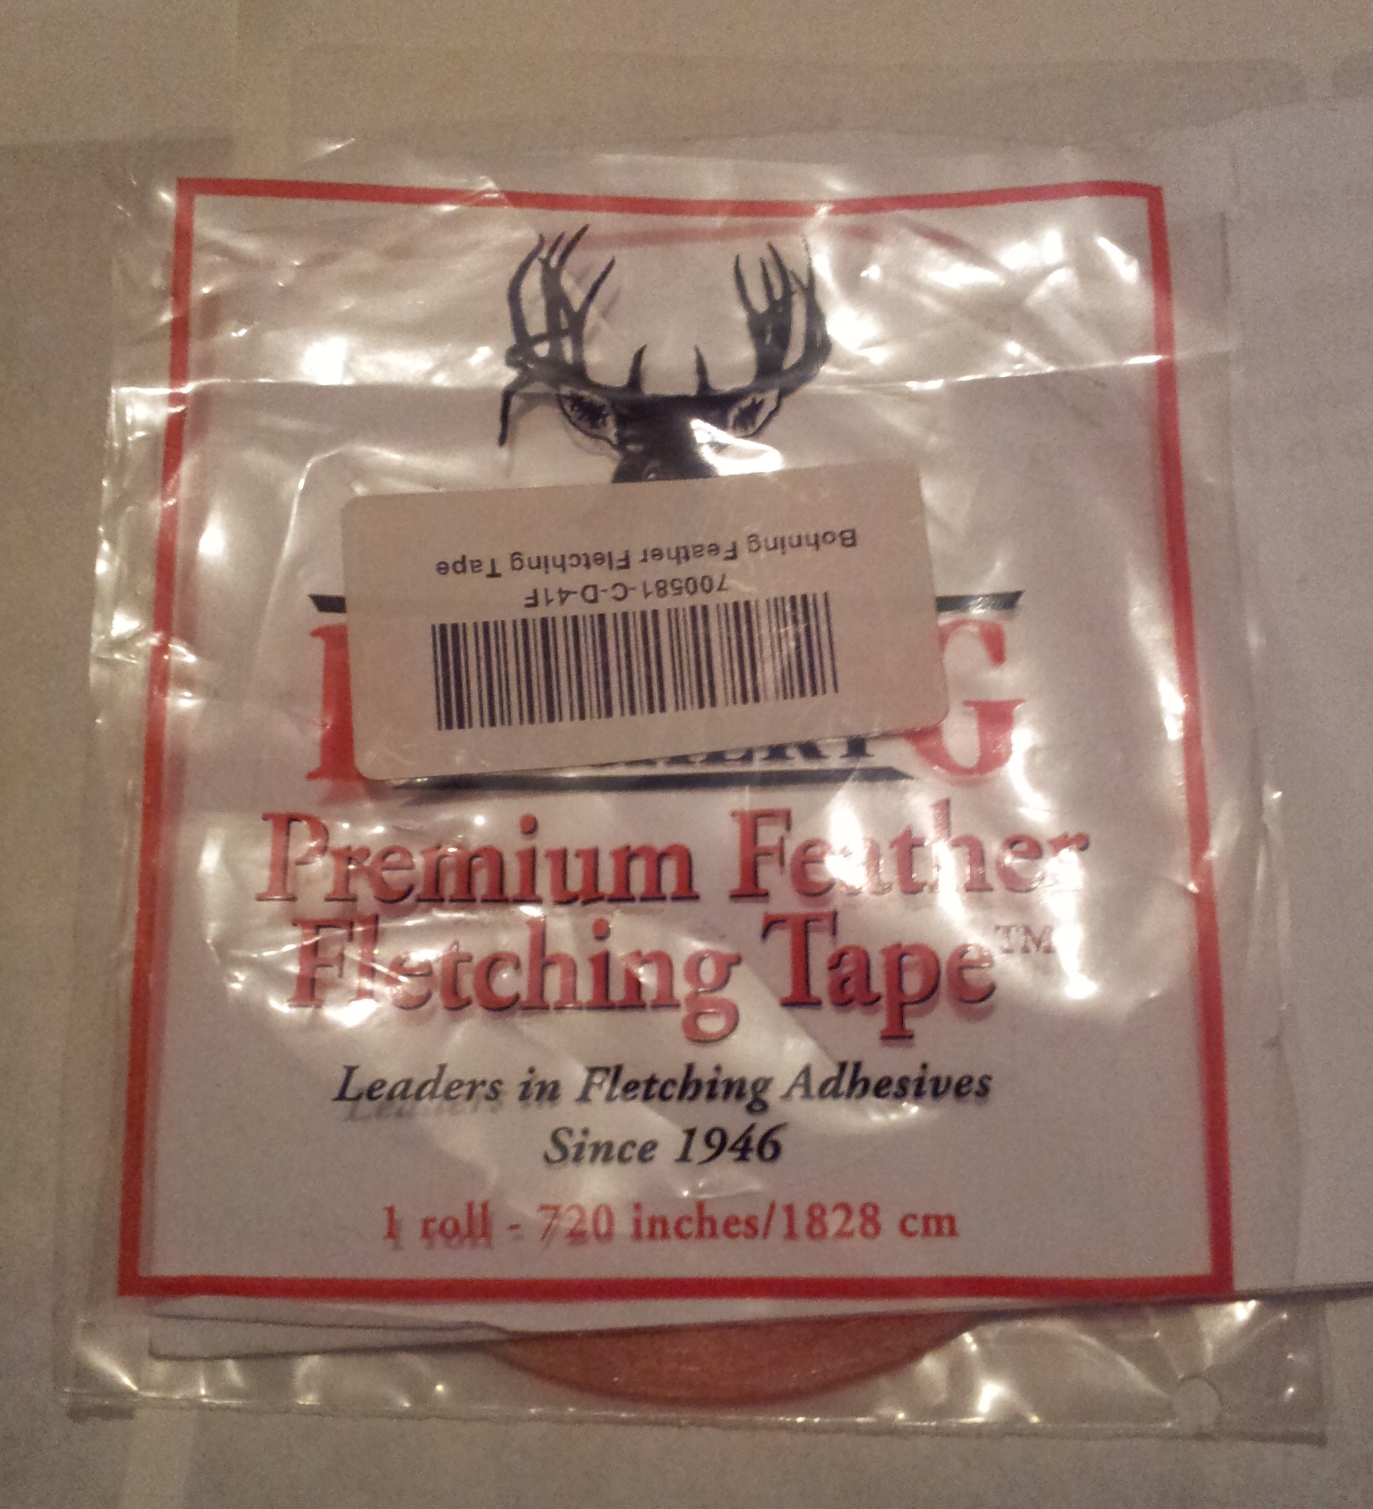
Bohning Double sided tape
For years I have been using fletching glue to attach my feather fletching to the wood shafts. HMG has been my glue of choice. The only issue I’ve had is the time it takes for the adhesive to cure which is 15-20 minutes depending on air temperature.
For plastic vanes I’ve used simple bostic glue from local hardware shop which seems to work well on Sharon’s aluminium eclipse arrows.
At a shoot last year I was mentioning this and Bob one of our old club members from Black Arrow mentioned he used double sided fletching tape for all of his arrows and had never had any problems. Bob shoots longbow for both field and roving so his arrows can take some abuse. No offence Bob if you are reading this.
Initially I found applying the tape a little fiddly. Not so much when taking it off the roll and applying to the feather, but when trying to take the second covering layer off the tape when applying the fletching to the arrow shaft, but you get used to it.
Make sure you have aligned the fletching right as the tape adheres fast so you don’t have the time to re align if you make a mistake.
Quick tip. Ensure the shaft is dry and free from any dust which would cause poor adhesion. I don’t oil or varnish the shafts prior to fletching them.
Using the tape saves a lot of time as I found it quick and easy to use once you got the hang of it. I was able to fletch half dozen arrows in 15 minutes a significant time saving as it used to take 45-55 minutes using the glue to fletch one arrow.
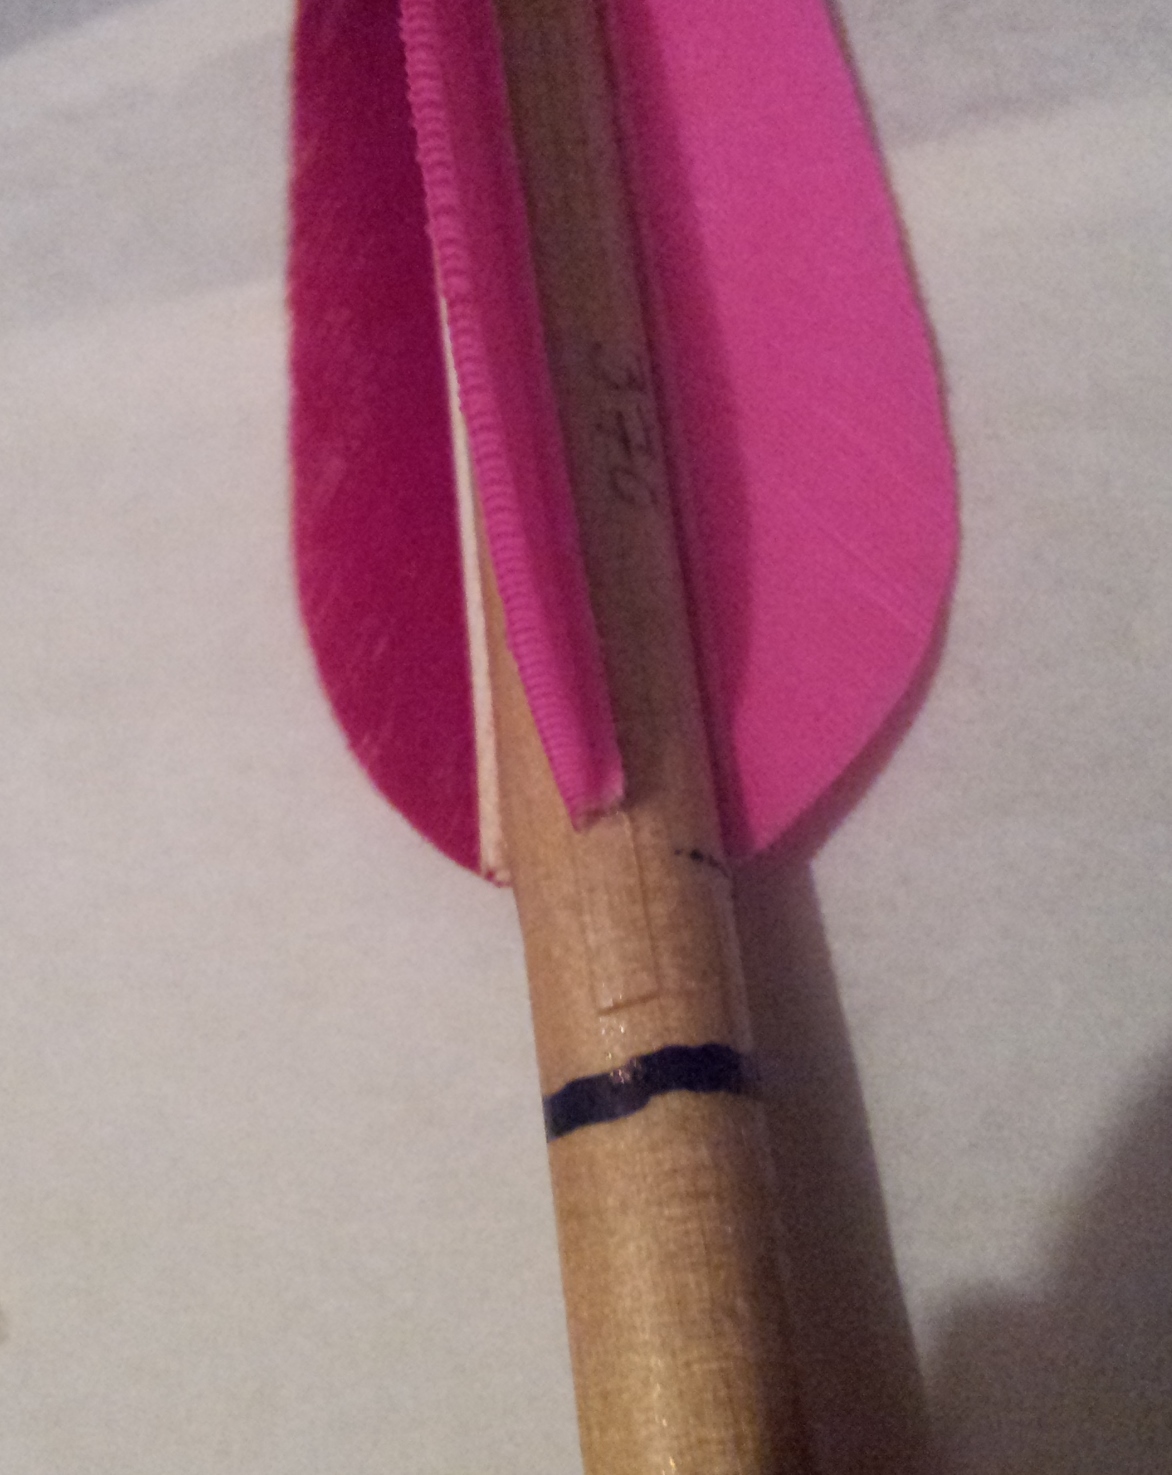
Allow a little more at each end to make it easier to apply.
Leave a little extra at the front and rear of the fletching as it makes it easier to remove the second side of the tape and easier to apply the fletching to the shaft.
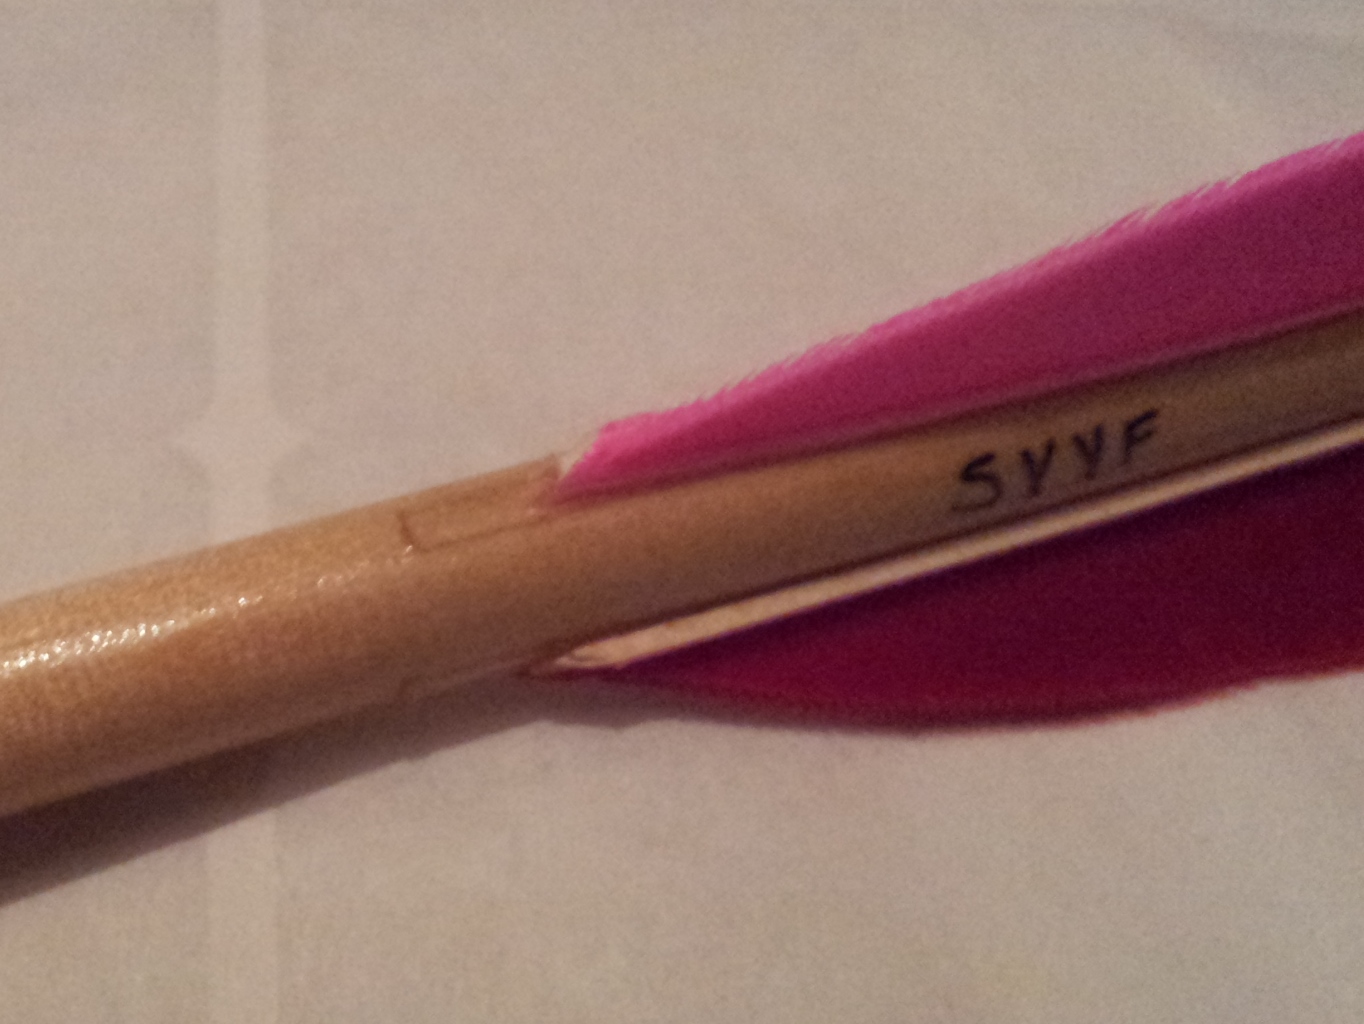
Extra length at front
I was concerned the tape might come off in the rain but so far so good. I’ve been using the arrows for a little over six months and they seem okay.
My other concern was if the fletching might peel off the shaft, but this hasn’t happened either. I don’t know if this might be different if you varnished the wood first.
They have stood up to all the normal abuse I can throw at them, from being soaked in the rain, to encounters with trees and other vegetation. I’ve also used the tape for a new set of wooden arrows for Sharon and they seem to eb working well for her too.
Not sure how well it would work on plastic fletching but I am thinking of testing this shortly so it might be an update in near future.
The tape is available from most good archery shops, I got mine from Merlin in Loughborough. (http://www.merlinarchery.co.uk/bohning-feather-fletching-tape.html) I’ve used less than half the roll so far and produced a couple of dozen arrows so its pretty good value for money at just under £7 a roll.
So in short my verdict is thumbs up for Bohning tape, a good product that can save you a lot of time. 9/10 (could be higher if I had chance to try it on shafts other than wood)
Let me know if you have any experiences with this or anything else.
Happy New Year and as always thanks for reading.


